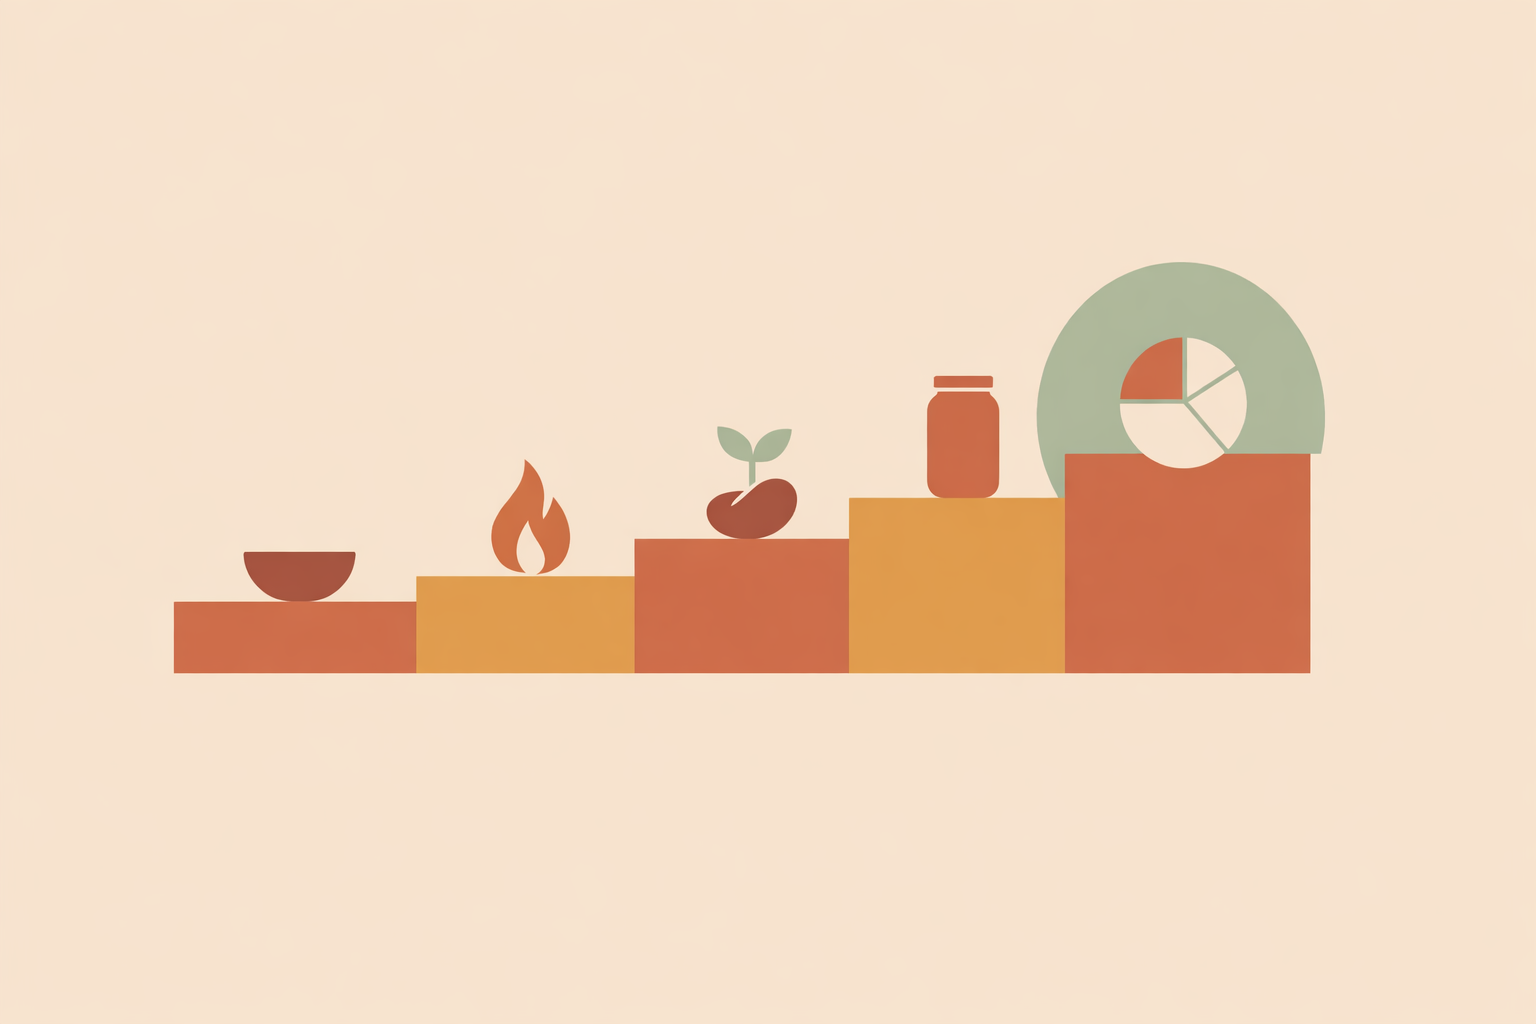
This five-step, workbook-style roadmap is meant to be lived first, then shared. It brings pantry building, off-grid cooking, growing, preserving, and light tracking into one coherent system you can model, measure, and steadily evolve with clients.
Many people carry a quiet hum of supply anxiety. The antidote isn’t frantic stockpiling—it’s a calm rhythm that’s easy to repeat and teach. Naturalistico leans into checklists, small challenges, and simple tracking so learning naturally turns into outcomes, much like the Self-Sufficiency Certification that blends practical skills with real client work.
Strong self-sufficiency education tends to braid three strands:
- Hands-on action: growing, preserving, and low-energy cooking
- Reflective practice: journals, group conversations, and mindful debriefs
- Simple frameworks: “Cook It, Grow It, Preserve It, Reuse It” that translate well into scorecards and group programs
Traditional foodways belong at the center of this work—seasonal eating, sun-drying, communal gardens—while modern tools can step in where they genuinely help. Evidence also points in the same direction: ~25% reductions in food insecurity indicators have been reported in some garden initiatives. From that foundation, you can become a grounded example others feel safe learning from.
Key Takeaway: Food self-sufficiency is most teachable when it becomes a repeatable, low-stress rhythm: build a rotating pantry, practice off-grid cooking, grow a small seasonal crop, preserve surpluses, and track progress with a simple scorecard so clients can measure wins and stay consistent.
Step 1: Build a Calm Baseline with an Emergency Pantry You Trust
Food self-sufficiency starts with a pantry that feels steady, not fearful. A modest 2–12 week reserve—chosen with care and rotated easily—becomes both a household safety net and a practical teaching tool.
Anchor around meals you actually enjoy: rice, beans, oats, nut butters, canned goods, broths, and fats. A sensible first rung is a 1–2 week reserve of familiar meals (not just “emergency rations”). Many practitioners build gradually from a “core 20” staples list—grains, legumes, oils, canned produce, shelf-stable proteins, and comfort anchors like tea or coffee.
If you prefer structure, use an abundance-first checklist: prioritize what your household already loves, so rotation feels natural. Over time, some households work toward a three‑month cushion in staples—guided by the old rule “eat what you store, store what you eat.” During outages, shelf-stable foods shine because they don’t rely on continuous power the way highly perishable items do.
“Wealth consists not in having great possessions, but in having few wants,” Epictetus reminds us. A calm pantry shows clients what “enough” can look like in practice.
Designing a 2–12 Week Reserve You Can Actually Rotate
- Pick 10 meals you love. Build your list around them: lentil soup, pasta with tomato, chickpea curry, oatmeal with fruit.
- List core staples. Grains, legumes, fats, flavor builders (salt, spices, bouillon), and comfort anchors (tea/coffee).
- Use the 2x rule. If you use two bags of oats a month, store four and rotate through them.
- Group by shelf life. Organize items as 3, 6, 12, and 24 months; label buy and “use first” dates.
- Mix proteins. Legumes, eggs, and nuts can be combined creatively across many cuisines.
- Budget it in. Add one extra staple per weekly shop to build reserves without strain.
- Make it teachable. Turn your process into a one-page “Pantry Planning Workbook” for sessions or groups.
Step 2: Cook and Heat Safely When the Grid Goes Quiet
Stored food only becomes real resilience when you can turn it into warm, satisfying meals. A simple off-grid setup—plus regular practice—keeps your pantry “alive.”
Build skills gently: choose one low-tech stove you’ll actually use in normal life, and get comfortable with it before you need it. Compact propane stoves are a common starting point. Many households also add a biomass option—rocket-style stoves that burn small sticks efficiently and focus heat, making them a practical match for boiling grains and beans.
For sunny months, a solar oven or dehydrator pairs beautifully with traditional sun-drying wisdom—using modern reflectors and food-safe materials to make it more reliable and easier to teach.
Small tools create big confidence: matches, lighters, fire-building practice, and heat-retention aids. “Thermal cooking” (think wonderbags or haybox-style methods) brings a pot briefly to a boil, then finishes it slowly in insulation. Essentially, you’re letting retained heat do the work—often cutting fuel use while keeping meals hot and satisfying.
“Very little is needed to make a happy life; it is all within yourself, in your way of thinking,” Marcus Aurelius said. The same spirit applies here: choose a humble kit, then practice calmly so your clients can mirror that ease.
Low-Tech Heat, High-Trust Routines
- Core kit: Rocket-stove or similar biomass stove basics, compact propane stove, appropriate fuel reserve, long-handled lighter, ferro rod, lidded pot, kettle.
- Low-energy finishers: Insulated pot cozy, DIY haybox, or thermal cookers for grains, beans, and stews.
- Sun tools: Solar ovens and dehydrators for stews, grains, teas, fruits, and herbs.
- Practice drill: Boil 1 liter of water and cook rice and beans using at least two setups; log fuel and time, note taste and texture, then refine.
- Safety ritual: Stable surface, good ventilation, child/pet buffer zone, water and extinguisher nearby, clear tidy-up routine.
Step 3: Grow Something You Can Eat This Season (Even in a Small Space)
The first time you harvest a real meal—even from one container—you move from dependency to participation. Start small this season, then share your results as grounded stories clients can relate to, especially in apartments or shared spaces.
You don’t need land to make progress. Square-foot approaches keep spacing simple and beginner-friendly, and containers, buckets, and railing planters can produce more than people expect. Fast crops like salad greens and herbs build early momentum. For lean budgets, direct-sow forgiving, large-seeded crops—beans, peas, zucchini, pumpkins, okra, corn—while honoring traditional seedlines and saving money by starting from seed.
Indoors, a bright sill can still feed you. Many growers cut microgreens in a steady rhythm, often within a couple of weeks, then re-seed for ongoing supply. Think of it like a tiny, repeatable harvest cycle—an easy win that helps clients build trust in their own consistency.
If there’s outdoor space, traditional polycultures offer both abundance and a story worth teaching. Indigenous “three sisters” plantings—corn, beans, squash—are a classic example of cooperation: corn supports beans, beans nourish the soil, and squash shades it. When shared respectfully, these systems open meaningful conversations about cultural foodways and ecological intelligence.
As Lincoln put it, “The greatest fine art of the future will be the making of a comfortable living from a small piece of land.” Your first pot is the first brushstroke.
From First Pot to a Seasonal Growing Pattern
- Week 1: Plant one large pot with a cherry tomato and basil; add a salad rail planter for quick harvests.
- Week 2: Sow pole beans with a simple trellis; start a tray of microgreens to cut in around 7–14 days.
- Week 3–4: Start a small set of classic forgiving crops so you still see results this season.
- Build structure: If you have ground space, install one bed and use square-foot spacing to prevent crowding.
- Repeat harvests: Sow fast greens every 2–3 weeks; tuck herbs into any sunny corner.
- Containers count: Turn balconies and patios into micro-gardens with pots and compact raised beds.
Step 4: Preserve and Stretch Every Harvest So Your Effort Lasts
Growing creates surpluses; preservation turns those surpluses into dependable meals. Canning, drying, fermenting, and cool storage help one season support the next.
Traditional households made this feel ordinary: jars on shelves, crocks quietly working, herbs hanging in bunches. That same wisdom still holds. Choose a few methods you’ll truly use—such as canning and drying—then add simple ferments for variety and depth.
Solar drying is one of the best bridges between ancestral practice and modern practicality. Simple dehydrators use warm airflow and screens to protect food from pests. Drying also makes storage dramatically easier: produce shrinks down to a fraction of its original volume, so a tray can become a small jar—often solar dehydrators being the most accessible way to demonstrate that transformation.
When electricity is limited, salt, time, and patience can carry a lot of the load. Lacto-fermented vegetables can remain enjoyable for months; many home fermenters keep jars in rotation for 6–12 months. Roots and tubers can also last well in cool, dark, ventilated conditions, using low-energy ideas like root cellars or clamp-style pits.
“Do what you can, with what you have, where you are.” The preservation kitchen is a perfect classroom for that wisdom.
Canning, Drying, Fermenting, and Simple Stretch Recipes
- Monthly rhythm:
- Spring: quick pickles and drying early greens
- Summer: jams, tomatoes, fruit leathers
- Autumn: kraut, salsa, chutneys, dehydrated apples
- Winter: stock, simple broths, dried teas and spice mixes
- Set your station: Jars and lids, a large pot, trays/screens for solar dehydrators, crocks or jars for lacto-fermented staples, and a cool bin or corner for roots.
- Stretch recipes:
- “Pantry bowls” = grain + bean + preserved vegetables + kraut + herb oil
- “Everything soup” = broth + leftover grains + greens + a spoon of chutney
- Quick flatbread + pickles + beans for a 10‑minute dinner
- Fruit compote over oats, spiced with your own dried blends
- Make it daily: Use preserved foods as everyday food, not “special projects.”
- Client challenge: “7‑day preserve sprint”—use at least one preserved ingredient in every meal for a week; log cost and time saved.
- Savings lens: Lean on stretch recipes to gradually replace more expensive, highly processed items.
Step 5: Turn Your Experience into a Measurable Framework for Clients
After you’ve walked the steps yourself, you can translate them into a simple, ethical framework clients can actually follow—clear enough to track, flexible enough to fit real life, and motivating enough to continue.
A kitchen scorecard keeps progress visible. Use four domains—Cook It, Grow It, Preserve It, Reuse It—so clients can see wins without getting lost in complexity. Over time, your notes become practical wisdom: which crops thrive, which preserves disappear first, and which habits reduce cost and stress most reliably.
For a realistic trajectory, some practitioners invite clients to aim for ~10% of household calories from home sources in year one, then build toward ~30% by year three through diversification. Community scaffolding matters here—seed libraries, shared tools, neighborhood beds. When communities invest in these supports, some initiatives report ~40% increases in participation, which mirrors what many practitioners observe: belonging keeps people going.
“Coming together is a beginning; keeping together is progress; working together is success.” Your framework is the “together.”
Tracking Progress and Growing Community
- Simple scorecard:
- Cook It: Off-grid meals cooked; time per boil; three “go‑to” outage recipes listed
- Grow It: Containers/beds in use; weekly harvest log; three forgiving crops thriving
- Preserve It: Jars on shelf; ferments in rotation; months of roots stored
- Reuse It: Compost active; broth made from scraps; leftovers redesigned; visible reduction in food waste
Use the four domains as a simple visual of wins.
- Harvest data: Track harvest weights to better predict surpluses and plan preserving or sharing.
- Targets: Year 1 = about 10%. Year 3 = around 30%.
- Group arc: Build programs in 10–12 week cycles: Observe → Act → Harvest → Reflect.
- Community spine: Seed libraries, shared tools, neighborhood gardens; engagement can rise by ~40% where these supports exist.
- Ethics and inclusion: Respect cultural foodways, credit Indigenous and ancestral knowledge, co-create goals, and keep costs transparent and realistic.
Conclusion: Walking the 5‑Step Food Self‑Sufficiency Roadmap with Your Community
Pantry, off-grid cooking, growing, preserving, and tracking aren’t separate projects—they’re one living story. When you practice them yourself and document honestly, you can guide others from lived experience, not just theory.
Small household choices add up. Home gardens and local food projects have been associated with ~25% reductions in food insecurity measures in some settings. Diverse systems, especially those rich in perennials, are also increasingly recognized for storing more carbon in living soils than simplified systems. Long-standing stewardship practices—no-dig approaches, composting, and cover crops—fit beautifully here because they’re practical, teachable, and rooted in tradition.
Culturally, the momentum is already building. The urban farming sector grew from US$148B to US$160B in a single year, and backyard poultry has expanded as well, contributing to tens of millions of small flocks in some estimates. Put simply: more people are ready for this conversation than ever.
One final note of care: encourage clients to choose tools and food-handling practices that match their space, budget, and local safety guidance—especially for heat, storage, and preservation. Then keep it simple: start Step 1 this week, take a quiet inventory, sketch a 2–12 week reserve you trust, and pick two next actions. People don’t only need information—they benefit from the steadiness of your example.
Explore Self-Sufficiency Certification
Apply these five steps with clients using the Self-Sufficiency Certification as your practical teaching framework.
Explore Self-Sufficiency →