Running a pain group means holding mixed conditions, mixed expectations, and mixed energy in the room at once. Some people arrive guarded, others fatigued, some hoping for quick relief, and many simply wanting a skill they can return to at home. In that setting, the most reliable approach is usually simple: settle first, build safety next, then guide attention toward small, believable shifts.
This progression gives everyone a clear starting point. Rather than pushing change too quickly, it helps participants notice, soften, and gradually relate to discomfort differently. Over time, that shift in relationship can matter as much as intensity itself.
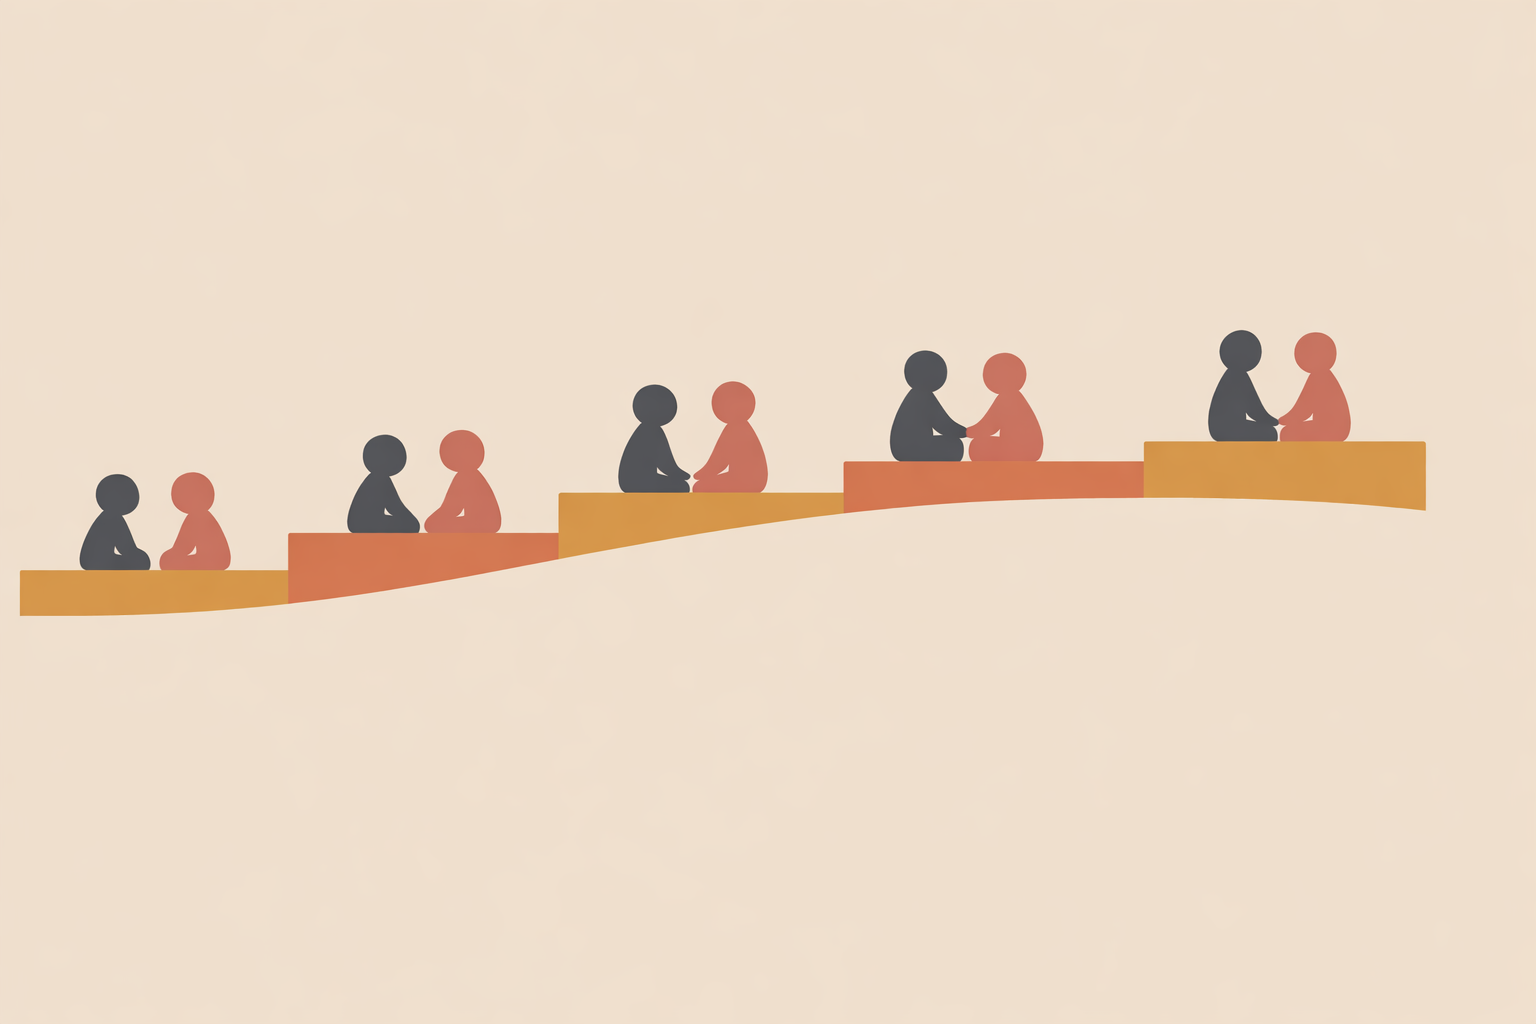
Key Takeaway: The most effective group pain-imagery sessions follow a repeatable arc: ground the nervous system, establish safety, then guide attention toward small, believable sensory shifts. When participants practice this sequence with choice and consistency, they build confidence and carry those micro-changes into daily function.
Script 1: Group Body-Scan for Grounding
Start with a short body-scan. This kind of sensory check-in can reduce bracing and help participants settle enough for deeper imagery.
In groups, this first layer is valuable because it gathers scattered attention without demanding too much. You’re not asking anyone to “go deep” right away—you’re inviting contact with weight, breath, temperature, and support. That alone often changes the room’s tone.
A body scan also sets up the focused attention that makes later imagery easier to follow. As David Spiegel puts it, “Hypnosis allows you to alter perception and narrow the focus of attention,” and that quality is already being cultivated here.
Body-Scan Script (read aloud, 6–8 minutes)
- “Let your body find a balanced, supported position. If it’s comfortable, soften your gaze or close your eyes. Notice where your body meets the chair or floor.”
- “Breathe in through the nose… slow out-breath through the mouth, like you’re fogging a mirror. Let the out-breath be a little longer.”
- “Bring awareness to your feet. Sense temperature, weight, or contact. Imagine the ground holding you well.”
- “Travel slowly—ankles, calves, knees—just noticing. If you meet an area that speaks up, acknowledge it kindly, then continue.”
- “Sweep through thighs, hips, and pelvis. Invite any muscles that don’t need to work right now to soften by 5%, then 10%.”
- “Belly and lower back: feel the rise and fall of breath. Let your breath be a gentle hand, soothing from the inside.”
- “Chest and upper back: widen your collarbones on the in-breath; let your shoulders drop on the out-breath.”
- “Arms, hands, fingers: loosen the grip of the day. Imagine warm water flowing from shoulders to fingertips.”
- “Neck, jaw, tongue: create a little space between your back teeth; smooth the forehead.”
- “Now sense your whole body as one field. Breathing in, gather steadiness. Breathing out, release what’s not needed. Hold this calm as we move onward.”
Facilitation notes
- Keep your pace unhurried. Brief silences help the group catch up to the words.
- Offer choice throughout: “If any area feels too intense, hover elsewhere or open your eyes.”
- Close with a simple bridge: “We’ve set the ground. Now we can work with more ease.”
Once the room has softened a little, safety-based imagery tends to land much more easily.
Script 2: Safe-Place Imagery for Diffuse or Fluctuating Pain
When discomfort is widespread, unpredictable, or emotionally heavy, begin by creating an inner place of steadiness. Safe-place imagery can create calm and often restores a felt sense of agency before anything more specific is attempted.
In ongoing groups, it’s common to see confidence rise even before intensity shifts. That’s not “nothing”—it’s a foundation. When people feel less overwhelmed by what’s happening inside them, they practice more consistently and with more ease.
Nature settings work well because they offer sensory richness without complexity: a shoreline, forest path, desert dusk, mountain clearing, or garden. If nature imagery doesn’t fit, any welcoming place works just as well.
Safe-Place Nature Script (read aloud, 10 minutes)
- “Return to your steadied breath. Picture a path opening before you into a landscape that feels right—forest, beach, desert, mountains, garden. Let it choose you.”
- “Notice details: air on your skin, a scent on the breeze, the quality of light. Let colors become vivid—greens, blues, earth tones.”
- “Find a place to rest: a smooth rock, a sun-warmed patch of sand, a hammock between trees. Let your body be supported here.”
- “If discomfort is present, imagine this land understands it. The earth holds what feels heavy; the wind carries what feels sharp; the water smooths what feels rough.”
- “You don’t need to change anything yet. Simply be companioned by this place that wants you well.”
- “Sense your own steadiness returning—like roots extending, like water finding its course.”
- “Gather a small anchor from this place: a leaf, a pebble, a beam of light. Place it in your pocket in imagination to carry into your day.”
- “When you’re ready, walk the path back, keeping the feeling of safety with you.”
Facilitation notes
- Offer inclusive options: nature, sacred architecture, or any environment that feels welcoming.
- Use present-tense language: “You notice,” “You feel,” “You rest.”
- If someone does not enjoy visualizing, invite them to follow sound, touch, or breath rhythm instead.
After this kind of settling, people are often more ready to approach specific areas with curiosity rather than dread.
Script 3: Color and Shape Imagery for Localized Sensations
When discomfort is more localized, invite participants to represent it as a color, shape, or texture. Then guide them to adjust one quality at a time. Essentially, you’re turning a “fixed” sensation into something workable.
Many guided imagery traditions use this exact sequence: observe first, then shift. Common suggestions include changing shape, size, and colour. Think of it like picking up an object and rotating it in the hand—once it’s no longer a single, solid block, there’s room to influence it.
Even small changes tend to build confidence, which is why this script often becomes a favorite for guided imagery home practice.
Color & Shape Script (read aloud, 10–12 minutes)
- “Return to the breath that steadies you. Bring kind attention to one area that’s asking for care today.”
- “If this sensation had a color, what would it be? If it had a shape or texture, what would you notice?”
- “Gently ‘walk around’ it in your mind. Is it dense or airy? Static or pulsing? Smooth or rough?”
- “Now imagine one quality softening by 10%. Perhaps the edges blur. Perhaps the color lightens from red to rose to pink.”
- “Imagine warmth loosening a knot, or cool water soothing heat. Sense screws being unscrewed, a tight ring expanding a size.”
- “Breathing in, gather ease at the edges. Breathing out, let it flow through and out—like mist thinning in sunlight.”
- “If the image resists change, befriend it. Even a 1% shift counts. Your body is listening.”
- “Thank the area for responding in the best way it can today. Return to whole-body awareness.”
Facilitation notes
- Normalize variability: some days the image changes quickly, other days it only softens.
- Offer several metaphors so each person can find one that feels natural.
- Invite short notes afterward: what image appeared, what changed, and what helped.
With repetition, participants often learn they can influence sensation quality through imagery—one of the most empowering outcomes of this style of work.
Script 4: Cooling and Warming Imagery for Joints and Achy Areas
For joints and stiff areas, temperature imagery is often immediately relatable. Cooling can help when a place feels hot or puffy, while warmth can support areas that feel tight, dry, or stuck. Adding a hinge image gives the mind a clear direction toward smoother movement.
Guided imagery for arthritis pain is widely used as a supportive practice, and the “well-oiled hinge” metaphor stays popular for a reason: it matches how many people already describe joint discomfort.
This is also an easy script to pair with tiny movements, so the shift feels practical and embodied rather than abstract.
Joint Ease Script (read aloud, 8–10 minutes)
- “Settle into the body as a whole. Choose one joint—or a small set—that would welcome care.”
- “If it feels hot or puffy, imagine a cool, clear stream flowing through and around it. Coolness like blue light, gentle and steady.”
- “If it feels tight or stuck, imagine safe, steady warmth. Warmth like golden oil, slowly soaking into tendons and muscles.”
- “Now picture the joint as a hinge. See a drop of oil finding exactly where it’s needed. With each breath, motion becomes a touch smoother.”
- “Imagine the space inside the joint widening by a millimeter. More room. Less rubbing. Smoother glide.”
- “Let nearby muscles receive the same care—cool when hot, warm when tight—until the whole area hums with balance.”
- “Thank your body for every small shift you feel. Even a hint of ease is useful data.”
Facilitation notes
- Invite micro-movements if the group is comfortable, such as tiny rotations or a small bend and release.
- Always offer both cooling and warming options so people can choose what fits.
- End with function: “Carry this smoother hinge into your next few steps today.”
When the language mirrors lived experience—hot, puffy, stiff, rusty—people tend to engage faster and trust the process more.
Script 5: Flowing River Belly Imagery for Gut Discomfort and Youth Groups
For gut discomfort, story-based imagery often works better than technical explanations. A river, roadway, or flowing track gives people something simple to picture and adjust, which can make belly sensations feel less mysterious and more manageable.
This approach is especially helpful with teens, children, and family groups, though adults often respond just as strongly. What matters most is the felt sense of rhythm, direction, and agency.
Flowing River Belly Script (read aloud, 8–10 minutes)
- “Bring a hand to the belly if that feels okay. Imagine your abdomen as a friendly river, winding at the perfect pace.”
- “Upstream, water gathers; downstream, it flows. You’re the river-keeper, guiding the current’s speed.”
- “If there are ‘logjams,’ picture them lifting and drifting aside. If the current is too fast, you lower a gate and slow the flow.”
- “Notice the river’s color becoming clear and bright. The banks are stable; the water knows exactly where to go.”
- “With each exhale, the current settles into a smooth, even rhythm. Your river finds its natural pace.”
- “If a spot feels tight, imagine warm sunlight on that bend, relaxing it. If a spot feels jumpy, imagine cool shade, soothing it.”
- “Thank the river for its steady work. You can return here anytime to guide the flow.”
Facilitation notes
- Keep the pacing rhythmic and the imagery concrete.
- Offer alternatives: river, gentle highway, or conveyor belt.
- Afterward, ask a simple question: “What part of the image helped most?”
When belly sensations feel less confusing, people often keep practicing—because they can finally feel what “guiding” their inner experience is like.
Script 6: Future-Self Imagery for Daily Function
After grounding and sensory shifting, future-self rehearsal helps carry those gains into ordinary life. The aim isn’t fantasy—it’s a believable mental run-through of a valued action.
This is where imagery becomes wonderfully practical. Instead of focusing only on discomfort, participants begin to picture how they want to move, pace, breathe, and respond in real situations. Put simply: they rehearse steadiness before the day asks for it.
Future-Self Rehearsal Script (read aloud, 10–12 minutes)
- “Feel your body steady. Recall something meaningful you’d like to do with more comfort—prepare a meal, stretch in the morning, take a short walk.”
- “Imagine a version of you six weeks from now who has been practicing regularly. See how they stand, breathe, and move.”
- “Watch Future-You begin the activity at a calm, sustainable pace. Notice micro-adjustments that bring ease: posture, breath, timing.”
- “Step into their shoes. Feel their steadiness in your spine, their kindness in your self-talk, their patience in your pacing.”
- “Run through the activity once or twice, savoring small wins—1% looser here, a smoother transition there.”
- “Now rewind. Identify one cue you’ll use today—a phrase, a posture check, a breath count—that invites this same ease.”
- “Thank Future-You and carry one clear action step into the next 24 hours.”
Facilitation notes
- Keep goals modest, specific, and values-based.
- Encourage short home practice: two calming breaths, a mini body-scan, then a quick rehearsal.
- Invite people to track one meaningful metric, such as minutes walking or time spent doing a valued activity.
Function often improves when people repeat small, credible wins. Over time, they begin to inhabit the identity they’ve been rehearsing—one breath, one movement, one choice at a time.
How to Weave These Scripts into a Group Program
Together, these six scripts form a steady progression: ground the group, create safety, meet a sensation directly, refine with element-based imagery, adapt for the belly when needed, and finish by rehearsing real life with more ease.
You can use one script per meeting, or pair two shorter pieces in a single session. A simple rhythm is:
- 2–3 minutes of arrival and orientation
- 6–8 minutes of grounding
- 8–12 minutes of one main imagery theme
- 1–2 minutes of quiet rest
- brief reflection or self-rating
Simple pre- and post-session ratings help participants notice their own shifts. A quick number for tension, steadiness, or confidence keeps the work tangible without turning it mechanical, and tracking change this way can support consistency.
Keep your facilitation consent-based throughout. Offer eyes-open options, sensory alternatives for non-visualizers, and explicit permission to pause or step back. If someone is easily overwhelmed, stay with shorter grounding and simpler imagery until more capacity is present.
Traditional imagery work has always understood imagination as a bridge between sensation, meaning, and change. In modern groups, that wisdom still holds: when people are given structure, choice, and repetition, small shifts become usable skills. As a final note, encourage participants to practice within their comfort range and seek appropriate support if anything feels too activating or intense.
Continue your learning: Explore Treating Physical Pain with Hypnosis for a deeper, practice-focused approach to supporting clients with hypnotic language, pacing, and imagery.
Master pain hypnosis skills
Deepen these scripts with Treating Physical Pain with Hypnosis for structured hypnotic language and pacing practice.
Explore Treating Physical Pain with Hypnosis →