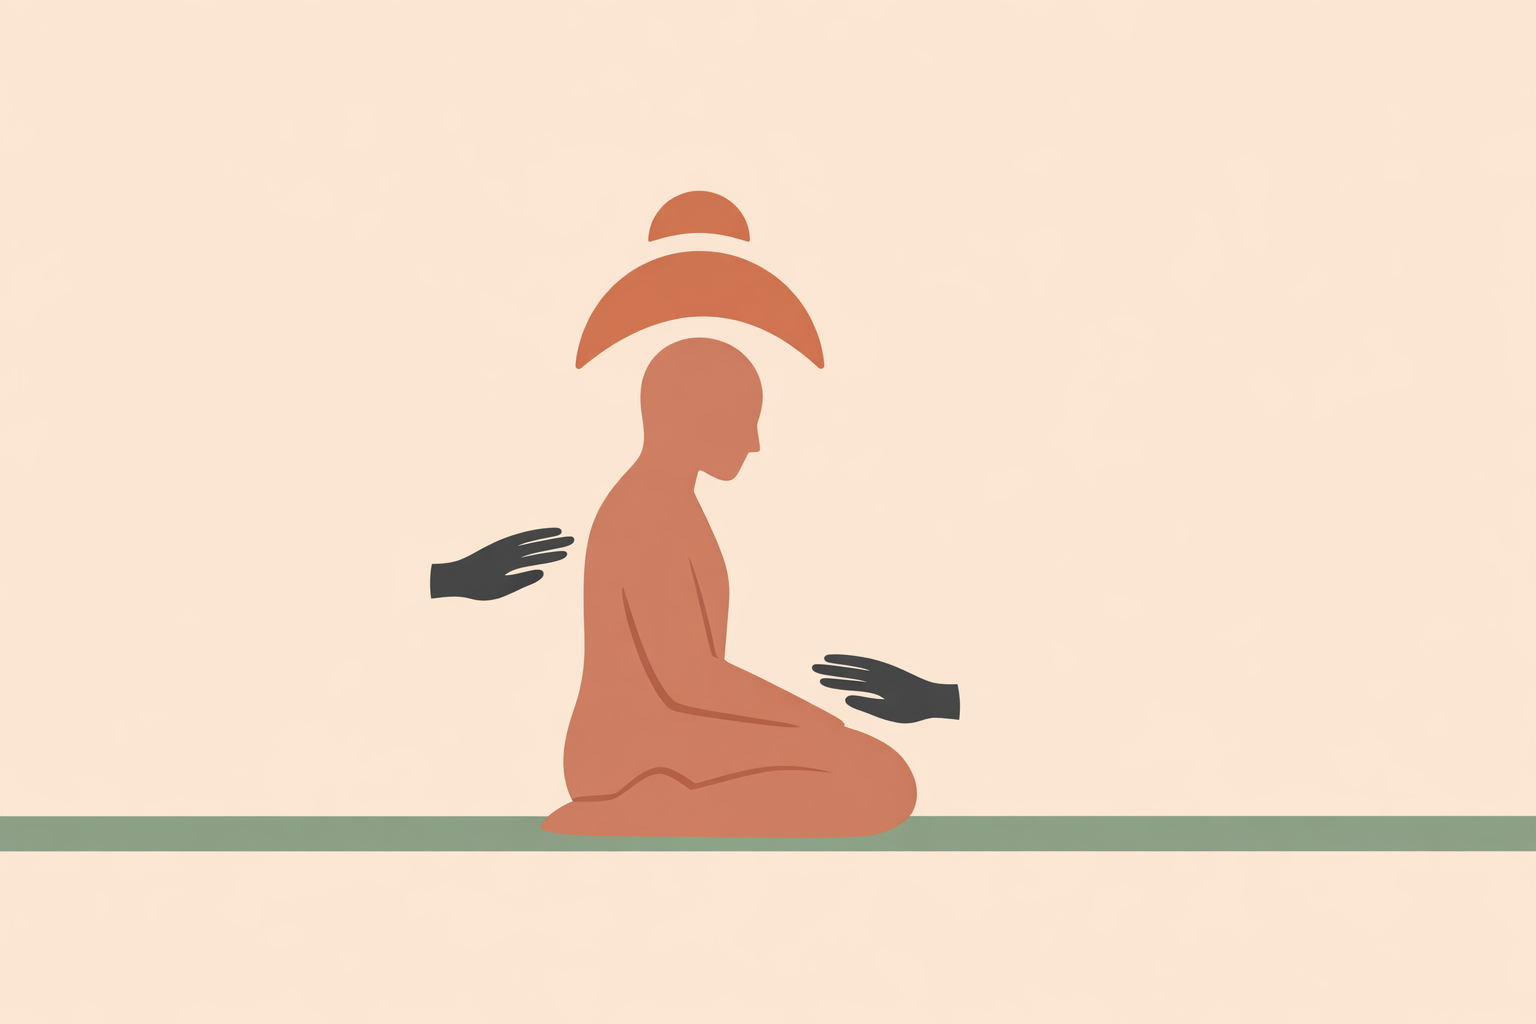
Chair sessions ask you to do real Reiki in real-life conditions: everyday clothing, changing environments, mobility aids, and limited privacy. That’s exactly why a clear structure helps. When you follow a simple arc—open, center, then ground—even a short seated session feels complete and unhurried.
A reliable approach is a three-zone flow: head and shoulders first, heart and solar plexus next, then knees and feet to finish. It supports comfort and consent while keeping the session steady from beginning to end.
Key Takeaway: A complete chair Reiki session rests on a simple three-zone arc that opens, centers, and grounds. Start at the head and shoulders with clear consent and calm first contact. Move into the heart and solar plexus with front–back pairings that protect privacy and support a centered middle. Close at the knees and feet so the recipient feels present, settled, and ready to continue their day.
Reiki Hand Position 1: Head and Shoulders for a Clear Opening
Start where most people settle quickly: the head and shoulders. In a break room, community space, waiting area, or at home, this first zone helps the recipient arrive and understand exactly where the session begins.
Stand just behind and slightly to one side of the chair so your arms can stay relaxed. Invite one slow breath together, then confirm consent in plain language: “I’ll begin at your shoulders for a couple of minutes. Does that feel okay?”
In seated practice, clear first contact helps many people feel supported right away. A brief shoulder hold may also reduce anxiety, which can make the rest of the session easier to receive.
- Shoulders: Rest both hands lightly on the tops of the shoulders, thumbs near the base of the neck. Soften the palms rather than pressing.
- Crown: Place one hand over the crown and the other at the upper back or hovering behind the head. Adjust your stance instead of asking the recipient to move their neck.
- Forehead–occiput: One hand at the forehead, the other at the base of the skull.
- Ears and temples: Traditional Usui head placements include work at the ears and temples, especially valued when the mind feels busy.
- Throat hover: Hover a few inches above the throat while your other hand supports behind the neck or at the upper back.
If you’re hovering, say so. “I’ll hover here rather than touch. Let me know at any point if you’d like more space.” In semi-public settings, that clarity builds trust fast.
Keep body cues simple: feet on the floor if possible, shoulders dropping, chin level. With wheelchairs or high-backed chairs, work a little wider and use more hovering when access is limited.
For a brief opening, a practical rhythm is:
- 1–2 minutes at the shoulders
- about 1 minute at the crown
- about 1 minute at forehead–occiput
- about 1 minute at ears or temples
- 30–60 seconds at the throat hover
This zone often brings the first visible shift: jaw unclenching, breath slowing, the room feeling quieter. From there, moving to the center feels natural.
Reiki Hand Position 2: Heart and Solar Plexus for the Center of the Session
After the head settles, bring the session into the heart and core. This middle zone gives chair work its depth and keeps the experience from feeling “all in the head.”
Before any chest or abdomen placement, renew consent and name options clearly: “I’ll stay above the chest and can also work with hovering or through the back of the chair. Please tell me what feels most comfortable.”
Front–back pairing is especially effective in chair practice. You support the same level from both sides, so the center feels held without getting too personal or intrusive.
- Heart front–back: Place one hand at the upper chest (centered on the sternum and above sensitive tissue) or hover there. Place the other hand between the shoulder blades or on the chair back at the same height. Traditional guidance notes that sensitive locations may call for hovering or a higher placement.
- Solar plexus front–back: Place one hand at the mid-abdomen just below the sternum and the other at the same level on the mid-back, directly or through the chair. Many lineages treat this hold as central for self-worth, will, and the digestion of experience.
Timing can stay simple. In many public or time-limited sessions, a minute or two per hold is enough to create a clear center. Look for familiar signs: deeper breathing, shoulders easing, the belly softening, emotion moving gently.
Supportive language keeps things warm and professional:
- “I’m placing one hand at your upper back and hovering at the front of the chest. Take two slow breaths here.”
- “I’ll keep one hand at your mid-back. If you’d rather I hover at the belly, just say so.”
To make this zone easier in a chair:
- Stand slightly to the side rather than directly in front when hovering at the chest.
- Use the chair back to support front–back work without overreaching.
- Keep your elbows soft so your touch feels steady.
Once the middle feels settled, bring that steadiness down into the lower body to finish cleanly.
Reiki Hand Position 3: Knees and Feet to Ground and Close
Knees and feet complete the arc. After opening above and centering in the core, finishing low helps many people feel present, stable, and ready to stand up and return to their day.
Traditional hand-position guides include lower-body placements such as knees, ankles, and feet. In seated sessions, this closing sequence often creates the most noticeable sense of “done.”
- Knees: Stand or kneel comfortably to the side and place both hands on or just above the knees.
- Ankles: Hold both ankles lightly or hover if foot contact feels too intimate for the setting.
- Feet: With consent, hold at the sides of the feet or heels. If shoes are on, hovering at the sides often works best. Some practitioners finish with a light downward sweep to mark completion.
These placements are simple, but they matter. A final feet position is often described as helping to integrate the treatment, and many recipients report feeling more settled when you close this way.
Adapt as needed. Avoid wedging your hands under the chair or pulling legs forward. If someone uses footrests or mobility aids, widen your stance and hover around the lower legs, ankles, or feet instead.
For a short close, try:
- about 1 minute at the knees
- about 1 minute at the ankles
- 30 seconds per foot
- a final downward sweep to signal the end
You can support the landing with calm, grounded words: “Feel the chair under you. Notice the weight of your legs. Let your next exhale drop through the feet.”
Using the Three-Zone Arc in Real Chair Reiki Sessions
Head and shoulders to open, heart and solar plexus to center, knees and feet to ground: it’s an easy pattern to remember, adaptable across settings, and complete enough for both short and longer Reiki sessions.
The flow follows a rhythm practitioners have recognized for generations: the mind settles, the center softens, then the body catches up. That’s why it holds up well when time is tight or the environment is busy.
For a quick check-in, choose one placement per zone. For longer sessions, add holds within each zone while keeping the same through-line. Over time, the structure becomes second nature and your presence feels more spacious in energy healing practice.
- Begin with clear consent and an unmistakable opening touch.
- Use front–back pairings in the middle to support privacy and coherence.
- Close low in the body so the recipient has a moment to orient before standing.
A head-to-heart-to-grounding arc can bring meaningful ease in the moment, especially when pacing is unhurried and boundaries are clear.
To close responsibly, keep consent active, keep language neutral (supportive rather than medical), and adapt touch to the setting. Chair Reiki works best when it stays respectful, practical, and rooted in the tradition’s steady confidence, whether you’re refining Reiki mastery or broadening your energy healing foundation.
Advance Your Reiki Mastery
Build confident session structure and professional consent skills in the Reiki Master Certification.
Explore Reiki Master Certification →