Pain-focused sessions can easily drift into long relaxations, layered metaphors, and lots of explanation. That can feel comforting in the room. But during a strong flare, many clients do best with something they can remember fast and use on cue.
When the symbol is clear, repeatable, and easy to test, visualization becomes far more portable. It stops being “session-only” and starts becoming a practical skill for everyday life.
Key Takeaway: Pain-relief visualization tends to work best when the image is simple, controllable, and practiced in real time. Five especially usable options are the Inner Pain Dial, Healing Light and Color, Shape-Shifting Objects, Temperature and Numbness, and Flowing Out with the Breath. Each gives clients a concrete action they can repeat briefly at home, helping build familiarity, confidence, and a steadier sense of choice during discomfort.
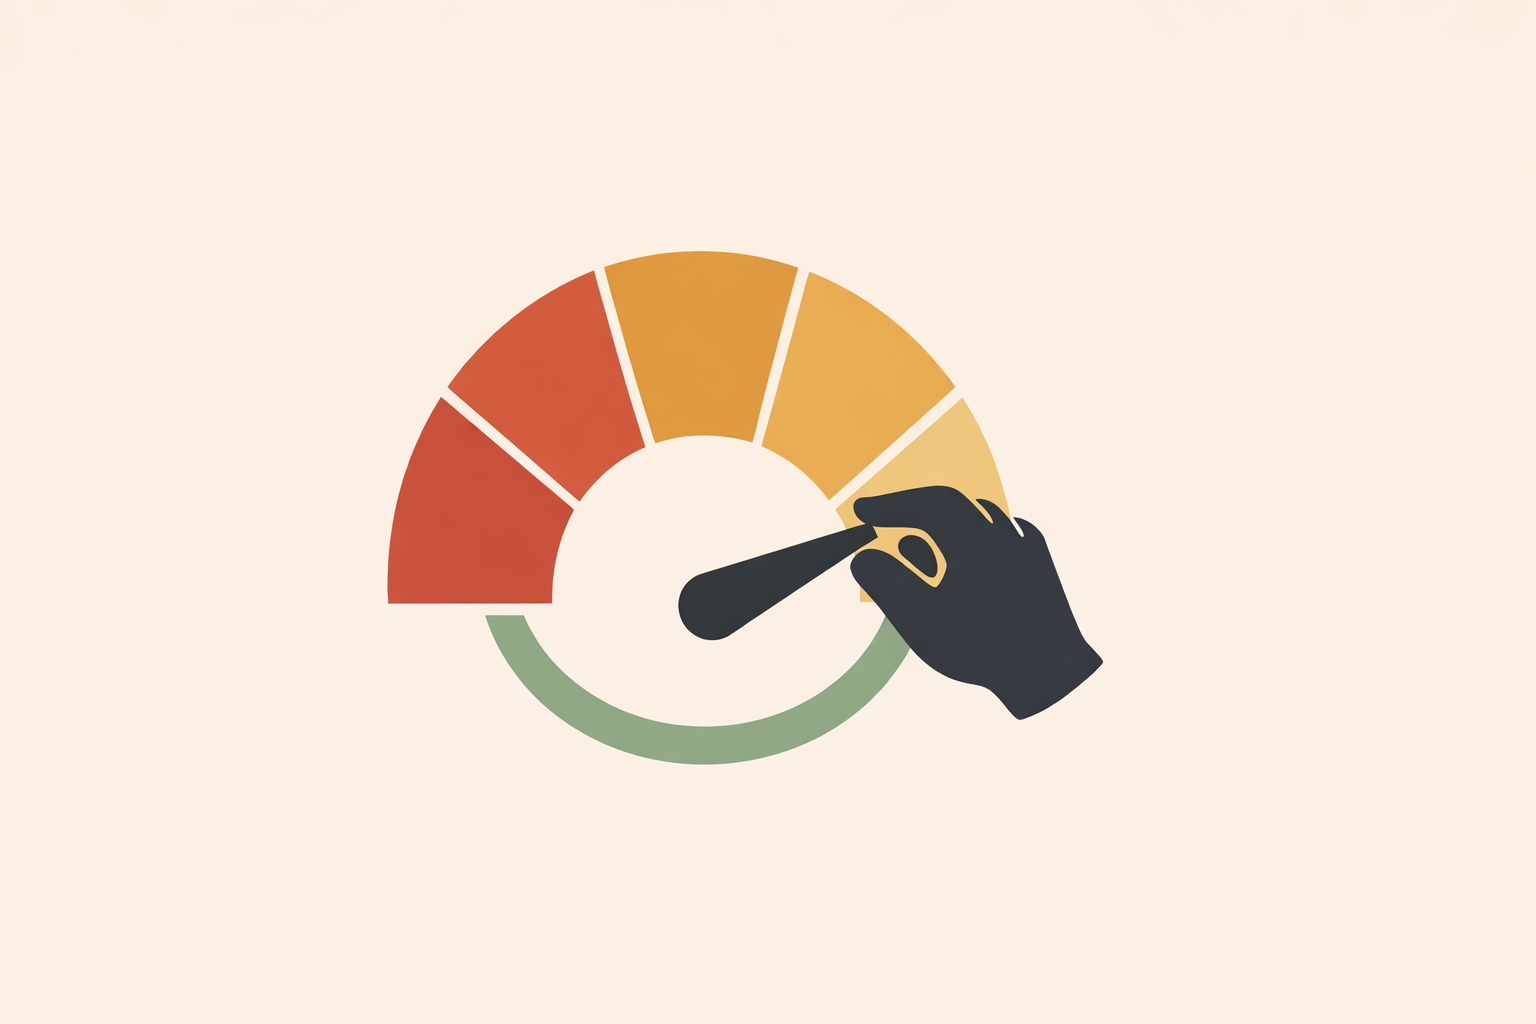
1. The Inner Pain Dial: A Simple Symbol Clients Can Adjust
The inner dial is often the easiest place to begin. It turns intensity into something adjustable, which helps clients feel they have a practical role in shaping their experience.
Many hypnosis educators rely on mechanical images like dials and scales because they’re quick to picture and even quicker to change. In the moment, the client only needs to remember one thing: find the dial, then make the next small adjustment.
A brief version might sound like this:
- “Notice your number right now.”
- “See a dial in front of you marked from 0 to 10.”
- “Place your hand on it in your mind and gently turn it down one or two clicks.”
- “Pause and notice what feels even slightly softer, looser, cooler, or quieter.”
- “If it feels right, turn it down one more click.”
Pair it with quick before-and-after ratings. The point is not to force progress; it’s to help the client register change, even when it’s subtle.
For home practice, keep the cue minimal: “When you notice a flare, picture the dial and lower it one click.” Repeating the same image the same way helps it become familiar and dependable.
Example note: “Dial from 7 to 5 in under two minutes; jaw softened; client reported more ease. Assigned brief dial practice twice daily.”
2. Healing Light and Color: Softening Both Sensation and Tension
Once a client understands “adjustability,” light and color can add emotional texture. This is especially helpful when discomfort comes with alarm, bracing, or heaviness.
Across traditions, soothing light has long been used as a symbol of support, warmth, and renewal. In modern guided imagery, reduce pain is one reported benefit, and many people also experience less stress and anxiety. That wider settling of the system is often what makes color-based work feel so effective in practice.
You might guide it like this:
- “If this area had a color today, what color would it be?”
- “Now imagine a friendly light arriving in the way that feels right for you.”
- “Let that light begin to soften the color at the edges.”
- “Notice whether the color wants to cool, brighten, fade, or become clearer.”
- “Stay with the first place that feels easier.”
Repeated guided imagery practice has been associated with reduced pain and better day-to-day function in long-standing musculoskeletal discomfort. In sessions, many practitioners also notice that color imagery reduces the sense of threat around the experience, making it easier to stop bracing against it.
To make it stick, attach it to an existing ritual: showering, resting a hand over the area, or taking three slower breaths before sleep.
Client language often sounds like this: “It was angry red before. Now it turns to cool blue much faster.”
3. Shape-Shifting Objects: Turning Pain into Something the Mind Can Transform
Many clients already describe discomfort as an object: a knot, a stone, a spike, a clamp. That’s a ready-made entry point. Once the sensation has form, the mind can soften it, shrink it, lighten it, or move it farther away.
This is where client-generated imagery shines. When the image comes from the client’s own inner language, it often has more “grip” than a generic script. Your job is to meet what’s already there and support the next change.
A useful sequence is:
- “What shape is it today?”
- “What texture, color, or weight does it have?”
- “Now let one part of it change first.”
- “See if it can soften, round off, shrink, melt, or loosen.”
- “When it is smaller, place it somewhere farther away.”
Research on mental imagery in pain points to imagery rescripting as a promising approach for shifting both intensity and distress. That matches what practitioners see every day: when the image changes, the client’s relationship to the sensation often changes along with it.
This symbol is especially useful for clients who say “it feels stuck” or “it feels sharp.” Those phrases already contain the map; you’re helping them find the gentler version that still feels true.
Example note: “Shoulder described as a jagged rock; rock became a smooth pebble on a shelf; client reported less pressure and easier breathing.”
4. Temperature and Numbness: Cooling, Warming, and Quieting a Region
Some kinds of discomfort respond well to temperature-based imagery. Heat often invites coolness. Stiffness often invites warmth. Sharp, contained discomfort can settle when the client imagines a safe quieting in a clearly bounded area.
Temperature imagery remains a familiar, practical tool in hypnosis and guided imagery work, and many practitioners reach for it because it’s sensory, direct, and easy to test in real time. It also aligns with long-held traditional strategies: people across cultures have used cooling, warming, and focused inner attention to steady the body’s response to discomfort.
You can guide it in a contained way:
- “Notice the area that feels hottest, sharpest, or most activated.”
- “Imagine a cool mist, shaded breeze, or soothing gel arriving there.”
- “Let the temperature shift by just a small amount.”
- “As it cools or warms, allow the area to grow quieter and less insistent.”
- “Keep the change only within the boundaries that feel right.”
For some clients, warmth works better than coolness. Others find a “sleepy” or muted sensation easier to imagine than full numbness. Testing guides the choice.
Example note: “Burning shoulder shifted to cool mist; boundary kept at collarbone; client said the area felt quieter and less gripping.”
5. Flowing Out with the Breath: Making Relief More Portable
If the goal is portability, breath-linked imagery is hard to beat. Breath is always available, and a simple release image can be used in a bus queue, parked car, work break, or bedtime routine.
A straightforward approach is to link exhalation with letting go and inhalation with gathering steadiness. In one trial, guided visualization was associated with reduced pain in a stressful, procedure-related context. That supports the broader usefulness of simple imagery under pressure.
Try a 60-second version:
- “Breathe in and notice one small place of ease.”
- “Breathe out and picture tension flowing away as mist, color, sand, smoke, or water.”
- “With each exhale, let it move a little farther away.”
- “With each inhale, invite in one word or image that feels supportive.”
- “After three to five breaths, notice what has changed.”
Short daily repetition builds familiarity, so the image is easier to access when discomfort rises.
This symbol also adapts well across cultural contexts. Some clients prefer a silent sigh, some a prayerful breath, some a sea image, some a soft hum. The structure stays steady while the meaning becomes personal.
Example note: “Used three exhalations with grey mist image at traffic light; shoulders dropped; rating moved from 5 to 4.”
How to Help Visualization ‘Stick’ Between Sessions
The most effective image is usually the one the client remembers, enjoys, and can repeat without effort.
In practice, a few principles matter most:
- Choose one symbol at a time.
- Keep the image simple and easy to describe.
- Let the client shape the image in their own language.
- Test it immediately with a quick before-and-after rating.
- Assign short home practice rather than long homework.
- Attach the practice to an existing routine.
Repeated practice with simple imagery has been associated with improved function as well as lower pain. Just as importantly, clients often build confidence when they experience small shifts they can create for themselves.
A one-point change on a self-rating scale, achieved through a skill the client can repeat, often supports longer-term engagement more than a dramatic session the client can’t recreate later.
Closing Perspective
The five symbols here—dial, light and color, shape-shifting objects, temperature and numbness, and breath-release—work well because they’re memorable, flexible, and grounded in lived experience. They give clients something concrete to do, even in the middle of a flare.
Use them with care, cultural respect, and true collaboration. Start with the client’s own metaphors, keep what works, and let go of what doesn’t. Over time, these small symbolic practices often become trusted supports that fit into ordinary life, including broader guided imagery and child and adolescent development work when age-appropriate.
Keep expectations honest and practical. Aim for usable shifts, not perfection, and encourage clients to track what reliably helps. If discomfort changes suddenly, feels alarming, or comes with new symptoms, it’s wise to pause the experiments and seek appropriate professional support.
Master Pain Hypnosis Skills
Deepen these visualization tools in Treating Physical Pain with Hypnosis for structured, repeatable protocols in practice.
Explore Treating Physical Pain →