Most designers building a portfolio under real deadlines fall into the same trap: weeks of mood boards, form experiments, and material studies that never become a finished project. Yet the people you want to work with usually respond to coherence and completion—clear evidence that you can translate nature-rooted intent into buildable form. The real challenge is moving quickly without losing lineage, place, or rigor.
The way through is focus: one living story carried by one finishable flagship project. When decisions stay tied to site, people, and craft, your process becomes legible through light, air, material choices, and seasonal adaptability. That’s how a portfolio entry starts real conversations—because it feels grounded, not performative.
Key Takeaway: Build your bio-architecture portfolio fastest by committing to one finishable flagship project anchored in a clear nature-and-lineage story. Tie every choice to site, people, craft, and simple light/air goals, then document decisions and iterations as a concise case study that proves coherence and follow-through.
Step 1: Ground your fast bio-architecture portfolio in nature and lineage
Start by choosing a living thread that runs through your work—one nature-rooted story and lineage you’ll honor from first sketch to final image. With a coherent center, decisions look intentional, even when the timeline is tight.
For many of us, that throughline is the human need to belong to the more-than-human world. Stephen Kellert’s work on biophilic design echoes what traditional building cultures have always known: our surroundings shape our inner state in felt ways. As he put it, “We will never be truly healthy, satisfied, or fulfilled if we live apart from the environment from which we evolved.”
Lineage doesn’t mean copying the past; it means learning from it. Frank Lloyd Wright described organic architecture as grounded in the “nature of materials,” aiming for simplicity and a “finer sense of comfort.” Think of it like apprenticeship: you inherit principles, then adapt them to your place and your time.
Begin with a single sentence you can return to under pressure. One honest paragraph is plenty—as long as it’s specific enough to guide your hand.
Clarify the nature-based story your portfolio will tell
- Pick one biome and one craft lineage: Example: “Temperate woodland + timber joinery.”
- Name three felt qualities: For instance: “dappled light, tactility, seasonal change.”
- Honor local knowledge: If you’re drawing from Indigenous or regional building traditions, credit them plainly and avoid extraction—ask who holds this knowledge, and how your work can be in respectful relationship.
Keep that short statement visible. Everything that follows should make it more true.
Step 2: Choose one flagship project you can actually finish fast
Momentum beats magnitude. Commit to one project you can finish in weeks, not years, and let it carry your story with clarity.
Across coaching and development work, projects tend to move when people prioritize one or two high-impact goals instead of juggling too many. Bring that same discipline into your portfolio: one outcome, tightly aligned with the thread you named in Step 1.
The SMART goals frame and the GROW model are practical rails for finishing. They don’t limit creativity—they protect it from drift. As Juhani Pallasmaa observed, “A profound design process eventually makes the patron, the architect, and every occasional visitor … a slightly better human being.” A finishable scope gives that process a chance to mature.
Pick a flagship project you can complete in weeks
- Scope small, finish strong: One micro-cabin, a bathhouse, a garden pavilion, or a community kiosk often yields richer detail than a sprawling eco-village concept.
- Write the SMART goal: For example: “Design a 15–20 m² forest-edge retreat with passive cooling strategies and two interior daylight studies, ready to publish in six weeks.”
- Use GROW to reality-check: Goal, Reality (time/skills), Options (three viable paths), Will (the one you choose and why).
- Time-box publicly: Announce your finish date to a friend or cohort to create gentle accountability.
Narrowing the frame creates room for depth—the part that makes your work believable.
Step 3: Shape a clear brief around site, people, and ecology
A good brief is a promise to care—for people, for place, and for the cultures that have shaped that place. Keep it short, but let it touch the ground.
“Architecture is a social act,” Spiro Kostof wrote. That’s a useful compass: you’re not drawing objects, you’re shaping lived experience. Biophilic design makes this tangible through strategies that support felt connection—natural light, vegetation, views, and materials with a story. Kellert’s place-based lens helps you choose these moves in a way that fits local ecology and culture, rather than borrowing them as style.
Also, a brief is relational. Work on practice-building often points to authentic connection and careful matching to real needs—an ethos that fits beautifully when you’re designing for a real family, a community garden, or a local craft school.
Write a brief that honors people, place, and tradition
- People: Who will use this? What rhythms, abilities, and cultural practices matter here? What does “comfort” mean in this context?
- Place: Choose a specific microclimate and site aspect. Note solar path, prevailing winds, watershed, soil, and nearby species you’re designing with, not against.
- Tradition: Identify regional construction knowledge—earth, timber, stone, bamboo—and how you’ll acknowledge its holders and adapt it respectfully.
- Performance (light/air): Commit to two measurable qualities: for example, daylight factor targets or cross-ventilation path lengths; keep the focus on human experience rather than metrics for their own sake.
If someone reads only your brief, they should still feel what the project stands for.
Step 4: Move from sketch to 2D/3D concept quickly
Don’t stall in idea-land. Move from hand sketches to a basic 2D/3D set that communicates form, space, and nature-relationships fast.
If you’re new to modeling, choose one tool and learn the minimum workflow that tells the story well. Naturalistico’s Rhino 3D and color drawing guidance supports a publishable 2D/3D workflow through a simple sequence: rough sketch, clean plan, basic massing, quick light study, publish. And keep Brancusi’s reminder close: architecture is “inhabited sculpture.” Your drawings should let someone sense the inside, not just admire the outside.
To keep ideas from becoming endless mood boards, it helps to use frameworks that translate natural patterns into buildable geometry. The Almaoasis pathway emphasizes biomimetic forms, modular thinking, and pragmatic 3D workflows so the project keeps moving.
Start simple, then translate into 2D and 3D
- Sketch the big three: Site diagram (sun/wind/water), a parti diagram (one shape that says it all), and a circulation loop.
- Block the massing: In 3D, create two or three bold volumes. Carve openings where light and breeze want to flow.
- Commit to two drawings: One plan at 1:100 or 1:50 and one section through the heart. That’s your spine.
- Test light fast: Do a quick solar study for solstice and equinox. Capture two compelling views that show the space breathing.
Essentially, you’re choosing clarity over perfection—because clarity is what gets finished.
Step 5: Weave in biophilic and biomimetic layers that show depth
Once the structure is clear, enrich it with living layers—light, air, materials, and seasonality—so your portfolio reads as thoughtful, not merely pretty.
Kellert’s patterns highlight visual connections with nature and material choices that echo local ecosystems. Practical guidance also emphasizes daylight, water, plant life, and locally resonant materials. Glenn Murcutt offers a perfect image for what you’re aiming for: “Layering and changeability … Occupying one of these buildings is like sailing a yacht; you modify its form and skin according to seasonal conditions.”
Here’s why that matters: when each layer is tied to climate and craft, your concept gains the quiet authority of lived knowledge. And as expectations evolve, many practitioners also foreground responsible materials and long-term resilience—qualities you can show through details and notes, not slogans.
Show your thinking through living patterns and materials
- Light choreography: Design one “glow” moment (soft north light) and one “sparkle” moment (late-afternoon sun across texture). Name them in your captions.
- Air pathways: Diagram intake and exhaust. Use stack effect, operable vents, and vegetation as microclimate allies.
- Material honesty: Choose two primary materials that weather well. Show a detail where patina improves experience over time.
- Biomimicry move: Borrow one strategy from a local species—self-shading like a fern frond, water-shedding like pine needles—and translate it into form or envelope.
- Seasonal adaptability: Add deciduous shading, retractable screens, or moveable shutters to make Murcutt’s “yacht” metaphor real.
Write captions like field notes: specific, grounded, and easy to trust.
Step 6: Document your process like a living case study
People want to see how you think, not only the final render. Turn the project into a concise case study that shows intention, constraints, choices, and follow-through.
The GROW model gives you a clean structure: Goal (what you aimed to shift), Reality (constraints and truths), Options (what you explored), Will (what you chose and why). Pair it with a few focused milestones—an approach aligned with work on focused goals—and you’ll have a process story that reads as steady and competent.
Trust is also built through authentic connection and reciprocity. Jim Knight’s principles—equality, choice, voice, reflection, dialogue, praxis, reciprocity—translate well to design documentation: show who you listened to, what you tested, and where you invited conversation.
Turn your project into a clear, coach-like case study
- Cover card: A single image that communicates place, purpose, and feeling in one glance.
- GROW spread: One page each for Goal, Reality, Options (three thumbnails), Will (the chosen path and why).
- Process timeline: Five to seven milestones with dates, quick reflections, and course-corrections.
- User voices: Two quotes from real or representative users (or your own ethnographic notes) to show attunement.
- Decisions that matter: Callouts for three pivotal moves—what you chose, what you let go of, and what you learned.
Close with a brief “If I had two more weeks” note. It signals maturity and keeps the project feeling alive.
Step 7: Publish, share, and refine your portfolio with community feedback
Once your case study is clear, bring it into conversation. Sharing isn’t a final exam—it’s how your work meets the world and becomes sharper.
When you invite feedback, use coach-like prompts that open useful dialogue: “What’s working? What’s not? What do you need?” Ask them in peer groups, local craft circles, and aligned online communities. Placing your work where your collaborators already gather also supports momentum, in line with environmental factors that help goals land in practice.
Glenn Murcutt’s reminder helps keep the tone healthy: “We are discoverers.” Treat each share as discovery—information you can use. Within the Naturalistico community, learners often mention that structure supports faster learning, and that practical exercises build real confidence. Let your portfolio offer that same clarity to anyone reviewing it.
Share your work, invite dialogue, and iterate
- Publish in three places: Your site or Notion page, one aligned community forum, and one social platform with a thoughtful caption.
- Ask three questions: “Where does this design feel most alive? Where does it fight the place? What one detail should I deepen?”
- Offer reciprocity: Trade reviews with peers; generous, concrete notes raise the quality of the whole circle.
- Iterate visibly: Add a “Version 1.1” note and date when you refine drawings, material choices, or captions.
- Collect signals: Track saves, replies, and invitations—not as vanity metrics, but as guides for what to do next.
Finish and share your first piece before starting the next. Depth first, then breadth.
Conclusion: Launch your bio-architecture portfolio fast with one living story
Speed with soul comes from focus. One well-chosen, well-documented project—rooted in place, lineage, and living patterns—often carries farther than a stack of half-finished concepts. With a grounded thread, a tight brief, a simple drawing set, and a case study that shows your thinking, your portfolio starts to feel like a real practice in motion.
A final note of care: move fast, but keep your references clean—credit traditions clearly, avoid borrowing from living cultures without permission or context, and let “nature-based” mean relationship, not aesthetic. Begin with one living story, finish it with respect, and let the next one grow from what you’ve already completed.
Build 2D/3D bio-architecture skills
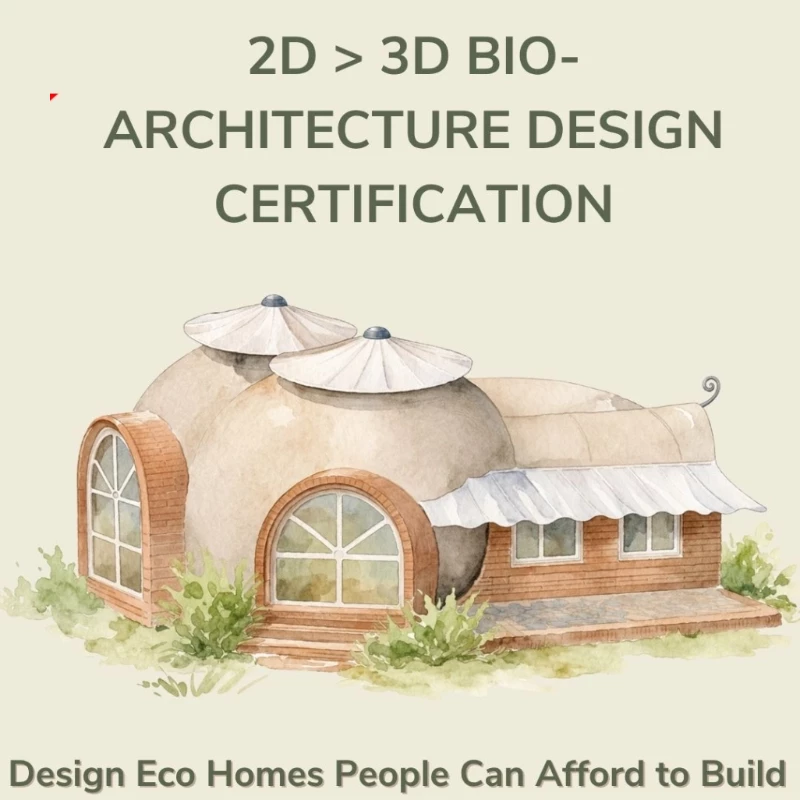
Apply this workflow with the 2D-3D Bio-architecture Design Certification for a finished, portfolio-ready case study.
Explore 2D-3D Certification →