Many facilitators try to make sacred geometry engaging by adding more: more symbolism, more detail, more talk. In live groups, that often creates the opposite of what people need. Skill gaps become more visible, attention scatters, and meaning gets pushed faster than trust can form.
A steadier approach stays simple: teach a clear, repeatable drawing sequence. Step-by-step construction gives people something concrete to follow, helps the group move at a shared pace, and leaves room for personal meaning without imposing it. In practice, that’s often what makes sacred geometry feel both accessible and quietly powerful.
Key Takeaway: Step-by-step sacred geometry works well in groups because clear sequences support attention, calm the pace, and make beautiful forms achievable for beginners. With minimal tools, consent-forward language, and a simple 60–75 minute structure, you can guide participants from a first circle into the vesica piscis, Seed of Life, and a basic mandala while keeping technique clear and symbolism optional.
Set up the space, tools, and agreements first
Most facilitators over-prepare content and under-prepare the container. With sacred geometry, the container does a lot of the work.
Keep tools minimal:
- Compass
- Straightedge or ruler
- Pencil
- Eraser
- Medium-weight paper
Set the room for quiet focus: enough elbow room, good lighting, a visible timer, and a clear surface for your demonstration drawing. Online, a top-down camera and a simple materials list usually cover it.
Before anyone draws, establish a few gentle agreements:
- “You’re free to pause at any step and rejoin when ready.”
- “You can relate to this simply as a drawing practice, or notice personal meaning if it arises.”
- “If frustration appears, soften your grip, lighten the line, and take your time.”
This kind of pacing matters more than extra explanation. Clear structure and consent help a private sketch become a group experience that feels guided rather than pushed.
If you reference cultural lineages such as mandalas, yantras, or Islamic geometric art, name them with care. Acknowledge origins, avoid blending distinct traditions into one, and stay close to the practice you’re teaching today.
For a practical eight-person setup, plan for one reliable compass per person, shared sharpeners, square paper, and a brief scrap-paper warm-up. That warm-up can be as simple as anchoring the compass point three times and drawing a few test arcs.
Teach the first circle as both technique and centering
Start with one point, one radius, and one clean circle. That first construction teaches tool handling, steadiness, and the tone of the session.
Use a short sequence:
- Mark a clear center point.
- Choose a radius that can stay consistent for several steps.
- Anchor the compass, exhale, and draw one smooth circle.
Don’t assume people feel comfortable with a compass. A single minute on grip, posture, and a two-hand technique prevents a surprising amount of frustration and helps the whole group settle.
Call out common snags early:
- Radius drift because the hinge loosens
- Dull pencil leads that blur intersections
- Pressing too hard and tearing the page
Then give easy corrections: lock the hinge, check the width before each arc, and keep lines light.
After the first circle, add two concentric rings and a simple crosshair if you want more orientation. Research connected to visual organization fits the practical value of circular scaffolds in mandala work: the eye settles more easily when the structure is clear.
A useful timing cue is: “Take 90 seconds to draw your first circle, then rest your pencil and look at the space you’ve made.” Small pauses like this help the session feel held rather than hurried.
Build outward with the vesica piscis and Seed of Life
Once the center is established, the next steps are simple and satisfying.
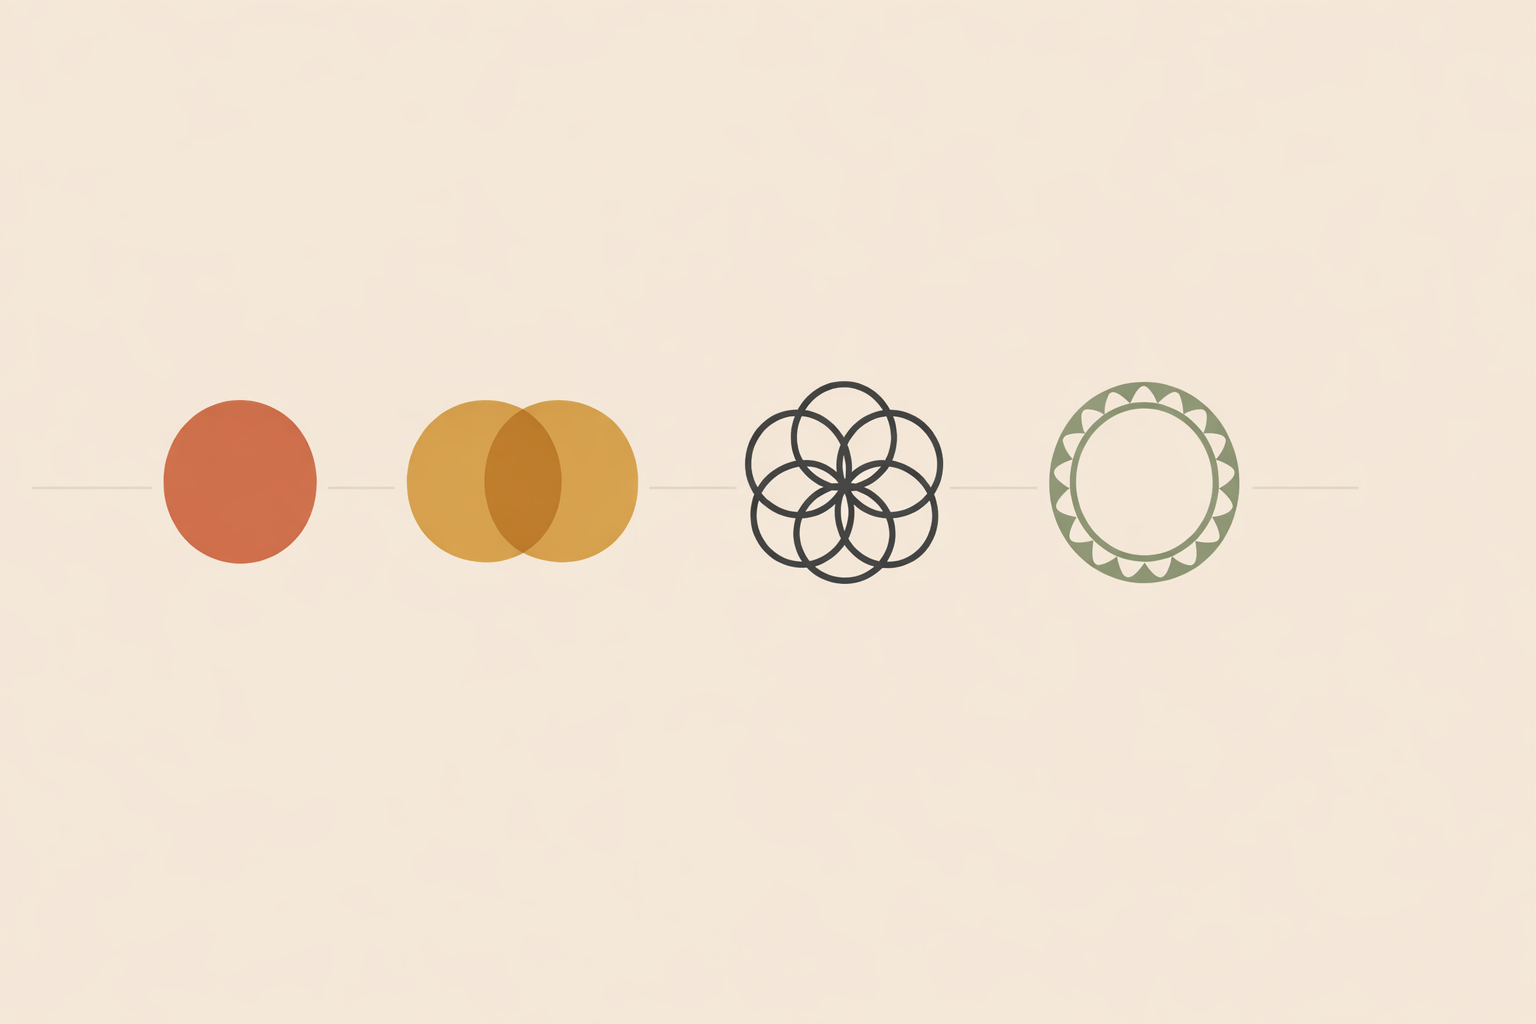
Place the compass point on the edge of your circle and draw a second circle at the same radius. This creates the vesica piscis, a clean overlap that introduces proportion and relationship right away.
Then keep the radius fixed and move around the intersections until six circles surround the first. This forms the Seed of Life, one of the most approachable sacred geometry patterns for beginners.
Keeping the radius fixed and the step count low creates early wins. When people complete a coherent lattice quickly, trust in the process rises.
Pace this section with simple checkpoints:
- “Two minutes: complete your second circle and notice the overlap.”
- “Four minutes: add the remaining circles one at a time.”
- “One minute: pause and trace the flower-like shapes with your eyes.”
Accuracy helps here, both visually and emotionally. Work in empirical aesthetics suggests symmetry influences what people find pleasing, which helps explain why small improvements in alignment can make the drawing feel more satisfying to its maker.
If someone’s lattice drifts, keep guidance practical and kind: return to the first circle, test the compass width, and continue from the clearest intersections. Precision supports the process, and it doesn’t need to become pressure.
Turn the lattice into a simple mandala
Once the Seed of Life is complete, resist rushing into decoration. Strengthen the scaffold first.
Lightly connect the six outer circle centers to form a hexagon. Add a few concentric rings and basic radial lines. That’s enough framework to create a mandala without overwhelming beginners.
From there, invite repetition over complexity:
- Teardrop petals in each section
- Small circles along one ring
- Alternating thick and thin lines
- One motif repeated around the center
This is often where the group finds the rhythm. The scaffold holds the drawing together, so personal choices can stay simple and still look strong.
It helps to separate the process into three phases:
- Light construction
- Deliberate inking or emphasis
- Slow erasing and reveal
The reveal frequently changes the feel of the room. After spending time inside construction lines, clearing back to the essential pattern can feel deeply satisfying.
If perfectionism shows up, normalize it without feeding it. Encourage clarity over flawlessness; a slightly uneven petal rarely weakens the pattern, and often makes the work feel more human.
A simple 60–75 minute sacred geometry session plan
Here is a dependable structure you can adapt to your own style.
- 0:00–0:07 Arrival, materials check, and brief centering
- 0:07–0:12 Compass demo, grip, radius setting, practice arcs
- 0:12–0:25 First circle, concentric rings, and vesica piscis
- 0:25–0:40 Seed of Life with two or three checkpoints
- 0:40–0:55 Hexagon, rings, radial lines, and simple motif repetition
- 0:55–1:05 Emphasis, erasing, and reveal
- 1:05–1:15 Reflection and close
Keep verbal guidance spare. Short timed segments reduce decision fatigue and help the group stay together without feeling managed.
The close matters as much as the opening. A quiet minute to view the finished drawing helps participants resettle after concentrated work, and research on art viewing aligns with short periods of stress reduction after calm visual engagement.
A simple final script works well: “Place one hand on the page. Take one breath in and one out. Notice where your eye rests. When you’re ready, let the session come to a close.”
Use two-language communication to invite meaning without imposing it
One of the cleanest ways to facilitate sacred geometry is to name which language you’re using as you go.
The first language is measurable:
- “These circles share one radius.”
- “We divided the form into equal sections.”
- “This line connects the outer centers.”
The second language is symbolic or reflective:
- “Some people experience the center as grounding.”
- “You may notice this shape evokes connection or balance.”
- “If you want to, you can name what the pattern suggests to you today.”
Keeping these modes distinct protects autonomy. Participants can engage visually, personally, culturally, or not at all, without pressure to adopt a story that isn’t theirs.
Open-ended reflection works best here. Rather than telling someone what their drawing means, stay descriptive, optional, and curious.
- Observation: “I notice a strong ring here and lighter marks here.”
- Meaning, if wanted: “What do you make of that choice?”
- Integration: “What are you taking from this process?”
This approach also lets you respect traditional knowledge without overclaiming. The stories around sacred forms deserve care and dignity; offer them as traditions and perspectives, and let participants decide what they carry forward.
Keep your claims clean and your facilitation grounded
Sacred geometry doesn’t need exaggeration to be compelling. The practice is strong on its own, and tradition has kept these forms alive for good reason.
Staying discerning helps, especially around popular talking points. For example, discussions of sacred design often overstate the role of the golden ratio in historical masterpieces, and scholarly critique points to limited evidence for many of the strongest claims.
That same discernment makes facilitation more trustworthy. You can honor symbolism and lived experience while still being clear about what is established, what is interpretive, and what works because generations of practitioners have found it steadying.
For beginners, simpler patterns are the wiser starting point. The Seed of Life or a lightly scaffolded mandala supports confidence more readily than dense lattices. Keep the radius fixed, the steps few, and the pacing gentle.
With time, step-by-step drawing often becomes more than a pleasant session experience. Repeated mandala-based practice has been linked with self-regulation support, and facilitators commonly see the everyday carryover as participants learn how structure and repetition steady attention.
Bringing sacred geometry into your own work
A well-held sacred geometry session doesn’t need to be elaborate. Minimal tools, clear pacing, and respectful language are enough.
Start with the first circle, build toward the vesica piscis and Seed of Life, then let the lattice become a simple mandala. Keep measurable technique distinct from optional symbolism, and let the pattern do more of the work than your explanation does.
Approached this way, sacred geometry becomes a practical support for focus, reflection, and creative confidence within spirituality and ritual work. The forms are ancient, and the facilitation can remain simple, modern, and deeply humane.
Explore Sacred Geometry Certification
Deepen your facilitation and drawing foundations with the Sacred Geometry Certification.
Explore Sacred Geometry →