Most herbal students and wellness practitioners try to build skill between sessions by reading more materia medica or keeping a pretty plant at work. Reading expands knowledge, but it does not train observation. A random desk plant can brighten the room, yet it rarely deepens plant literacy on its own. In shared offices, casual snipping or tasting also raises allergy, cleanliness, and workplace-boundary concerns.
A stronger approach is a small herb garden designed as a living study practice. With a modest set of labeled container herbs matched to your actual light, reliable drainage, and a simple observation rhythm, your desk becomes a steady place to learn from real plant behavior. The goal is not harvest. It is attention, pattern recognition, and respectful handling.
Key Takeaway: A mini office herb garden works best as a structured learning tool rather than décor or a snack source. When you match a few beginner-friendly herbs to your light, use containers with drainage, keep clear shared-space boundaries, and follow a simple weekly observation rhythm, you create a tidy, low-maintenance way to build plant literacy at work.
Why a Mini Herb Garden Belongs on Your Desk
A small herb garden can do more than brighten a workspace. It gives you repeated contact with leaf shape, growth habit, scent, posture, and seasonal change. Plant knowledge grows through contact as much as through reading.
Choose a few familiar herbs, label them clearly, and watch how they respond to your real environment: light, airflow, watering rhythm, and gentle pruning. A brief routine of touching the soil, rotating the pot, and smelling a leaf helps anchor attention and strengthens sensory awareness.
Desk herbs also fit ordinary life. Many do well in containers, move easily, and stay manageable in small spaces. In shared workplaces, keep boundaries explicit and participation optional. A simple sign helps: “Herbs for observation only. Please enjoy looking—no picking or tasting.”
Step 1: Choose the Best Spot and Light
Light shapes everything else, so start there. For many culinary herbs, several hours of direct sun is ideal. In the Northern Hemisphere, a south-facing window usually gives the most consistent brightness, though bright east- or west-facing windows can work too.
Office light is often weaker than it looks. If stems stretch, leaves pale, or the plant leans hard toward the glass, take it as clear feedback that it wants more light.
When natural light is limited, a compact full-spectrum LED can stabilize growth. Many indoor herbs do well with 12–16 hours of supplemental light, especially in winter or in tinted offices.
Before buying plants, do a one-week light check. Take phone photos at 9 a.m., noon, and 3 p.m. from the plant’s perspective, then note where direct sun lands and how long brightness truly lasts. Keep leaves from pressing against cold glass or warm lamps, and rotate pots during the week to encourage even growth.
Step 2: Pick 3–5 Herbs That Fit Your Space
The steadiest start comes from matching herbs to your actual conditions rather than their reputation. Choose three to five plants you can observe closely and maintain with ease.
A practical beginner group often includes basil, thyme, chives, mint, parsley, oregano, or cilantro. Many are considered good indoor herbs because they tolerate containers and typical indoor conditions reasonably well.
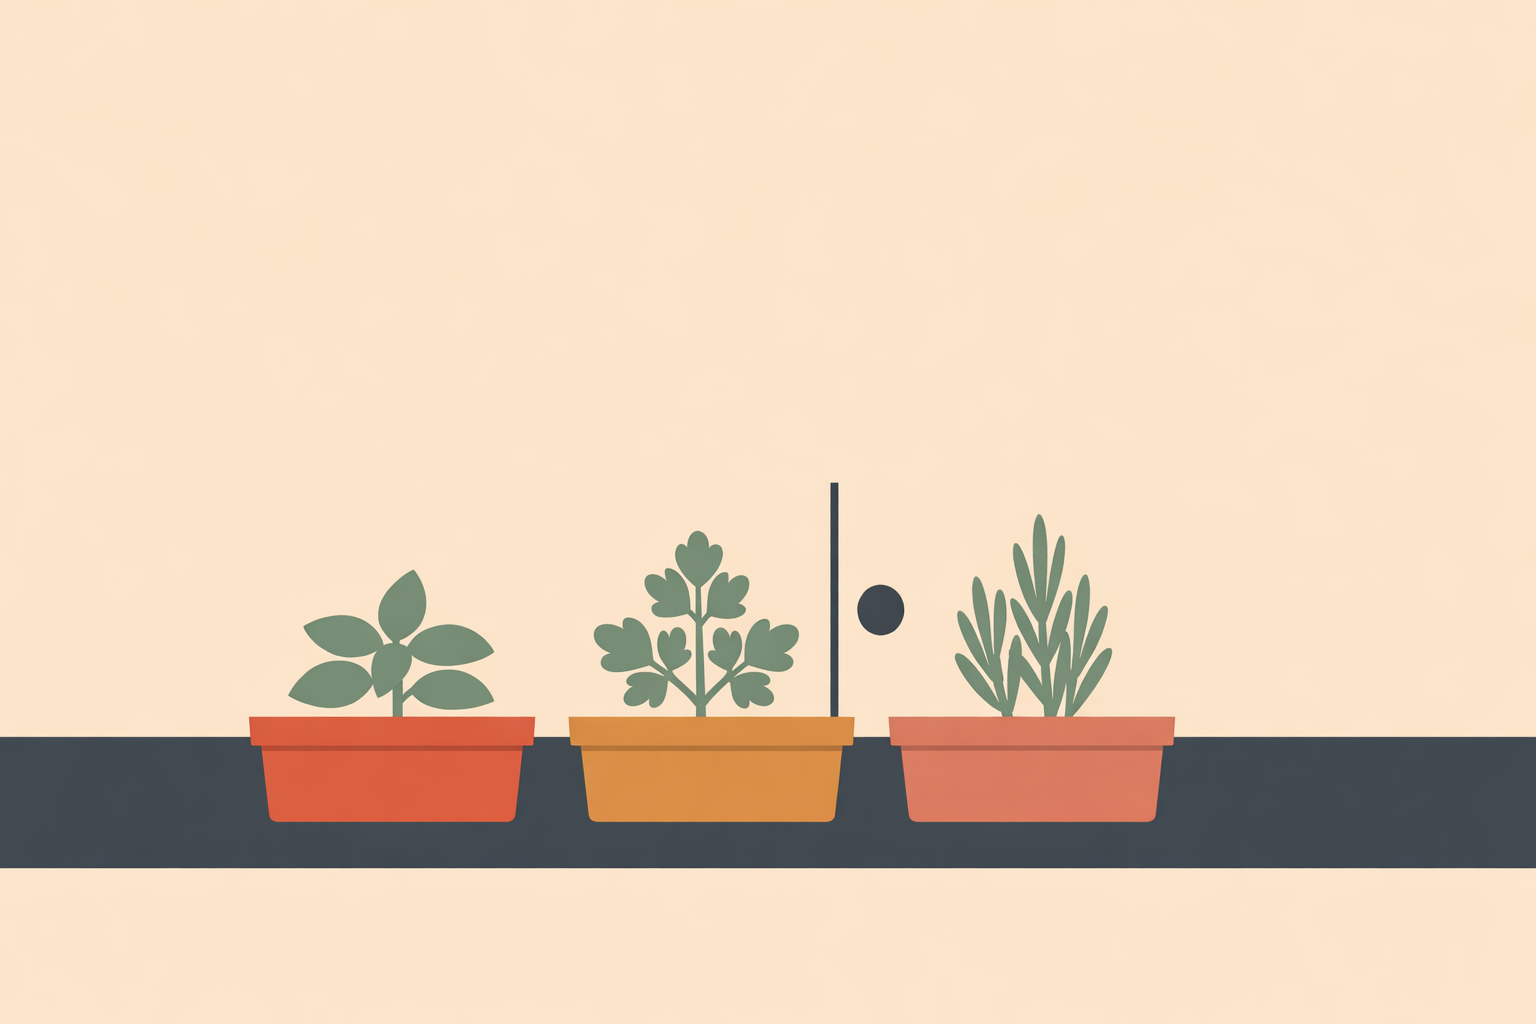
A balanced starter set might look like this:
- Basil for fast growth and obvious feedback
- Thyme for woody structure and pruning practice
- Chives for clumping growth and narrow leaf form
- Mint in its own pot, so it does not crowd other herbs
Think of each plant as a teacher. Basil reveals posture and moisture needs quickly. Thyme teaches pacing and structure. Chives show clumping and budding. Mint demonstrates vigor and aromatic intensity. You are building a tiny curriculum within herbalism and plant medicine.
In shared workplaces, choose plants with extra care. Chamomile can trigger anaphylaxis in rare cases, and it can cross-react for people sensitive to Asteraceae-family plants. Herbs such as comfrey, mugwort, and St. John’s wort come with more layered safety considerations, so they’re better reserved for private study spaces.
Step 3: Set Up Containers, Potting Mix, and Drainage
Prioritize drainage over appearance. Pots without drainage holes keep soil soggy and roots stressed, while thorough watering with drainage supports steadier growth.
Choose containers based on the plant’s likely life on your desk, not just the size it arrived in. Basil may be fine in a small pot for a while, while longer-lived or vigorous herbs usually need more room over time.
Your main container choices are straightforward:
- Terracotta for breathability and weight
- Plastic for lighter handling and slower moisture loss
Terracotta tends to dry faster than plastic, so match the pot to your watering rhythm and office air.
Use a fresh potting mix rather than garden soil. A loose mix with good aeration keeps roots oxygenated while still holding enough moisture. Aim for soil that feels moist and springy, not dense or muddy.
A clean office-friendly setup can stay minimal: a waterproof tray, a few 4- to 6-inch pots, labels, and a narrow-spout watering can. If it’s tidy and easy to wipe down, consistency becomes much easier.
Step 4: Plan a Clean, Simple Setup Week
A little planning prevents desk clutter. Spread setup over a week so each choice stays practical and workplace-friendly.
- Day 1–2: Photograph the light at different times and choose the best location.
- Day 3: Select 3–5 herbs that match those conditions.
- Day 4: Gather containers with drainage, potting mix, labels, and a tray.
- Day 5: Check workplace policies around soil, water, allergens, and shared surfaces.
- Day 6: Protect the area with a waterproof tray and towel, and prepare labels.
- Day 7: Plant, water, label, and begin your weekly care rhythm.
Container gardening stays popular with beginners because it’s tidy, versatile, and manageable in small spaces. In a workplace, that practicality matters. Keep foliage from brushing walls, avoid blocking walkways, and make sure every pot feels stable.
Labeling is part of the practice. Add the common name, botanical name, planting date, and source if you know it. This supports accurate identification early and reduces confusion between lookalikes.
Step 5: Follow a Light-Touch First-Month Care Rhythm
The first month rewards consistency. Let the mix dry somewhat between waterings, then water thoroughly and let excess drain. Most herbs respond well to a steady rhythm instead of constant checking and frequent adjustments.
Some conditions dry containers faster, especially terracotta and dry indoor air. In many workspaces, low humidity becomes a concern during heating season.
A simple weekly rhythm works well:
- Monday: Check light, moisture, and posture.
- Wednesday: Rotate pots and look under leaves.
- Friday: Record one observation about scent, color, or new growth.
- Monthly: Reassess pot size, airflow, and whether light is still adequate.
If pests show up early, keep the response practical: isolate the plant if possible, remove affected leaves, refresh the top layer of soil if useful, and improve airflow. In shared spaces, physical measures are usually the best starting point.
A short log becomes surprisingly valuable. Notes like “basil leaning west by Thursday” or “thyme scent stronger after brighter days” train your eye and build reliable pattern recognition.
Step 6: Turn the Garden into Plant-Literacy Practice
Once the herbs settle in, let observation become the main event. Spend one minute noticing leaf arrangement, texture, color, scent, and stem structure. A quick sketch or a few repeated notes sharpens recognition quickly.
Useful questions include:
- Are the leaves opposite or alternate?
- Are they smooth, fuzzy, narrow, or broad?
- What happens to the scent when a leaf is gently rubbed?
- How does the plant hold itself in stronger or weaker light?
As your eye develops, you can begin linking sensory cues to broad constituent families. Phenolic compounds often contribute to color and flavor. Yellow-orange pigments are often associated with carotenoids. Terpenoid-rich plants commonly carry aromatic oils and resins. Polysaccharides often influence texture, and alkaloids can be strongly active even in small amounts.
These are learning handles, not shortcuts. Constituents vary with species, plant part, season, soil, and handling, so observation stays central.
This is also a natural place for traditional frameworks and the broader study of herbalism. Many lineages describe herbs through warming, cooling, drying, moistening, stimulating, or settling qualities, and you can often see those themes echoed in everyday kitchen herbs. Held with respect and humility, these frameworks deepen relationship and discernment.
Keep identification first. Two plants sold under the same common name can be different species. For an office garden, the most respectful approach is to treat it as a study space rather than a source for casual use.
Conclusion: Let the Garden Teach Slowly
A desk herb garden can become a small, steady classroom. Over time, you learn what healthy growth looks like, how each plant asks for light, how water behaves in different pots, and how scent, color, and structure shift through the weeks.
Keep the scope clear, especially in shared spaces. “Grown at work” does not automatically mean safe to ingest, and even skin contact can be an issue for some sensitive people. Office-grown plants can also collect dust, cleaning residues, and shared-air contaminants, which makes them better suited to observation than personal use.
That modesty is the strength of the practice. A few labeled herbs, a tray, a notebook, and a minute of real attention can teach more than a decorative plant you never truly meet. Keep showing up, keep observing, and let plant literacy build in the ordinary rhythm of the workday.
Deepen Skills with Herbalism
Build desk-garden observation into clinical understanding with the Herbalism Certification Course.
Explore Herbalism Certification →