Most bio-architecture teams hit the same constraint in predesign: the plan reads clean, but the qualities that matter—comfort, airflow, shade, tactile calm—remain guesses. Clients may nod at elevations, yet still struggle to picture head height, sightlines, or how thick walls will meet light and breeze. Crews often spot buildability issues late, after details are “set,” and value-driven decisions drift because the experience isn’t legible early.
The issue isn’t the craft—it’s the medium. 2D drawings can record intention, but they flatten sensory and climatic intelligence into abstraction. A more durable shift is to center the process on information-rich 3D that can hold story, site, materials, and passive performance together, without losing the hand and ethos of natural building.
Used well, 3D becomes a shared coordination language across design, approvals, and site work—not just a rendering step. It helps people see what they’re deciding while there’s still time to choose wisely.
Key Takeaway: Bio-architecture is easier to deliver when you translate 2D intent into information-rich 3D early, so comfort, climate logic, and material thickness become visible and testable. Model in stages—story and site first, then massing, openings, roof, structure, and assemblies—to keep values legible through approvals and construction.
Why 2D Plans Alone Rarely Capture Living Bio-architecture
2D drawings can sketch intention, but they rarely transmit the living, sensory quality we aim to shape. Bio-architecture is about felt experience—light, touch, acoustics, air movement—and those realities don’t live comfortably on a flat sheet.
When the work is reduced to symbols and lineweights, we lose how forms meet bodies, breeze, and sun. Stephen R. Kellert’s reminder lands here: we will never be truly healthy if we live alienated from the environment we evolved within. What this means is simple: the promise of bio-architecture is reconnection—and reconnection is spatial, not diagrammatic.
Zaha Hadid framed architecture as “about shelter… but it’s also about pleasure.” People want to feel good in a space, and that becomes clearer when you can move through light and shadow rather than merely count square meters. Natural building also carries its own logic: the natural building tradition emphasizes minimally processed, local materials and simple forms—qualities that are far easier to understand in volume than in linework.
Vernacular traditions reinforce the same lesson. Their intelligence sits in thick walls, shaded thresholds, and breezeways—relationships that read instantly in 3D, as many vernacular buildings demonstrate.
And there’s a straightforward practical reason: it’s generally easier to judge head height, daylight, and sightlines in 3D views than to infer them from hatches and callouts. Moving beyond 2D isn’t indulgence—it’s one of the clearest ways to protect the project’s living essence and bring more people meaningfully into the conversation.
Start with Story and Site Before You Model in 3D
Good 3D begins before software. The strongest models are anchored in story—one that respects land, culture, and the everyday rituals that will unfold in the finished place.
Louis Kahn offered a compass: “A great building must begin with the unmeasurable… and in the end must be unmeasurable.” Start with the unmeasurable—spirit of place, seasonal rhythms, family patterns—and let that guide the measurable. Traditional forms can be a generous starting point; many traditional buildings respond instinctively to local climate and materials. Think of it like inheriting a set of time-tested “moves”: shaded entries, thermal mass near the hearth, sleeping areas positioned for cool night air.
Then read the site like a steward. Note wind paths, sun arcs, water movement, soil character, and existing species. A riverscapes design manual urges teams to first understand landscape processes before intervening. Bio-architecture follows the same ethic: let water, vegetation, and landform guide where you place mass—and where you open it.
Capture it all as a concise, 3D-ready brief: spaces described by experience (quiet alcove, convivial hearth, morning porch), plus the patterns that create them (cross-ventilation paths, thick-to-thin transitions, shaded summer arrival). Set a material direction with simple reasons—earthen plasters for tactile calm, timber for warmth and structure, roof choices that support breathable shelter.
Translate ancestral patterns into a 3D-ready brief
- Story: A paragraph on place, purpose, and daily rituals.
- Climate logic: Sun, wind, and water maps; passive strategies to test later.
- Spatial patterns: Room adjacencies as “ritual flows” rather than boxes.
- Material palette: Intentional, local-first choices with reasons tied to well-being.
- Community lens: Values and cultural references to honor; community values are often a defining success factor.
This kind of clarity also strengthens how the work communicates. A structured brief helps projects read coherently—an approach we reinforce when helping practitioners build portfolios with clear briefs.
Choose a 3D Workflow That Serves Organic, Nature-Based Design
Choose tools that honor curves, thickness, and material truth. The right workflow should make nature-based decisions easier—not push everything toward generic, shiny “perfection.”
There’s a spectrum. Early on, quick visualizers and massing tools can help teams convert 2D information into legible volume so proportions, roofs, and site fit can be discussed sooner. As the project matures, integrated platforms become valuable because they keep geometry and data together in information-rich models.
Many teams do best with balance: keep hand sketching and targeted 2D detailing alive, while modeling key experiential and coordination elements in 3D. Well-run hybrid workflows protect craft while allowing complexity to grow gracefully. They also help clients engage earlier, since clients often understand 3D more intuitively than plans alone.
From quick visualizers to full BIM-style modeling
- Concept stage: Simple massing to test sun, wind, and ritual flows quickly.
- Design development: Tools that support organic surfaces, real wall thickness, and layered assemblies.
- Documentation: Integrated modeling that can generate consistent sections and details when needed.
As Tim Parsey puts it, design asks us to make complicated things simple. The best tool stack reduces friction between you, the land, and the people you’re supporting.
Rebuild Your 2D Bio-architecture Plans as 3D Models, Step by Step
A staged process keeps the model calm and build-focused. Think of it like raising a structure: establish the essentials first, then refine—so the organic character stays intact instead of getting “designed to death.”
Set up your 3D environment from existing 2D drawings
- Clean the 2D: Remove duplicates, unify lineweights, confirm dimensions, and lock north and scale.
- Import with intention: Bring in plan, sections, and key elevations. If helpful, start from tools that produce accurate 3D to preview roof form and site grades.
- Define levels: Set story heights, datum lines, and ground slope. Clear levels, layers, and organization early prevent chaos later.
- Assign classes/layers: Separate structure, envelope, earthworks, furnishings, and landscape for fast visibility control.
This scaffold helps walls extrude correctly, roofs align, and sections read consistently as the model grows.
Model the primary forms before refining organic detail
- Start with mass and path: Extrude perimeter walls to real thickness and block in circulation early. Embrace curves and depth from the start.
- Place openings by experience: Put windows and doors where light, breeze, and views serve daily life. Use 3D to check heights, head clearances, and sightlines.
- Shape the roof as a climate organ: Model slopes, eaves, and venting as one system. Some workflows can generate early rooflines directly from the plan, which is often enough to test shade and rain behavior.
- Introduce structure: Rough-in posts, beams, lintels, and load paths. Bringing key elements into true 3D is often recommended so teams can coordinate earlier.
- Refine geometry: Once the “frame” is legible, sculpt niches, sills, and transitions. Save fine ornament for later passes.
Frank Lloyd Wright captured the aim succinctly: “Organic architecture seeks… a finer sense of comfort, expressed in organic simplicity.” Each modeling pass should bring you closer to that simplicity, not farther away.
Weave Nature, Materials, and Structure into Your 3D Model
A model becomes truly bio-architectural when materials, climate responses, and structure are legible—so the digital space already “breathes” like the finished place.
Swap generic textures for real assemblies that reflect how things are made. Natural building often relies on earth, straw, and timber—not as aesthetic choices, but as ecological and human-centered decisions. The natural building movement values local, minimally processed resources, which can lower embodied carbon and support comfort when detailed with care.
Model with real materials, not just abstract geometry
- Assemblies: Define wall build-ups with thickness and layers, and show where vapor can move so durability choices stay visible.
- Thermal logic: Put mass where it steadies temperature; shade where sun is intense. Passive strategies seen in vernacular buildings are easier to test when your 3D model respects depth, courtyards, and openings.
- Timber stewardship: Model wood structure with moisture management in mind and reflect forest stewardship principles in sourcing notes and sizing assumptions.
- Environmental layers: Add landform, trees, and water. Study seasonal sun and prevailing winds early to guide eaves, courtyards, and window proportions.
Mies van der Rohe’s invitation to bring nature, houses, and humans into a higher unity becomes practical here. The more honestly the model “knows” its materials and climate, the more trustworthy your later decisions feel—especially when values are on the line.
Use 3D Models to Guide Clients, Crews, and Community
Think of the model as a coaching tool. It helps align expectations, reduces avoidable rework, and opens grounded conversations about priorities—comfort, beauty, durability, and impact.
People adopt new ways of building more easily when they can see and discuss them. In lean project environments, practitioners note that coaching is essential for real mindset shifts; a calm walkthrough can show why a deeper eave matters more than a bigger window, or why earthen finishes need the right detailing to shine.
From visualization to shared decision-making
- Expectation setting: Run short walkthroughs at milestones and offer a few options that clearly show trade-offs in daylight, privacy, and cost.
- Ethical choices visible: Tag assemblies with sourcing notes and on-site working conditions; a healthy jobsite starts with clear intent.
- Pre-build demos: Use the model to plan mockups and workshops; hands-on learning sticks, and a clear model reduces confusion.
- Learning library: Record quick clips explaining key details so teams can revisit them on mobile; confidence often grows when guidance is paired with tangible examples.
Juhani Pallasmaa wrote that a profound process can make everyone “a slightly better human being.” A good model supports that kind of process: it welcomes feedback, respects cultural roots, and keeps the land in the conversation.
Avoid Common 2D-to-3D Pitfalls and Stay True to Your Principles
Most missteps happen when the software starts leading instead of the future building. Keep the model light, honest, and clearly buildable.
Over-detailing, over-smoothing, and forgetting the build
- Over-detailing: Don’t model every screw. Start coarse, then refine only what changes real outcomes.
- Over-smoothing: Organic doesn’t mean glossy or blobby. Hand-formed curves have intention—keep true radii and tool logic instead of auto-perfect fillets.
- Forgetting constructability: Let structure, moisture, and maintenance shape beauty. Timber guidance emphasizes durability and safety; keep weathering, replacement, and access visible in the model.
- Ignoring performance: Natural materials shine with good detailing, but interfaces matter. Keep an eye on potential moisture issues where materials meet and change.
Let the future building, not the software, lead
- Plan your transition: A staged move to 3D reduces waste and prevents inconsistent documentation.
- Keep 2D where it helps: Some things are faster and clearer in 2D during the shift; intentional hybrid workflows protect clarity.
- Protect your ethos: Build templates that default to local-first materials, breathable assemblies, repairability, and passive comfort—so values aren’t optional add-ons.
Norman Foster’s reminder fits: design for the present, honor the past, and accept a future that is “essentially unknown.” A well-run 3D workflow keeps your compass steady through that uncertainty.
Conclusion: Carry Bio-architecture from 2D Plans into 3D Life
Rebuilding 2D intentions as living 3D models is more than a technical upgrade—it’s a way to respect land, culture, and the people you’re supporting. You’re not just visualizing form; you’re rehearsing comfort, light, airflow, and ritual so the finished place feels coherent when it’s finally built.
A practical arc is often enough: story and site first, tools that respect organic reality, staged modeling, honest assemblies, and shared decisions. The moral center stays the same—Kellert’s call to be truly healthy by rejoining the wider living world. The model is simply one of the clearest vessels for carrying that intention from concept to site.
If you want one concrete next step: rebuild a past 2D plan as a simple 3D massing, test two passive strategies, and give a five-minute walkthrough to a peer. structured practice on real or simulated work is a reliable way to turn knowledge into confident execution.
Master 2D–3D Bio-architecture
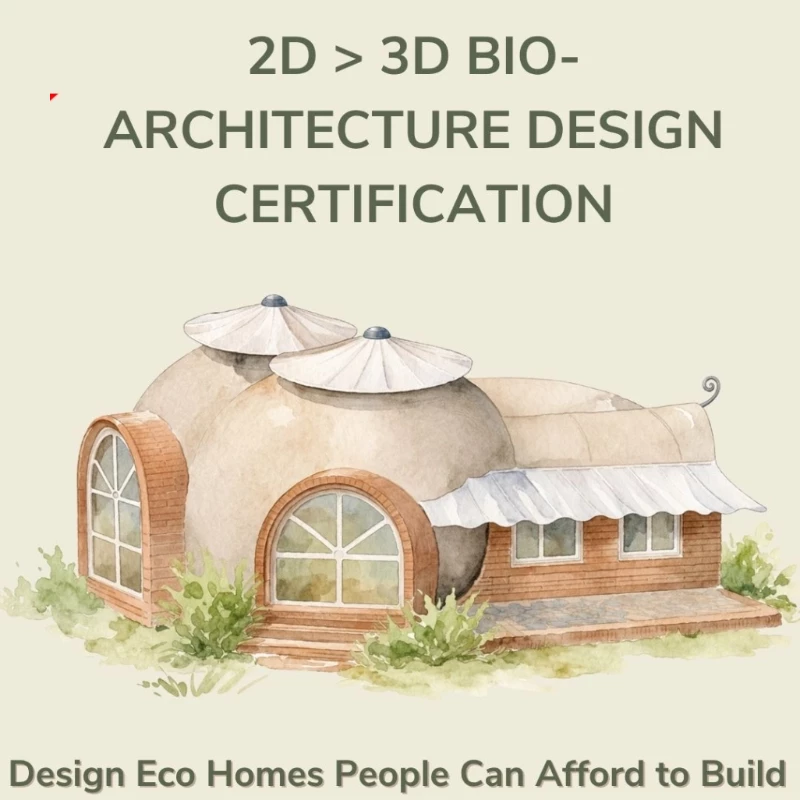
Apply this staged modeling approach in the 2D-3D Bio-architecture Design Certification for clearer decisions from concept to build.
Explore the Certification →