In many sessions, the jaw gets a quick moment of attention: a few circles at the cheek, a glide at the temples, then on to the neck. It can feel good in the moment, yet the tightness often returns because the work has no clear arc. The same pattern shows up again and again—morning clenching, afternoon head pressure, guarded shoulders, and a mind that struggles to settle.
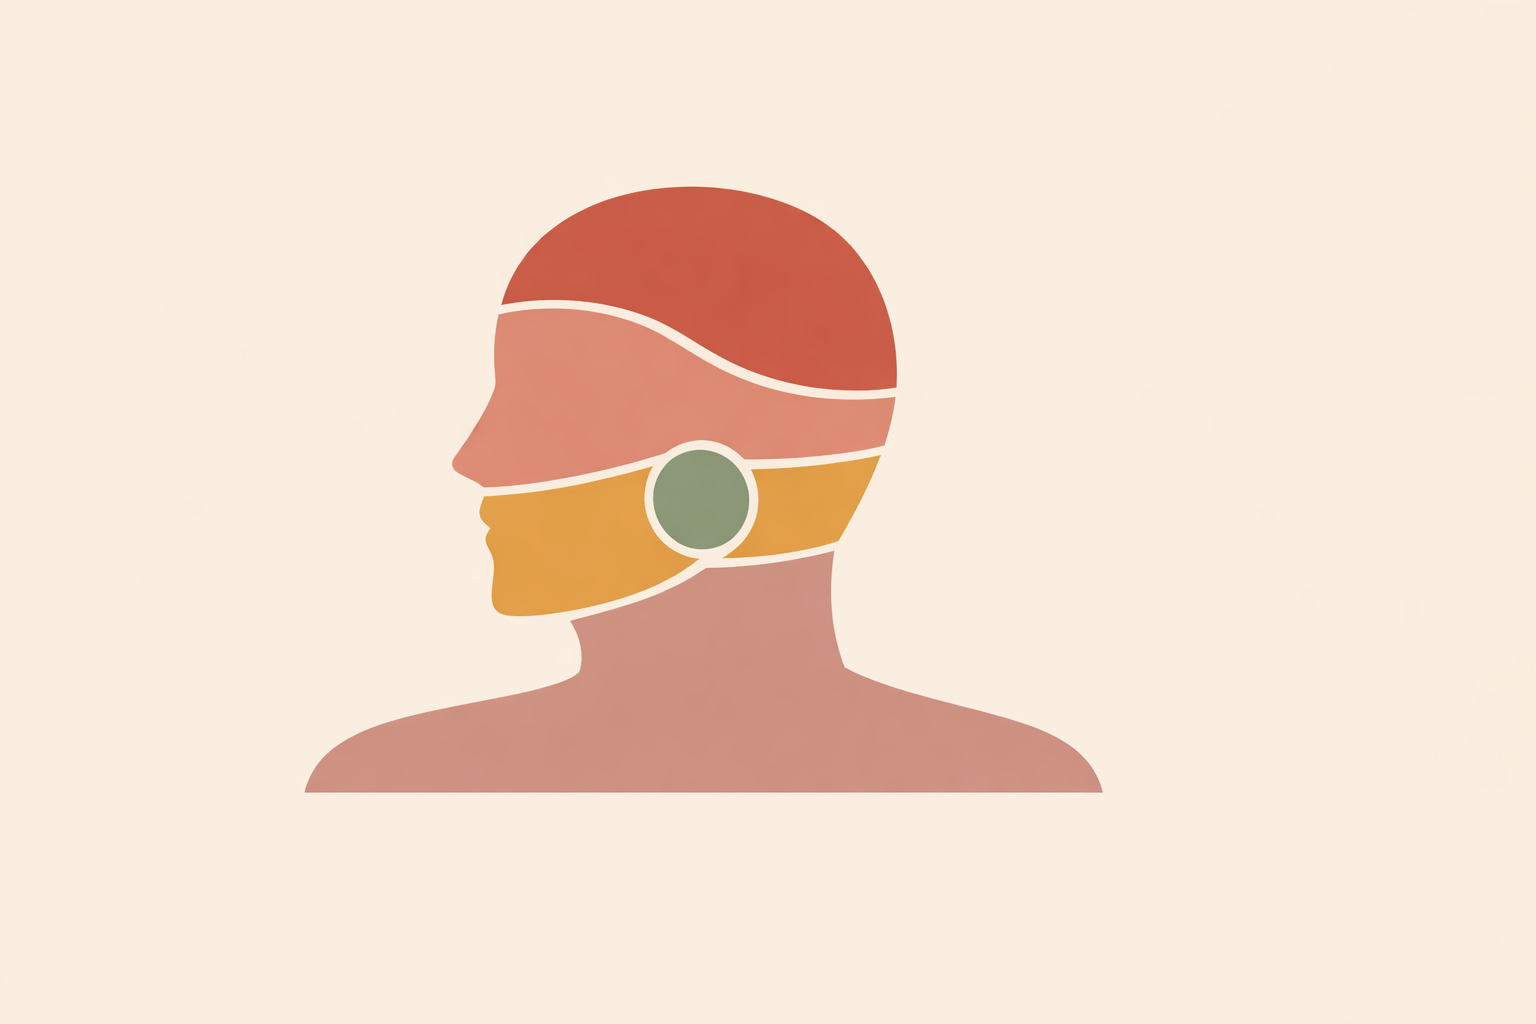
A dedicated three-phase jaw flow brings shape to that pattern. First, you help the whole system downshift. Then you work precisely with the tissues that do the most gripping. Finally, you integrate the change with simple movement and one or two habits a client can realistically keep up at home.
Key Takeaway: A 3-phase jaw tension flow gives your sessions a reproducible arc: settle first, focus second, integrate last. In practice, that usually means working with the masseter, temporalis, suboccipitals, and upper shoulders in a calm sequence, then reinforcing the shift with small self-care cues such as soft jaw mobility and a neutral resting position.
Why a 3-Phase Jaw Tension Flow Works So Well
Jaw tension rarely travels alone. It often sits inside a wider pattern of clenching, mental overdrive, forward-head posture, and upper-body guarding. Many clients won’t mention the jaw directly, but they’ll describe waking with a tight face, feeling pressure build later in the day, or noticing they “hold” through the cheeks when concentrating.
The jaw deserves focused attention because the masseter and temporalis do so much of the heavy lifting in chewing and biting. In real-world practice, these are also the tissues that commonly harden under stress, clenching, and grinding. When they soften, people often feel a shift quickly.
It also helps to treat the face and upper neck as one conversation. Work at the cheek can change the temples; settling the upper neck can change the jaw. Findings on suboccipital techniques include immediate increases in comfort thresholds over the masseter and temporalis, which aligns with what many hands-on practitioners have observed for generations.
A simple structure supports that interconnected reality:
- It gives you a clear start, middle, and close instead of scattered jaw work.
- It matches how tension commonly spreads through the jaw, temples, upper neck, and shoulders.
- It’s easy to teach as a short self-care ritual between sessions.
Traditional practice has long recognized that when the face softens, the rest of the person often follows. A three-phase flow gives that understanding a clean, repeatable sequence.
Phase 1: Settle the System and Wake Up Jaw Awareness
Start gently. Jaw work lands better when the client already feels supported, warm, and a little less braced.
If they’re lying down, support the knees and let the head rest easily. If they’re seated, help them find a position where the back and neck don’t have to work so hard. Then slow the breath before doing anything specific at the cheek.
A steady pace works well: inhale through the nose, then let the exhale run slightly longer. Three to five rounds is usually enough to change the quality of contact.
Then begin with broad, light strokes:
- Sweep over the cheeks and jawline with almost no pressure.
- Circle softly at the temples.
- Rest the fingertips under the base of the skull for a quiet pause.
The goal here is orientation. You’re showing the body where attention is about to go, without giving it a reason to guard.
Next, add one clear awareness cue. Invite the client to rest the tongue lightly on the roof of the mouth, keep the lips together, and let the teeth stay slightly apart. This jaw rest position gives the chewing muscles a more neutral place to settle.
For home use, keep Phase 1 small. A warm washcloth over the cheeks for a minute or two, a few light strokes, and that neutral resting cue is often enough to prepare the area.
Phase 2: Focused Work for the Jaw, Temples, and Upper Neck
Once the tissues feel warmer and the breath is less guarded, move into more precise work. This is the heart of the flow.
Begin with the masseter. Ask the client to gently clench once so you can feel the muscle stand out, then let the jaw soften fully again. Use slow circles or short cross-fiber strokes along the body of the muscle, from just below the cheekbone toward the angle of the jaw.
A simple progression keeps the work clear:
- Glide lightly to assess texture.
- Knead slowly through denser bands.
- Pause briefly on tender spots without forcing them.
Targeted manual work in this area can reduce discomfort and improve ease of movement in the short term. In the room, the change often looks quiet: the jaw drops more easily, the face seems less “busy,” and breathing deepens on its own.
Then move to the temporalis. Work along the temple fan with soft circles and unhurried sweeps above the ear. Slow, repetitive contact here can reduce tension in both the temporal and masseter muscles, which makes temple work especially helpful for people who clench without realizing it.
From there, connect the jaw to the upper neck. Slide the fingertips under the occiput and let them rest into the suboccipital tissues. These small muscles often join the same holding pattern and are worth including regularly in jaw-focused sessions.
When the jaw, temples, and suboccipitals are addressed together, the effect often spreads beyond the face. Research on combined manual work suggests reduced temporomandibular pain alongside improved cervical and orofacial function. Many practitioners recognize this outcome: an easier jaw paired with a lighter head, neck, or shoulder girdle.
Finish Phase 2 by widening the frame. Two slow passes through the upper trapezius can help shift the jaw out of its isolated gripping role and back into the broader upper-body pattern. Even simple upper-trapezius stretching has been associated with altered biting force, supporting the practical link between shoulder tone and jaw tone.
If you want a clear order, keep it simple:
- Masseter
- Temporalis
- Suboccipitals
- Upper trapezius
Use it as a map, then adapt to what you feel under your hands.
Phase 3: Integrate the Change With Movement and Micro-Habits
Release is valuable, but integration is what helps the shift hold once your hands are gone.
Keep movement gentle and small. Return to the tongue-up, teeth-apart resting cue, then guide a few slow jaw openings and closings within an easy range. Add tiny side-to-side glides only if they feel smooth and unforced.
This phase teaches a different quality of movement. The jaw learns “easy” again.
Then close with light finishing strokes:
- Sweep the cheeks outward.
- Circle the temples once or twice.
- Cradle the head in stillness for a final pause.
Now translate the session into one practical home ritual. Evenings work well because they meet the jaw after a full day of screens, concentration, and emotional load. Self-management protocols for jaw-related myofascial tension support daily home sessions with self-massage and gentle movement.
A simple version might look like this:
- Warm washcloth on the cheeks for 1 minute.
- Masseter circles for 30 to 60 seconds each side.
- Temple circles for 20 to 30 seconds each side.
- Three slow jaw openings with the tongue resting up.
One anchor habit beats a long checklist. For many people, the most useful is returning to the neutral jaw rest position during the day: tongue up, lips together, teeth apart. It interrupts gripping before it builds momentum.
If you draw from traditional lineages, this closing phase can also include very gentle facial scraping, marma-style still points, or quiet palm holds at the cheeks and temples. Keep it respectful, light, and unforced, with a clear intention to invite ease, as in facial myofascial release.
Closing Thoughts
A three-phase jaw flow offers more than a handful of techniques. It gives you a rhythm: settle first, focus second, integrate last. That rhythm makes the work easier to deliver, easier to explain, and easier for clients to repeat on their own.
Keep touch slow, pressure kind, and language simple. Less usually does more here. When the jaw no longer has to do all the holding, the face softens, the neck often follows, and the whole person tends to feel more at ease.
If anything feels sharp, provoking, or overly intense, reduce pressure or pause the hands-on work altogether. The goal is support, not force. A thoughtful jaw sequence should feel clear, grounding, and sustainable from start to finish.
Master Facial Sculpting Skills
Build on this jaw-release flow with hands-on techniques in the Facial Sculpting Therapist Certification.
Explore Facial Sculpting →