

Most small-vault builders choose an arch by instinct: what looks right, what’s fastest to template, what reclaimed stock will tolerate. Then the ripple effects arrive. Footings grow, side walls need extra resistance, membrane day stretches, or a glazed end wall stops matching the curve cleanly. An arch profile isn’t just a look; it decides where effort, time, and cost concentrate.
Key Takeaway: In a small earth-sheltered vault, a Roman arch is usually simpler to lay out and repeat, while a pointed Gothic arch usually manages lateral thrust more gracefully and creates more headroom. The practical choice is not “which one is better?” but which one fits your site, crew, and build sequence most coherently.
Roman vs Gothic vaults: the real trade-off in cost and build time
Pick the curve and you also pick the load path, the shop rhythm, and how demanding the supports will be.
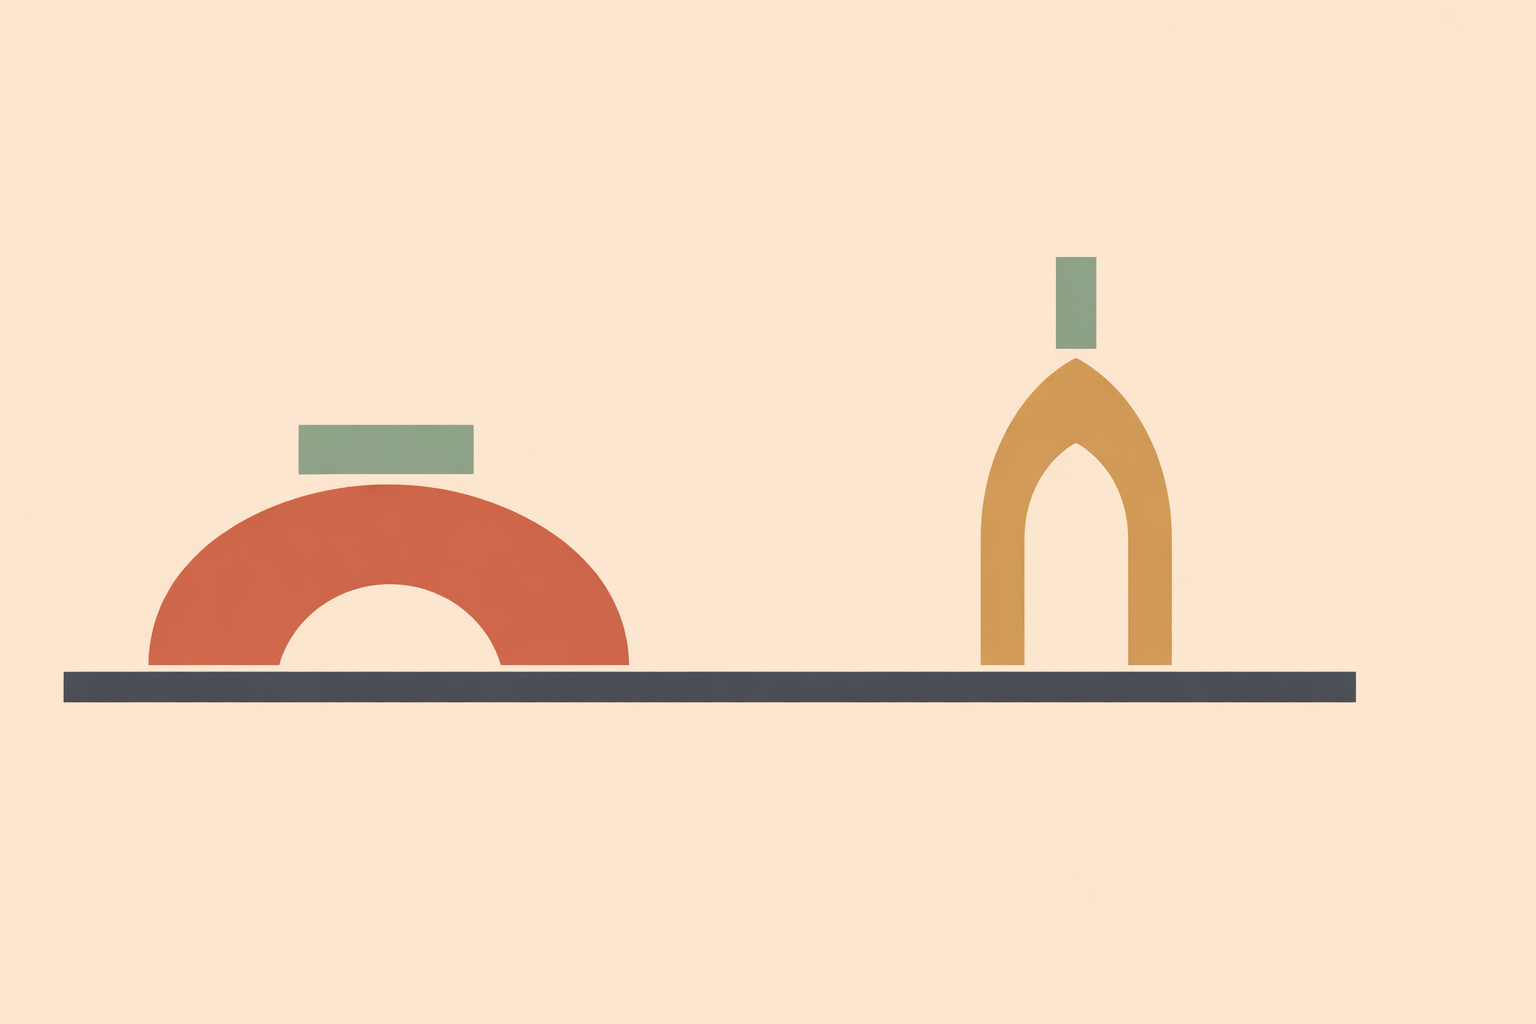
A Roman arch is semicircular, and that single-radius geometry supports simpler layout. One center point, one radius, and you can repeat ribs with confidence. A pointed Gothic arch takes more careful geometry, so layout and crown joinery usually move slower.
That extra care often pays back at the supports. A well-proportioned Gothic arch can reduce thrust by sending more force downward when the whole assembly is designed as one system. A Roman arch typically pushes outward harder at the springing points, so time saved in templating can show up again in side walls, footings, ties, or other resisting elements.
That’s the real trade: Roman profiles tend to save effort in layout and repetition, while pointed profiles often simplify the support logic. Either can be the economical choice depending on where your project can “afford” complexity.
On modest spans, many crews find Roman ribs faster to template and cut, while Gothic ribs reward patience with a taller crown and steadier side loading. That pattern is more useful than chasing a universal rule.
And a pointed crown usually delivers more headroom in the same footprint, which matters once you start placing a loft edge, storage, benches, or a front glazed wall.
How arch geometry changes earth loads and foundation work
Once you go below grade, arch shape stops being theoretical. It shows up as soil pressure, footing width, and wall strength.
Both Roman and Gothic profiles work mainly in compression, but they arrive at the supports differently. Roman semicircular arches typically create greater thrust at the springing points. In a buried vault, that commonly means broader footings, stronger side walls, or ties to keep the system composed under load.
Pointed arches usually direct more force downward. Supports still need to be robust, but the side push often feels calmer, which is why pointed forms have long appealed to builders who want height without over-widening the base.
Foundation work is also where budgets expand quickly. In earth-sheltered construction, excavation and reinforcement are major cost multipliers well before the shell looks “done.”
It helps to think in systems:
- Roman profile: easier layout, but often more demand on side resistance.
- Pointed profile: slower layout, but often a calmer thrust pattern.
- Both profiles: success depends heavily on site conditions, drainage, and support design.
Many builders on clay plan for the Roman option to ask for a bit more footing width than a comparable pointed option. That’s a sensible planning instinct, even though the exact choices stay site-specific.
Often, site factors matter more than arch style. Frost depth, groundwater, slope behavior, and seasonal ground movement usually shape the support strategy more than aesthetics ever will. In cold climates, footings should extend below frost. And for any buried wall, continuous drainage with free-draining backfill helps relieve water pressure early, before it accumulates.
A reliable field mindset: settle drainage, footing lines, and springing geometry first. Most expensive rework starts there.
Timber ribs and reclaimed materials: where the profiles feel different in the shop
This is where the Roman-versus-Gothic difference becomes very tangible.
A Roman rib is straightforward to strike and repeat. Once the template is correct, the set stays consistent. A pointed rib asks for more care at layout and more attention at the crown, so accuracy matters more rib-to-rib.
Across a typical small vault, the rib count is basically the same either way. What changes is how much time and focus each rib asks of you.
In practice, Roman curves often mean less waste and a smoother shop flow for first-time builders. Pointed crowns can create more offcuts and more measuring pauses, especially when reclaimed timber dictates what shapes are practical rather than ideal.
Reclaimed timber can be an excellent fit for this kind of build, and traditional builders have always known how valuable old material can be. It also deserves careful inspection for rot, insect damage, splitting around knots, excess moisture, and any questionable residues from earlier use.
Rib spacing matters too. Tighter spacing stiffens the shell and can allow thinner sheathing spans. Wider spacing saves rib material but asks more from the sheathing. The best spacing is the one that fits your soil cover, shell stiffness goals, sheathing thickness, and the timber you actually have.
When the material stack is mixed or imperfect, Roman geometry is often more forgiving. When stock is consistent and layout discipline is strong, the pointed profile becomes easier to justify.
Build sequence: where time is really won or lost
Arch cutting gets the attention because it’s visible and satisfying. On small earth-sheltered vaults, schedules are more often shaped by setup, support work, weather, and waiting.
Centering and bracing matter whether you’re building in timber, masonry, or a hybrid shell. A Roman profile can speed this phase because one jig or template repeats with fewer adjustments. A pointed profile typically takes longer to set accurately, especially at the crown and at transitions into the supports.
Most delays come from the less glamorous phases:
- Excavation and wet ground
- Drainage preparation
- Formwork and rebar placement
- Waiting on concrete strength development
- Membrane work that needs clean, dry conditions
- Backfill sequencing and weather windows
A fair-weather shell plan for a small vault often lands around four weeks, because each step depends on the previous one being settled and stable.
- Days 1–4: layout, excavation, drains, and trenches
- Days 5–6: footing forms, reinforcement, and pour
- Days 7–10: side supports, piers, or walls
- Days 11–13: rib prefabrication and dry fitting
- Days 14–16: rib raising, bracing, and sheathing
- Days 17–20: membrane, protection, insulation, and drainage layers
- Days 21–24: backfill lifts and end-wall framing
Historical earth-sheltered builds show how heavy the early structure can be. One documented project used 27 cubic yards of concrete and substantial reinforcing steel before the shell was closed. Hidden below-grade work often sets the tone for the whole budget.
Two habits consistently protect timelines:
- Prefabricate and label ribs before the weather turns.
- Protect membrane day as if it were a ceremony: clean substrate, dry conditions, minimal traffic.
Waterproofing, insulation, and glazing details under each profile
Once the shell shape is chosen, envelope work either flows smoothly or becomes a steady negotiation with geometry.
A taller pointed profile usually creates slightly more shell area than a semicircular barrel over the same footprint. That can mean more membrane, more seams, and extra patience at the crown. Roman curves often make continuous wrapping easier because the radius is broad and predictable.
For buried construction, durability depends on layers working together. A resilient assembly typically includes waterproofing and drainage, puncture protection, exterior insulation, and free-draining backfill.
Exterior insulation is often the most coherent approach because it keeps the structural shell inside the moderated interior conditions. In practice, exterior insulation helps smooth indoor temperature swings by letting the shell act as steady thermal mass.
Traditional builder wisdom holds steady here: earth sheltering softens temperature extremes, but insulation, air control, shading, and thoughtful ventilation still need to be planned as one envelope within self-sufficiency and sustainability thinking.
The end wall deserves special respect. Roman barrel ends are usually simpler to frame and flash because the geometry stays broad. Pointed heads often need more custom trimming, segmented transoms, or patient flashing at the apex.
Whatever profile you choose, the glazed wall shouldn’t be treated as structural buttressing. Side supports, piers, or end-wall structure should stabilize the shell on their own. Glazing is there for comfort, weather management, and light.
And the walls themselves must be built for the real forces involved. Earth-sheltered guidance consistently emphasizes soil and water pressure as fundamentals, not afterthoughts.
Two practical scenarios: when Roman wins and when Gothic pays back
Choices get easier when they’re grounded in real site conditions.
Scenario A: Creekside Roman. The site is level, the water table rises in spring, and the crew wants a forgiving workflow. A Roman barrel fits because layout stays simple, ribs repeat easily, and the end wall is easier to frame and flash with common methods. The trade-off is taking below-grade work seriously: broader continuous supports, strong side resistance, and robust drainage because water is already part of the story.
On builds like this, a Roman profile can save a couple of days in rib work and field setup. Those days may be spent again in foundation effort, but the exchange can still be worthwhile for a small crew and a steady pace.
Scenario B: Ridge Gothic. The site is narrow, cut into a slope, and every inch of interior height matters. Here the pointed profile often pays back. Rib work takes longer, templates need more care, and end-wall detailing becomes more custom. In exchange, the shell gains central volume, and the reduced side thrust can fit a narrow berm more gracefully.
This suits a team willing to invest time early for a leaner, taller result. The total workload might not drop, but it becomes better targeted to the site’s constraints.
Historical low-cost earth-sheltered experiments also encourage budget humility. Decades ago, some builders reported $6–$10 material targets per square foot. Those figures belong to their time, but the lesson holds: simple forms, realistic sequencing, and honest cost tracking beat romance.
What makes either scenario succeed is coherence. Roman geometry tends to suit wet, straightforward workflows. Gothic geometry tends to suit narrow sites, height-driven interiors, and crews willing to be more exacting in the shop.
Decision matrix: choosing the profile that fits your site and crew
If you’re torn, step out of the abstract and score the decision.
Rate each factor from 1 to 5 for importance on your build, then compare which profile serves it better:
- Layout simplicity
- Lateral thrust at supports
- Center headroom
- Bracing and centering ease
- Precision required in rib fabrication
- Ease of glazing integration
- Envelope detailing simplicity
- Interior volume per footprint
- Tolerance for reclaimed stock variation
- Risk of rework from layout errors
As a rule of thumb, Roman usually scores well for simplicity, forgiving repetition, and reclaimed-material friendliness. Gothic usually scores well for interior height and a calmer thrust pattern.
Then weight what matters most on your site. If your crew is new, the schedule is tight, or timber stock is inconsistent, Roman often rises to the top. If the site is narrow or central volume is the priority, Gothic often earns the extra precision.
Keep long-life thinking in view. Excavation volume, concrete use, drainage longevity, reclaimed-material prep, membrane detailing, and glazing durability shape the wisdom of the build long after the first week.
Carry contingency too. Earth rarely reveals everything up front. Groundwater shifts, weak reclaimed pieces, membrane scuffs, or subtle alignment problems can nudge a clean plan off center.
If one profile clearly leads in your matrix, commit and design around it. Decisive coherence usually costs less than half-committed compromise, especially in a Hobbit Vault build.
Conclusion: choose the curve that makes the whole vault make sense
A strong earth-sheltered vault feels calm because its parts agree: arch, supports, ribs, drainage, membrane, insulation, and glazing all follow one logic.
Roman and Gothic profiles can both create beautiful, durable small vaults. The Roman barrel brings speed, repeatability, and a practical shop rhythm. The pointed Gothic arch brings more height and often a gentler relationship with lateral thrust. The wise choice is the one that matches your ground, your materials, and how your crew actually builds.
As you finalize the plan, keep a few cautions for the endgame: local soil and groundwater conditions deserve respect, below-grade drainage details should be built for longevity, and reclaimed materials should be assessed carefully before they become structural commitments. With those basics honored, either curve can serve you well for the long run in self-sufficiency and sustainability work.
Build Better Hobbit Vaults
Apply these Roman-vs-Gothic trade-offs step-by-step in the Hobbit Vault Course.
Explore Hobbit Vault Course →