

Many eco-home projects treat a constructed wetland as a planting feature until real-world constraints show up: mixed water streams, setback distances, winter flow behavior, and a reviewer asking for liners, elevations, and maintenance notes. When that happens, a nice pond sketch stops being enough. The decisions you delay—what flows in, where gravity takes it, and how levels are controlled—are often the same ones that drive up costs and slow approvals.
A home-scale wetland works best when it’s approached as an engineered ecology, shaped by the site and built for everyday care. Define the job early, keep the flow path clear, choose a treatment sequence you’ll actually maintain, and carry those choices through the drawings. The goal is quiet reliability that holds up year after year.
Key Takeaway: Constructed wetlands for small homes work best when they are designed as clear, gravity-led, maintainable systems. Start by defining which water streams the wetland will receive. Then read the site carefully for slope, setbacks, geology, and stormwater movement. Choose a simple pretreatment-first treatment train, size the bed honestly, include adjustable controls, and integrate the whole assembly into plan, section, and 3D drawings. A good small-home wetland is not just attractive—it is buildable, understandable, and easy to tend over time.
Step 1: Define what flows into the wetland
Start with one decision that sets the whole direction: what water will the wetland receive? Once that is defined, sizing, pretreatment, layout, and maintenance all become much easier.
Many owner-builders begin with greywater-only systems because they’re simpler to manage on a first build. That usually means showers, basins, and laundry are grouped together, while toilet flows are handled separately.
Kitchen water deserves a specific call. It often brings fats, oils, and food solids that can overload a small bed, so many designs either give kitchen flows stronger pretreatment or route them away from the wetland entirely. If streams are separated, dual plumbing needs to be planned carefully so the system remains clear and consistent over time.
For early sketches, a rough planning envelope helps keep conversations grounded. Older EPA examples cite about 120 gallons per day per bedroom, or roughly 60 gallons per person per day. These figures aren’t universal, but they’re useful when turning ideas into first dimensions.
A common small-home path is a greywater-focused wetland, with kitchen flows routed through a septic or settling step first. Paired with subsurface flow, it supports the low-profile, lived-in feel most households want.
Write the wetland’s job in one sentence and keep it close. A clear statement will guide better choices than aesthetics alone.
Step 2: Let the site shape the layout
Before selecting plants or bed shape, read the land. When the site leads, the design becomes simpler to build and easier to live with.
Begin with a base drawing that shows contours, buildings, access, utilities, trees, wells, and nearby water bodies. Then add the non-negotiables: setbacks, buffers, discharge rules, and any requirements related to soils or groundwater. This early diligence tends to save the most time later.
Gravity is a major advantage in small systems. EPA guidance encourages arranging components so water can move by gravity where possible. Practically, that means pretreatment slightly uphill of the wetland, and a well-planned destination beyond it.
Stormwater belongs outside the bed. Sudden clean runoff volumes can overwhelm hydraulics, and sediment can slowly choke the media. EPA guidance points out the value of sediment removal for reducing maintenance, and notes that uncontrolled stormwater can compromise performance.
Geology and groundwater sensitivity also shape what’s appropriate. EPA guidance notes that wetlands interacting with groundwater may require permits and that barriers may be needed to protect groundwater quality. In practice, this can mean liners, monitoring points, or a tightly defined discharge route.
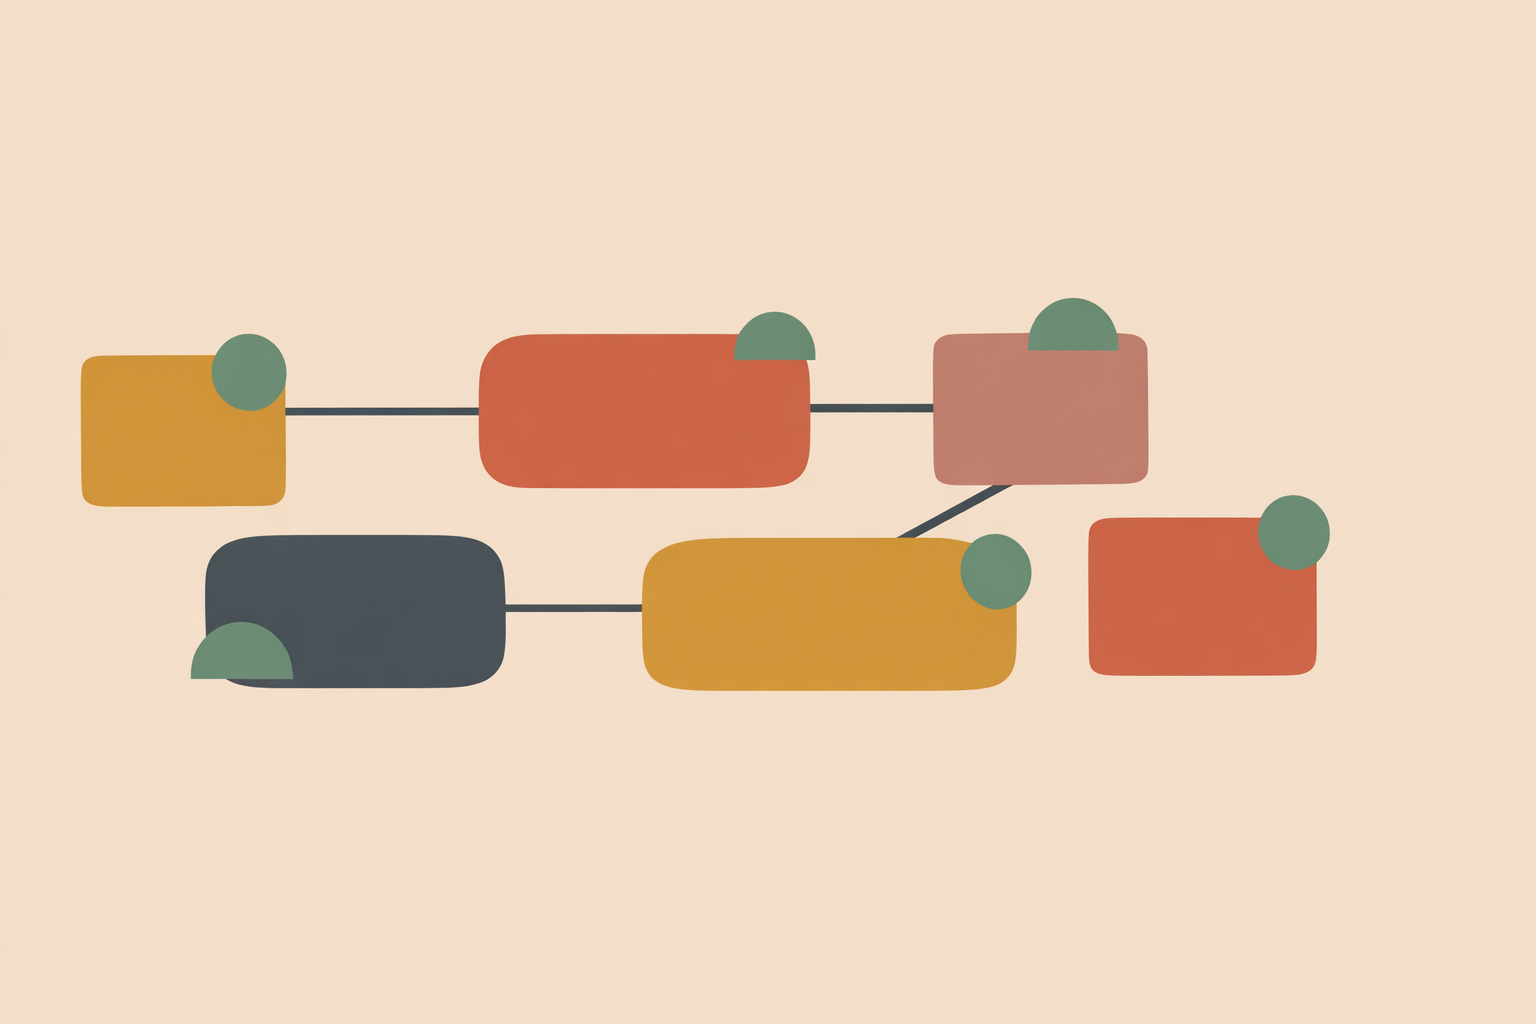
Most small-home layouts resolve into a clean, readable diagram: house to pretreatment, pretreatment to wetland, stormwater diverted around, then a defined next step beyond. When the land “authors” the plan, the whole system feels calmer.
Step 3: Choose a simple treatment train
A good wetland setup is usually a sequence rather than a single feature. Each stage protects the next.
Pretreatment comes first. A septic or settling tank is commonly used to remove solids early, which protects the wetland bed from clogging. Guidance consistently emphasizes pretreatment as crucial for subsurface systems.
Next, choose a wetland type that matches your climate, goals, and space. Subsurface-flow beds are often preferred for homes because water stays below the surface, helping avoid nuisance problems and keeping the area tidy and usable.
Within subsurface designs, different cells support different processes. Vertical-flow beds, especially when pulsed, support nitrification, and a following horizontal-flow bed can support denitrification. This is one place where sequencing can meaningfully improve outcomes.
Hybrid systems can perform very well, but small homes often benefit from restraint. Fewer moving parts usually means fewer failure points, an easier permit narrative, and simpler long-term care.
A cold-climate tiny home might use a septic tank, a small dosing chamber, a compact vertical-flow bed, then a horizontal polishing bed. A warmer site with more space might rely on a longer horizontal subsurface bed with straightforward distribution. Both can work when they match the site and the household’s capacity to maintain them.
Step 4: Turn flow into dimensions and controls
Once the sequence is clear, the wetland needs a physical form you can build, inspect, and explain.
Residential subsurface beds often use about 0.6 m of clean, washed gravel. A long rectangular bed with a gentle 0–1% fall is a common approach because it supports predictable flow and straightforward construction.
Media selection does more work than many people expect. EPA examples describe using coarser rock near inlets and outlets to reduce clogging pressure, with washed gravel through the main zone. Clean, well-graded material is one of the strongest foundations for long-term performance.
Water-level control deserves the same attention as the bed itself. An adjustable outlet lets you tune internal levels during startup, seasonal shifts, and maintenance. Keeping the water line below the media surface supports the low-odor, low-visibility operation most households prefer.
A practical section detail can stay simple: compacted subgrade, sand blinding, liner, protective layer, gravel bed, coarse stone at the inlet zone, distribution piping, planting zone, and an outlet chamber with adjustable levels. The essential requirement is clarity about how water enters, moves, and leaves.
Daily flows will vary. A wetland holds steady when dimensions are honest, distribution is even, controls are accessible, and materials do what they’re chosen to do.
Step 5: Integrate the wetland into drawings and 3D models
A wetland becomes real when it’s coordinated with the home and site as carefully as any other infrastructure. That coordination is also what makes it maintainable.
On the site plan, show the footprint, flow direction, inlet and outlet lines, cleanouts, inspection points, access paths, setbacks, and the discharge or infiltration area. In section, show grade, media layers, internal water level, liner, subgrade, and how edges meet adjacent land. These views let reviewers and builders see whether the design can actually be built and cared for.
In Rhino or a similar 3D workflow, model the wetland as a layered assembly: excavation, liner shell, media volumes, pipes at true invert levels, and chambers with real clearances. This is where you catch conflicts with berms, footings, retaining edges, or paths while changes are still easy.
As coordination tightens, the wetland starts to belong to the home. Water logic, circulation, and landscape use stop competing and begin supporting each other.
EPA guidance notes that systems like these can fit harmoniously within the landscape. In practice, that harmony comes from honest detailing and good access rather than hiding the system.
Step 6: Build carefully and care for it seasonally
Construction goes best as a clean sequence: stake out, protect undisturbed areas, excavate, prepare subgrade, place liner and protective layers, install piping and structures, add media, test for leaks, connect pretreatment, set levels, plant, and document the as-built result.
Before handover, confirm hydraulics in the real world. Distribution lines should distribute, the bed should wet evenly, outlets should adjust smoothly, cleanouts should be reachable, and stormwater should still bypass the bed.
After commissioning, upkeep is usually modest when it’s regular. A seasonal rhythm might include:
- Checking the pretreatment tank and arranging desludging when needed.
- Looking at the inlet zone for debris or signs of uneven flow.
- Confirming the outlet level remains where you intend it to be.
- Walking the surface for ponding, erosion, burrows, or weak plant establishment.
- Making sure stormwater bypass features still direct runoff away from the bed.
- Keeping access to valves, chambers, and observation points clear.
Most small-system issues come from familiar roots: skipped pretreatment, undersized beds, uneven distribution, unmanaged water levels, stormwater intrusion, or access that’s awkward in daily life. Naming these early makes them far easier to design out.
With a properly built subsurface system, the surface should remain dry and the wetland should operate without persistent odors. EPA notes subsurface-flow wetlands help avoid odors and related nuisances when water stays below the surface.
Conclusion: Build for clarity, not romance
A small-home wetland can be beautiful, but the design brief is clarity. Define inflows, respect slope, protect the bed from solids and stormwater, choose a manageable sequence, and draw the assembly honestly. Those choices give the wetland its best chance to serve the home steadily over time.
As projects move toward approvals, align performance claims with local endpoints and confirm requirements early. EPA guidance links water-quality goals, groundwater protection, and applicable standards to protecting surrounding land and water.
The strongest small-home wetlands are rarely the most elaborate. They fit their place, satisfy oversight, and remain understandable to the people living alongside them. Check local rules, plan for year-round access, and choose details you’ll still appreciate after the first season, especially within broader self-sufficiency and sustainability planning.
Model Eco-Systems in 3D
Apply these wetland layout and detailing principles in the 2D-3D Bio-architecture Design Certification.
Explore the Certification →