Most group rooms still expect neurodivergent people to meet the space halfway. A few small adjustments appear, then the session rolls on while fluorescent buzz, chair scrape, visual clutter, and uncertainty keep draining attention. Slow starts, uneven participation, cameras switched off in hybrid groups, and quiet exits are often misread as disengagement when they are really forms of self-protection.
The stronger move is to design the room, not the person. When a space lowers friction, feels predictable, and gives people more control over sensory input, participation usually becomes easier without anyone working so hard just to stay present.
Key Takeaway: Sensory-friendly group rooms work best when predictability, choice, and low-stimulation design are built into the environment from the start. Begin with a simple needs audit and co-design process, make the layout easy to read at a glance, shape the main sensory layers with care, create clear zones for calm, focus, and movement, and support the whole setup with consent-based agreements and responsive facilitation.
Start by listening: audit the room before you change it
Before moving furniture or buying tools, watch how the room already behaves. Notice where sound gathers, when glare becomes intrusive, which corners feel calmer, and where people hesitate, pace, or withdraw.
A simple needs audit helps you capture comfort sources, friction points, and practical priorities so you’re not guessing. It keeps decisions grounded in lived experience rather than good intentions.
Keep the audit easy to use. Short sliders, icons, checkboxes, and optional verbal follow-up often work better than abstract prompts. Many people can quickly name what feels too bright, too loud, too exposed, or too unpredictable.
Observation first is often more useful than impulse buying. Several practitioner guides favor observational baselines before making adjustments.
- Where does noise accumulate?
- At what time does glare become a problem?
- Which smells linger in the room?
- Where do people naturally choose to sit?
- Which transitions seem to cost the most energy?
Co-design with neurodivergent participants
Co-design builds trust quickly because it makes comfort a shared starting point. Walk through the room together and ask practical questions: where would you sit, what feels supportive, what feels effortful, and what would you remove before adding anything new?
Many educators recommend you start minimalist and add only what proves useful. That protects the room from becoming visually busy or socially confusing.
It also helps to name upcoming sensory events ahead of time. A charity guide highlights the value of adding positive sensory experiences while preparing people for sounds, lighting changes, or transitions so the space feels steady rather than surprising.
A simple script keeps experimentation respectful: we’ll begin with a low-stimulation baseline, you can tell us what to add, and if something is unhelpful we will remove it without debate.
- Most fatiguing: overhead glare in late morning, HVAC hum near one wall, strong cleaning scent after weekend resets
- Most supportive: diffuse window light, soft ground texture, a seat with sightline to the door
- Most requested supports: now/next board, large visual timer, clearly labeled bins with icons
Make the layout easy to read at a glance
A sensory-friendly room should feel legible within seconds. People shouldn’t have to decode where to sit, where belongings go, how to take a break, or how to move through the space.
Guidance on sensory-friendly environments consistently highlights predictability as a core support. Stable layouts, visible exits, clear pathways, and zones that stay in the same place week to week lower tension before the session even begins.
Movement matters too. Wide, uncluttered routes support pacing, stretching, mobility aids, and low-pressure transitions. An autism-friendly checklist also emphasizes simpler navigation and reduced environmental confusion.
In most group rooms, restraint creates clarity. Fewer obstacles and fewer mixed signals make it easier to participate.
Use visual cues for time, flow, and transitions
Many participants do better when the session can be seen as well as heard. A wall plan with now, next, and later gives shape to time, while a large timer and clear break markers reduce the need to guess what’s coming.
NICE guidance recognizes visual supports as practical aids for orientation and flow. In groups, they also lower the social effort of asking for repeated clarification.
Floor tape, door signs, and simple labels can clarify routes and expectations without making the room feel clinical. Keep wayfinding cues clear and walls otherwise quiet. A school-based guide also recommends muted tones and limited decoration to reduce visual demand.
A reusable schedule might look like this:
- Arrive
- Settle
- Practice
- Break
- Practice
- Close
Move a magnetic marker along the sequence as the session unfolds so participants don’t have to rely on working memory, inference, or masking.
Shape the sensory layers with intention
Most rooms improve fastest when you work through the main sensory layers one by one: light, sound, visual field, smell, and temperature. You don’t need a dramatic overhaul. You need a cleaner baseline that people can trust.
Light and sound usually give the biggest return
Lighting often changes the feel of a room immediately. Warm, dimmable lamps are often easier to tolerate than flicker-prone overheads, and many sensory-friendly guides recommend warm lighting where possible.
Sound is the next major lever. Echo, scraping chairs, HVAC hum, hallway spill, and overlapping voices can wear people down across a session. Inclusive practice guidance recommends core acoustic practices such as rugs, curtains, softer furnishings, and quieter transitions.
Small changes count. Felt pads under chair legs, a fabric panel, or a calmer arrival routine can noticeably soften the whole space.
Reduce visual clutter and invisible triggers
Visual overload is easy to miss because it looks like “normal” background. Crowded walls, competing signage, busy patterns, and open storage can keep the nervous system braced all session long. NICE guidance notes the value of reducing visual clutter, and classroom-based resources also recommend minimizing non-essential decorations.
Smell deserves the same care. A fragrance-free default is often kinder than asking highly scent-sensitive participants to adjust on arrival. Temperature stability supports steadiness too; rooms that swing from stuffy to chilly can quietly drain focus and patience.
- Dimmable warm lamps
- Rugs or soft furnishings to reduce echo
- Visual timer and clear room signage
- Fragrance-free room agreement
- Felt pads under chair legs
- Window covering for glare-prone areas
Create clear zones for calm, focus, and movement
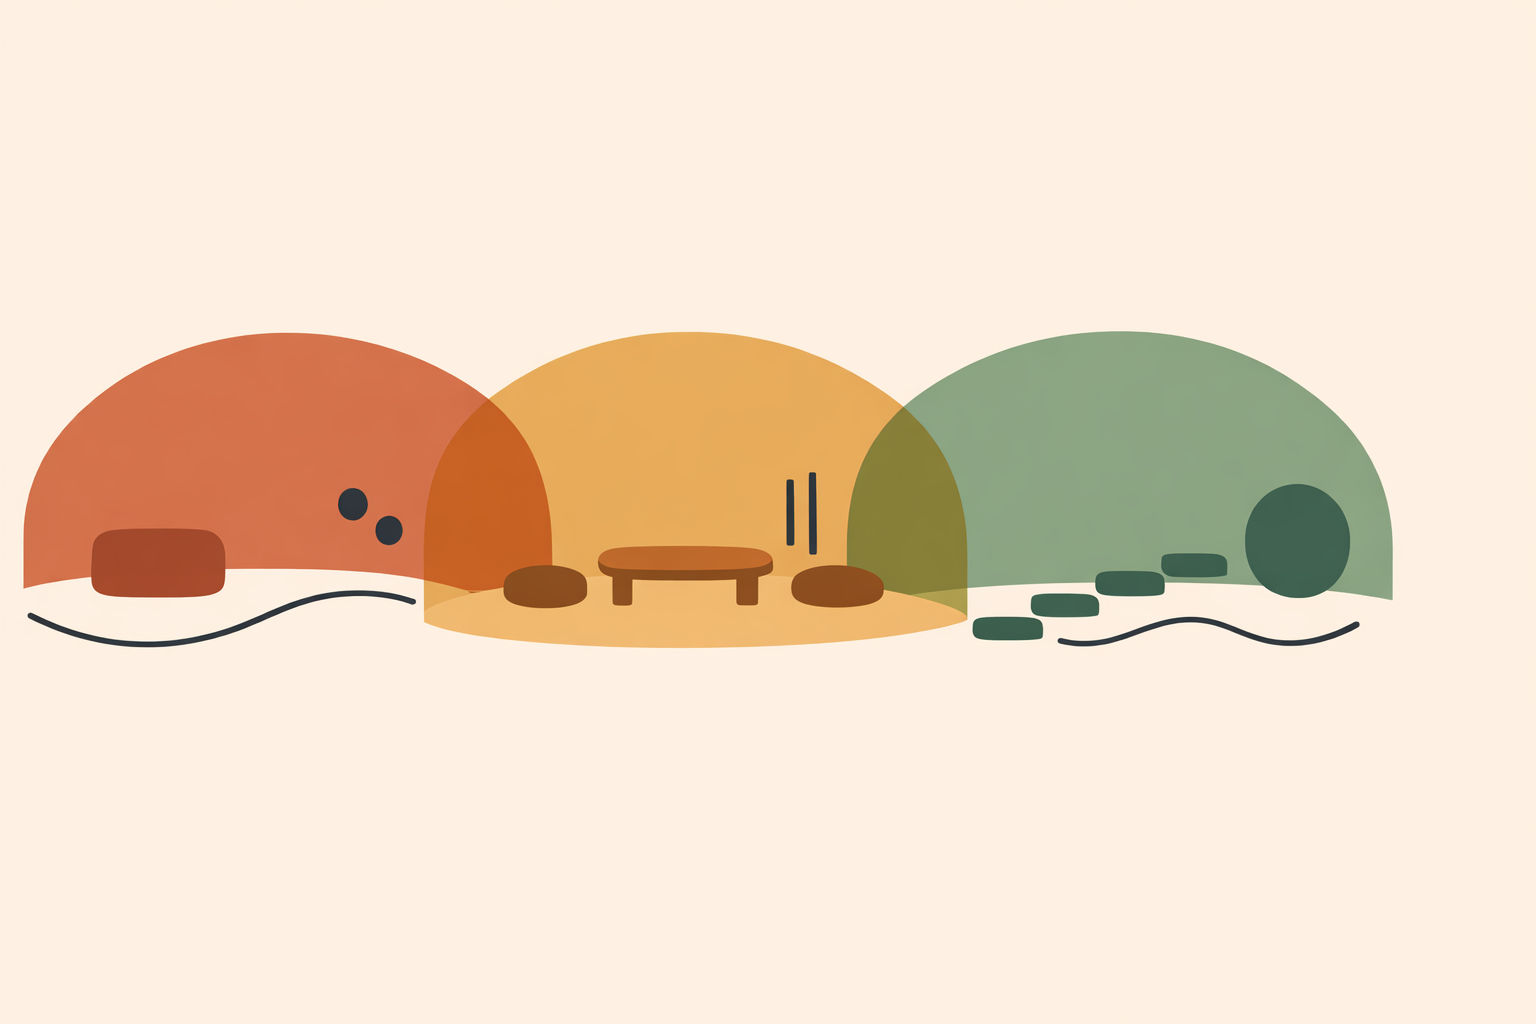
No single stimulation level suits an entire group. Zoning is often the simplest answer. When areas for calm, focused work, and movement are clearly marked, people can adjust their participation without needing special permission.
Inclusive design guides describe zoning as a core feature of neurodiversity-affirming environments. The goal is to make self-selection easy and socially acceptable.
When you can, keep higher-activity functions a little apart from low-stimulation areas. That separation protects the calmest zone from spillover and keeps choice real.
Even subtle markers can work:
- Blue for calm
- Green for focus
- Orange for movement
A small sign such as “Choose your zone anytime” quietly reinforces autonomy.
Make calm corners simple and dependable
Calm corners work best when they are predictable rather than busy. They should feel like refuge, not another set of decisions. Lower light, softer texture, trustworthy privacy, and a small set of familiar tools are usually enough.
School guidance often describes a calm corner as a quiet, low-stimulation space that supports self-regulation, and that’s a useful standard to hold. Consistency is the feature people come back for.
A dependable calm area might include:
- a soft seat or bean bag
- a blanket
- noise-reducing headphones
- low lighting
- a simple sign explaining that the space is available without asking
The steadier the setup, the more likely people are to use it early, before overwhelm takes over.
Offer flexible seating, personal space, and self-chosen tools
Seating shapes the whole experience. Stable chairs, stools, floor cushions, standing options, and a few softer seats let people build a micro-environment that supports their attention and comfort. Evidence-informed educator resources support alternative seating as one way to accommodate different sensory and attentional needs.
Spacing matters as much as furniture. NICE guidance includes attention to personal space, which often determines whether a room feels open or socially tight.
Tools help most when they’re available without pressure. Headphones, sunglasses, fidgets, textured swatches, blankets, or a wobble cushion can all be useful when they are freely chosen.
A simple written invitation can normalize choice:
- Sit, stand, or switch seats anytime
- Use headphones, fidgets, blankets, or sunglasses freely
- Return items when you are done
Support the room with clear agreements and responsive facilitation
Even a well-designed room falls short if people aren’t sure they’re allowed to use it. Clear group agreements turn environmental support into lived permission. State upfront that participants can move, switch seats, use tools, step into a quieter zone, or take a pause without explaining themselves.
Consent supports safety and ease. Ask before changing shared light, adding music, or introducing scent, and make it explicit that nobody touches someone else’s aids or belongings without permission.
Responsive facilitation starts early. Signs of strain often show up before someone fully checks out: more squinting, faster movements, reduced speech, increased fidgeting, withdrawal, or a sudden drop in participation. Inclusive guidance encourages staff to notice those cues, adjust pacing, and offer breaks without shame.
Keep high-demand segments shorter and make breaks easy to see. Sensory load accumulates, so session rhythm matters, especially in neurodiversity coaching.
- Move, switch seats, or step out anytime
- Use tools and zones without asking
- Ask before adjusting shared sound, light, or scent
- Do not touch another person’s aids or body without consent
- Stimming, pacing, and quiet pauses are welcome
Helpful facilitator language is brief and low-pressure:
- We’re changing activities in five minutes
- If you need to stand or reset, please do
- Before we add music, let’s check volume preferences
- Let’s take a short pause and soften the room a little
Treat the room as a living system
A sensory-friendly group room is never finished. It gets better through repetition, feedback, and small course-corrections based on what people actually use.
Start with the easiest levers, then refine. Over time, the room develops a recognizable pattern: calmer acoustics, clearer flow, lower visual demand, real choice, and genuine permission to regulate openly.
Keep the process collaborative and culturally respectful. When participants help shape the room, they shape the group culture too. That steady message of respect and autonomy is where a strengths-based, neurodiversity-affirming approach tends to land most deeply.
Train as a Neurodiversity Coach
Build on these room-design principles with the Neurodiversity Coach Certification to support clients and groups more confidently.
Explore Neurodiversity Coach Certification →