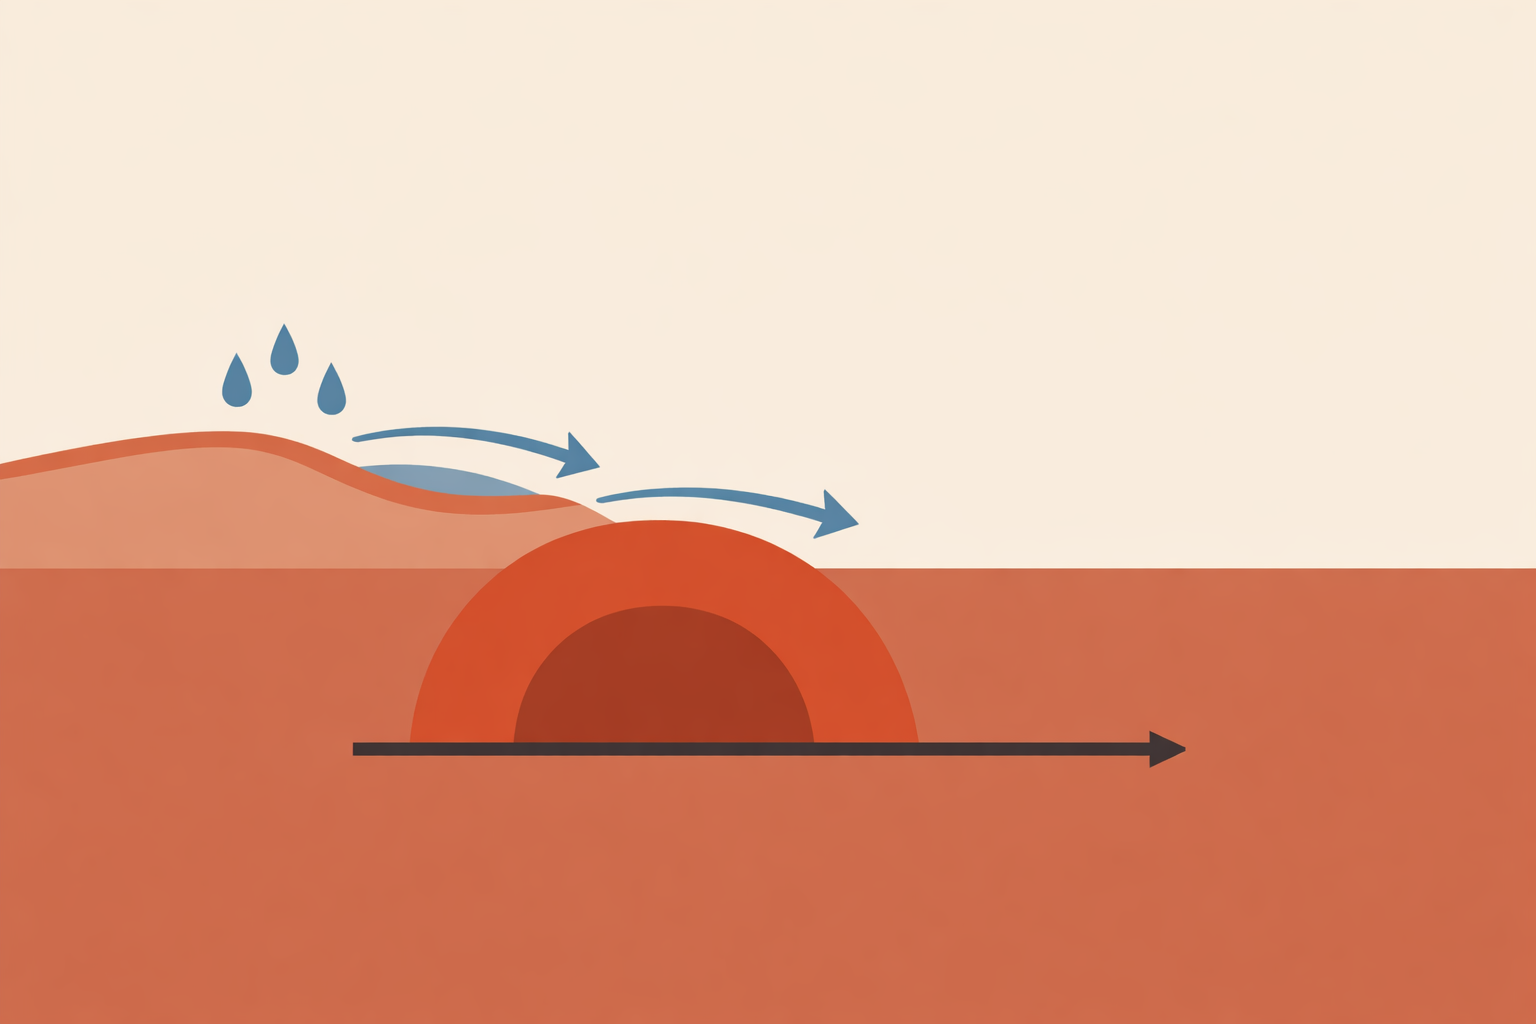
Most owner-builders of earth-sheltered vaults make the same mistake: they perfect the arch, schedule the excavation, and assume a “good” membrane will handle everything else. Then the first storm turns the dig into a basin, hillside runoff aims straight for the back wall, and a rushed sump setup becomes permanent by default.
For buried structures, water is never a finishing detail. It shapes pressure, weak points, and long-term comfort. The dependable sequence stays the same: keep runoff away, drain water that still arrives, then protect the shell.
Key Takeaway: Durable earth-sheltered foundations begin with water management. The strongest sequence is to keep runoff away first, drain any water that reaches the excavation second, and waterproof the shell third. In practice, that means reading the site as a watershed, shaping surface flow with grading and swales, installing footing-level drains in washed gravel, protecting buried walls with layered drainage assemblies, giving the earth-covered roof its own drainage path, detailing all transitions carefully, and maintaining outlets, sumps, and alarms over time.
Step 2: Shape Surface Flow With Grading and Swales
Before excavation, give surface water a route that bypasses the build. Small earthworks done early routinely prevent big fixes later.
Observe the site during or right after rain. Note where water pools, where it speeds up, and where it naturally wants to leave. The aim is straightforward: create gentle fall away from the footprint so water keeps moving past the vault instead of toward it.
On hillside sites, a diversion swale or gravel-filled trench with drain tile above the excavation can divert water around the buried wall line and send it downhill. Many residential drainage approaches also use a 250 mm deep swale placed roughly 5 m upslope to intercept fast runoff before it reaches vulnerable ground.
- Stake the vault footprint and confirm the layout is square.
- Mark finished grades that fall away from the structure.
- Identify “no-pond” zones at corners, entries, and facade edges.
- Give upslope water a bypass route before machinery opens the site.
This doesn’t need to be elaborate. Careful grading, one well-placed swale, and respect for the existing watershed often do most of the work.
Step 3: Install the Subsurface Safety Net
Once surface flow is handled, build the below-grade safety net. An excavation should never behave like a bathtub; any water that reaches footing level needs a reliable exit.
The standard approach is a continuous perimeter drain at footing level set in washed gravel, wrapped to exclude silt, and sloped to an outlet. In earth-sheltered construction, a foundation drain just below the footing is one of the most dependable ways to prevent water buildup around buried walls.
- Over-excavate enough to create a clean gravel bed.
- Laser-grade the trench so the line falls toward daylight or the sump.
- Set perforated pipe in washed gravel.
- Wrap the gravel envelope in geotextile to keep fines out.
- Add cleanouts where future access will matter.
This works because it gives water the easiest route. Moisture drops into the gravel and moves toward discharge instead of building pressure against the shell.
On deeper backfill projects, some builders add a second drain ring partway up the wall. Published guidance is limited, but in practice it can provide a mid-depth exit for percolating water and reduce demand on the footing drain.
Step 4: Use a Layered Wall Assembly, Not Membrane Alone
Membranes matter, but membrane-only thinking tends to struggle underground. Water pressure keeps testing for weaknesses, especially at joints, terminations, and changes in geometry.
Below-grade guidance repeatedly emphasizes drainage that relieves hydrostatic pressure before it builds. A higher leak risk comes with membrane-only approaches, while a layered wall assembly gives water a managed path downward and helps protect the shell from pressure and puncture.
For most earth-sheltered vaults, the wall build-up is easiest to hold as four parts:
- Primary waterproofing membrane compatible with the shell.
- Protection layer to prevent backfill damage.
- Vertical drainage layer to move water down quickly.
- Free-draining backfill beside the wall.
One detail deserves special care: the bottom of the drainage layer should meet the footing drain cleanly. When drain boards run continuously to footing level, water can exit into aggregate rather than stalling at the wall-footing junction.
Many buried-wall issues begin quietly at that junction, so it’s worth slowing down during layout and backfill to get it right.
Step 5: Give the Buried Roof Its Own Drainage Path
An earth-covered roof should shed water, not hold it. If rain or snowmelt lingers above the shell, moisture eventually migrates and adds unnecessary wetting to surrounding backfill.
The practical approach is a dedicated drainage plane above the waterproofing that leads water to controlled discharge. Moisture-control guidance recommends surfaces that carry water away from the building rather than letting it collect near the foundation.
In practice, that usually means:
- a waterproof membrane over the shell,
- a protection layer,
- a drainage plane with intentional fall,
- filter fabric,
- and the earth cover above.
Some builders form shallow roof valleys that daylight at the side berms rather than ending near the back wall. Where the site allows, it carries stormwater away cleanly and avoids adding load to the buried walls.
The principle is straightforward: roof water should leave as roof water, not become foundation water later.
Step 6: Detail Transitions and Penetrations With Care
The big wall and roof planes can be solid, yet small transitions still decide whether the first year feels dry or disappointing. Shell-to-glazing junctions, service penetrations, and vents are where rushed work shows up fastest.
Below-grade guidance regularly highlights these junctions as critical. In particular, junction details around footing and wall transitions deserve special attention because water pressure looks for any break in continuity.
Approach each transition as its own drainage puzzle:
- Run the waterproofing continuously to the facade line.
- Use boots, saddles, or formed flashings at penetrations.
- Layer terminations so water sheds outward.
- Check that the glazing edge, wall face, and membrane line all align cleanly.
These are quiet details, but they are where craftsmanship protects the whole system. A well-detailed penetration leans on overlap, gravity, and continuity, with sealants as support rather than the main strategy.
Step 7: Plan Real Outlets, Redundancy, and Seasonal Care
Even the best drain line is only as good as its outlet. Water needs to leave the site by gravity to daylight or through a sump setup that still holds up in storms, freezing weather, and power loss.
Where gravity discharge is possible, protect the outlet from clogging, crushing, and freeze-up. Where it isn’t, size the sump conservatively and keep the discharge route practical. Common failures are predictable: power cuts, undersized pumps, blocked lines, and frozen outlets.
Redundancy is wise. Backup pumping, battery support, and a high-water alarm don’t replace good drainage design, but they make a strong system more resilient.
Seasonal care matters just as much. Moisture-control guidance recommends regular inspection so drainage systems continue moving water away from the building.
- Clear swales and surface channels.
- Test alarms and backup power.
- Check cleanouts and confirm discharge.
- Inspect outlets before heavy rain or snow.
- Keep a simple map of drains, cleanouts, and breakers.
These checks aren’t glamorous, but they’re part of good stewardship. A buried home stays dependable when the people caring for it can understand the system quickly and verify that it still works.
Conclusion: Build Within the Flow
The lasting lesson is simple: shape the water first, then build within that pattern. Grading and swales keep runoff moving past the site. Perimeter drains and gravel beds give infiltrating water an easy exit. Layered wall assemblies protect the shell more reliably than membrane alone. Roof drainage, careful transitions, and dependable outlets complete the system.
This is what helps an earth-sheltered vault feel settled and resilient over time. It also supports steadier interior conditions, because reduced wall exposure in underground construction generally means less soil exposure and more stable moisture behavior.
A few cautions are worth holding to the end. Every site has its own soil, slope, and seasonal water behavior, and climate still shapes which assemblies stay durable, while drainage components need real maintenance to remain reliable. When you plan for those realities from day one, the craft isn’t only in the arch; it’s in reading the land well and giving every drop a sensible way out.
Build Better Hobbit Vaults
Apply these drainage principles in context with the Hobbit Vault Course for a drier, more resilient earth-sheltered build.
Explore the Hobbit Vault Course →