


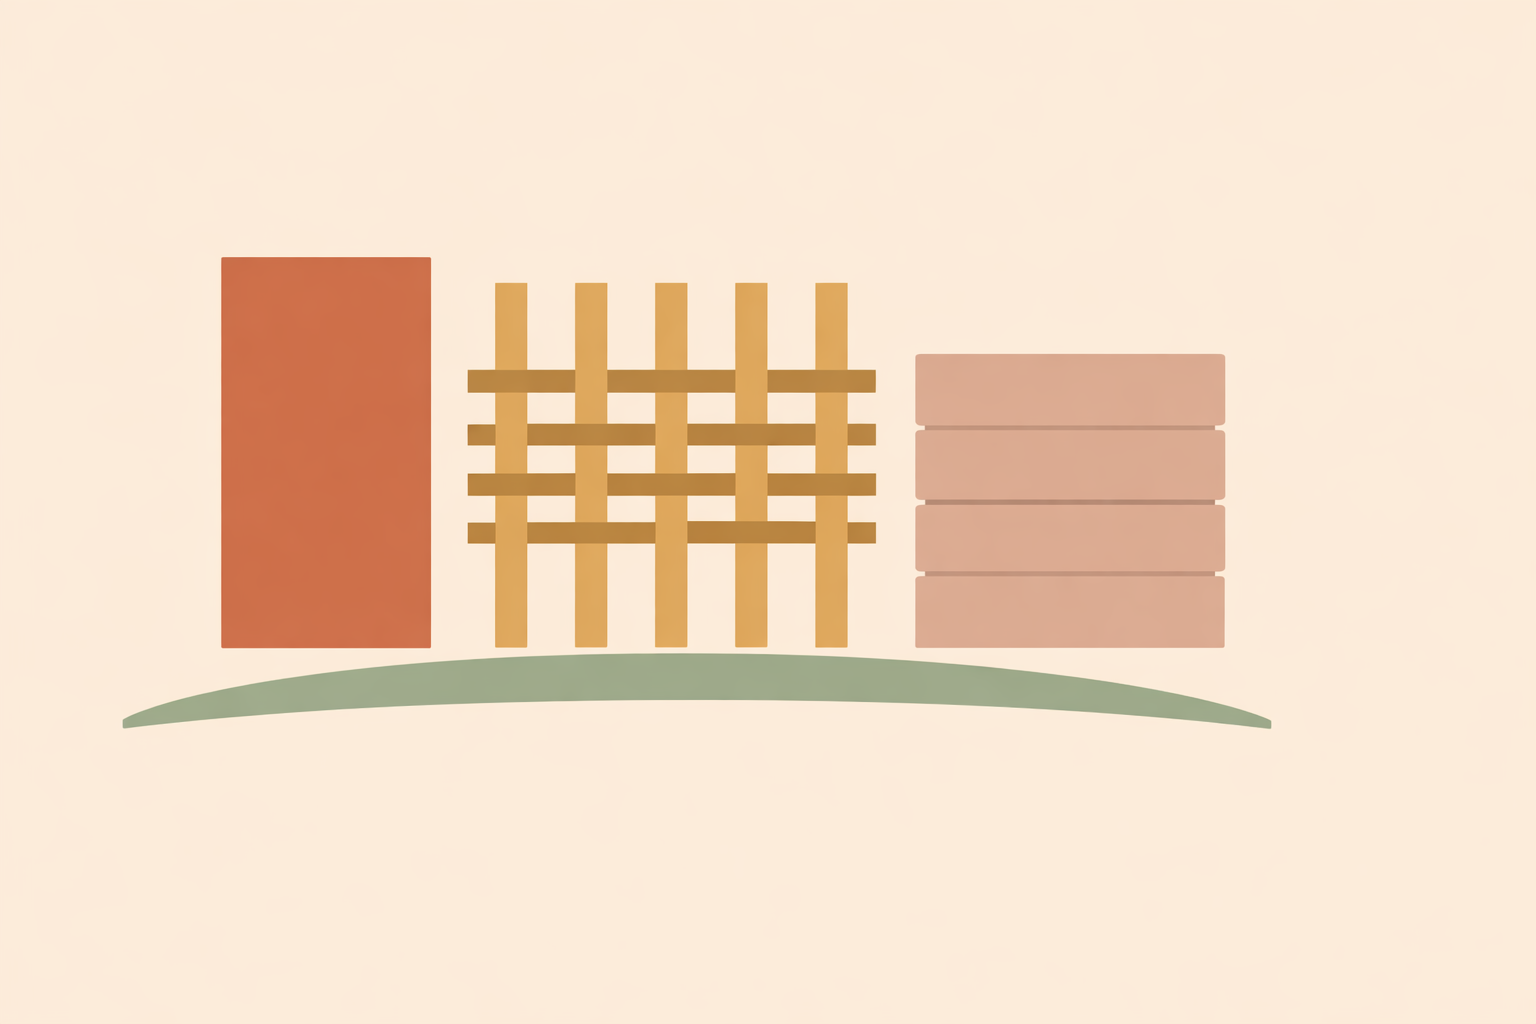
Most small natural-build projects stumble in the same place: everyone is keen to get mud on the wall, and a few days later the panel is heavy, slow to dry, and already cracking at the corners. The problem is usually the sequence. When you start with water protection and a self-supporting frame, wattle and daub becomes quick, forgiving, and durable.
Wattle and daub works best as protected, breathable infill. Build and weather-protect the frame first, weave a snug lattice second, and only then tune and apply the earth mix. Get that order right and the wall is easier to build, easier to maintain, and steadier to live with.
Key Takeaway: Good wattle and daub starts with water management and a self-supporting frame, then a snug woven lattice, then a balanced daub mix applied in steady layers. Raised bases, generous eaves, and vapor-open finishes help panels last. Green weaving rods, reliable spacing, and firm fixing make daubing easier. Simple soil tests, enough sand and fiber, patient drying, and a small test panel before scaling up make the whole process more predictable.
Step 1: Build the Frame and Protect the Wall from Water
Begin with placement, drainage, and roof protection. Wattle and daub shines as earthen infill inside a frame that already stands straight, braced, and stable on its own.
Traditional builders read water before anything else: where it runs, where it pools, and where the sun helps surfaces dry. Raised ground with good runoff is usually kinder to earthen walls than a damp hollow or an exposed splash zone, and that same logic should guide the structure.
For long service life, protect the wall from above and below. Generous eaves, gutters, and splash control at the base keep driving rain and rebound moisture off the infill. Conservation guidance also notes that well-maintained panels in sheltered conditions can endure for a very long time.
The frame comes first because, in most traditional systems, the infill does not carry the building. The posts, rails, and braces do that work; the wattle and daub fills, buffers, and protects. If you imagine removing the infill tomorrow, the frame should still stand happily on its own.
Panel thickness is worth deciding early. Around 60 to 90 mm is a practical target on many small projects: thin enough to dry steadily, thick enough to offer useful heat and sound buffering. Research on earthen infill systems also points to good thermal performance, with results depending on the wall build-up and local materials.
A simple, reliable setup is a timber frame on a stone or stabilized gravel stem wall, with broad eaves and panels kept safely above the splash line. The exact dimensions matter less than the principle: keep bulk water away, give the wall room to dry, and avoid trapping moisture behind dense modern finishes.
- Good early decisions: choose a well-drained site, raise the base, set broad eaves, and brace the frame before weaving.
- Useful target: aim for panels in the 60–90 mm range unless your local practice suggests otherwise.
- Finish mindset: use vapor-open plasters and paints so the wall can exchange moisture naturally.
Do this well and many later problems never appear.
Step 2: Weave a Tight, Even Wattle Lattice
The weave sets the tone for everything that follows. A tidy lattice gives the daub something to grip, spreads movement through the panel, and makes application far less awkward.
When the lattice is firmly fixed into the frame, the panel behaves more like one piece and tolerates ordinary movement without failing. Conservation specialists describe how wattle and daub can accommodate movement when it is properly integrated with the timber frame.
Start with regular stave spacing and keep the weave consistent. Thinner panels generally want tighter spacing, while thicker panels tolerate wider gaps. Rhythm and snugness matter more than chasing a single universal measurement.
Green wood helps. Fresh-cut hazel or willow bends reliably and makes it easier to pull a tight basket, while dry rods are much more likely to snap.
Some builders peel bark before weaving to remove sheltered habitat for insects. Pest guidance supports the idea that bark removal can eliminate certain insects associated with that outer layer.
If any wood will sit close to persistent moisture, detailing beats folklore. Good drainage and separation from wet ground come first. Surface charring is used in some traditional craft, and research suggests improved fungal resistance in some conditions, though it should not be relied on for wood in direct soil contact.
In areas prone to seismic movement, careful joinery and firm fixing become even more valuable. Experimental work on timber frames with earthen infill shows greater energy dissipation and improved structural behavior when infill and frame work compatibly rather than loosely.
- Aim for: an even basket with no loose rattle, no major voids, and no rods under obvious strain.
- Prefer: green hazel or willow for easier bending and tighter weaving.
- Check before daubing: shake the panel firmly; if it feels loose, tighten it now, not later.
If the weave is irregular, the daub will tell you immediately.
Step 3: Mix and Apply the Daub in Balanced Layers
Before mixing a large batch, read the soil. Ball and ribbon tests can tell you a surprising amount about clay content and help you judge how much sand and fiber your mix needs.
Once you understand the soil, adjust the mix rather than forcing a recipe. Across traditions, the pattern stays steady: clay provides cohesion, sand reduces shrinkage, and straw or other fibers help hold the mass together. Ratios vary by site, season, and subsoil.
If cracking is heavy as the panel dries, the first adjustment is usually more aggregate and more fiber. Research on earthen plasters supports how adding sand and vegetal fibers can reduce shrinkage and surface cracking, and fibers also help reduce crack formation as the material dries.
Lightly dampening the wattle before daubing often helps the mix bond evenly. Many builders work from the bottom up, pressing daub in from both sides so it meets through the lattice and locks on. A base layer allowed to firm up before the next tends to behave better than pushing the whole thickness at once.
Drying time depends on weather, thickness, airflow, and how rich the mix is. In practice, full curing often takes about one to three weeks, and simple rain protection during that period can make the work calmer and cleaner. Temporary tarps, light covers, or provisional eaves are often enough.
Corners and openings deserve extra care because they concentrate stress as timber shifts with humidity and the seasons. A little extra chopped straw in these areas often helps the wall handle that movement more gracefully.
- Read the soil first: test before batching.
- Tune the mix second: more sand and fiber usually means less shrinkage.
- Apply patiently: press through the lattice, build in layers, and protect from rain while drying.
A few fine cracks are normal. A balanced wall keeps that movement small, manageable, and easy to finish.
Finishes, Comfort, and Long-Term Performance
Once dry, the wall wants a finish that behaves like the wall itself. Earth and lime plasters, along with vapor-open paints, let moisture move in and out instead of being trapped behind a hard skin. That breathability is a big part of why these walls feel steady over time.
Wattle and daub can also contribute meaningfully to indoor comfort. Testing on earthen wall systems has shown noticeable temperature moderation between indoor and outdoor conditions, matching long-standing hands-on experience that earth walls soften daily swings in heat and cold.
Comfort is also about moisture rhythm: materials that take up and release humidity, surfaces that don’t feel sealed, and walls that respond gently to the local climate, which is one reason passive solar design matters so much in natural buildings.
Start with One Test Panel
If one habit saves the most time, it’s building a test panel first. A single bay shows you how your soil behaves, how fast your mix dries, where cracking appears, and how exposed the site really is. That learning transfers directly to the full build.
This small beginning also keeps the work rooted in place. Rather than copying a recipe from another region, you let your own materials and weather teach you what the wall needs, which is a deeply traditional way to build well.
Conclusion
Good wattle and daub comes down to sequence. Protect the wall from water, build a frame that stands on its own, weave a consistent lattice, and then tune the earth to the place. When those fundamentals are in order, the method becomes simpler to build and easier to maintain.
As with any self-sufficiency and sustainability approach, long life depends on staying attentive to water management, allowing steady drying, and choosing finishes that remain vapor-open. Start with one bay, observe closely, and let the wall teach you from there.
Build Better with Natural Building Course
Apply these wattle-and-daub fundamentals in context with the Natural Building Course.
Explore Natural Building Course →








