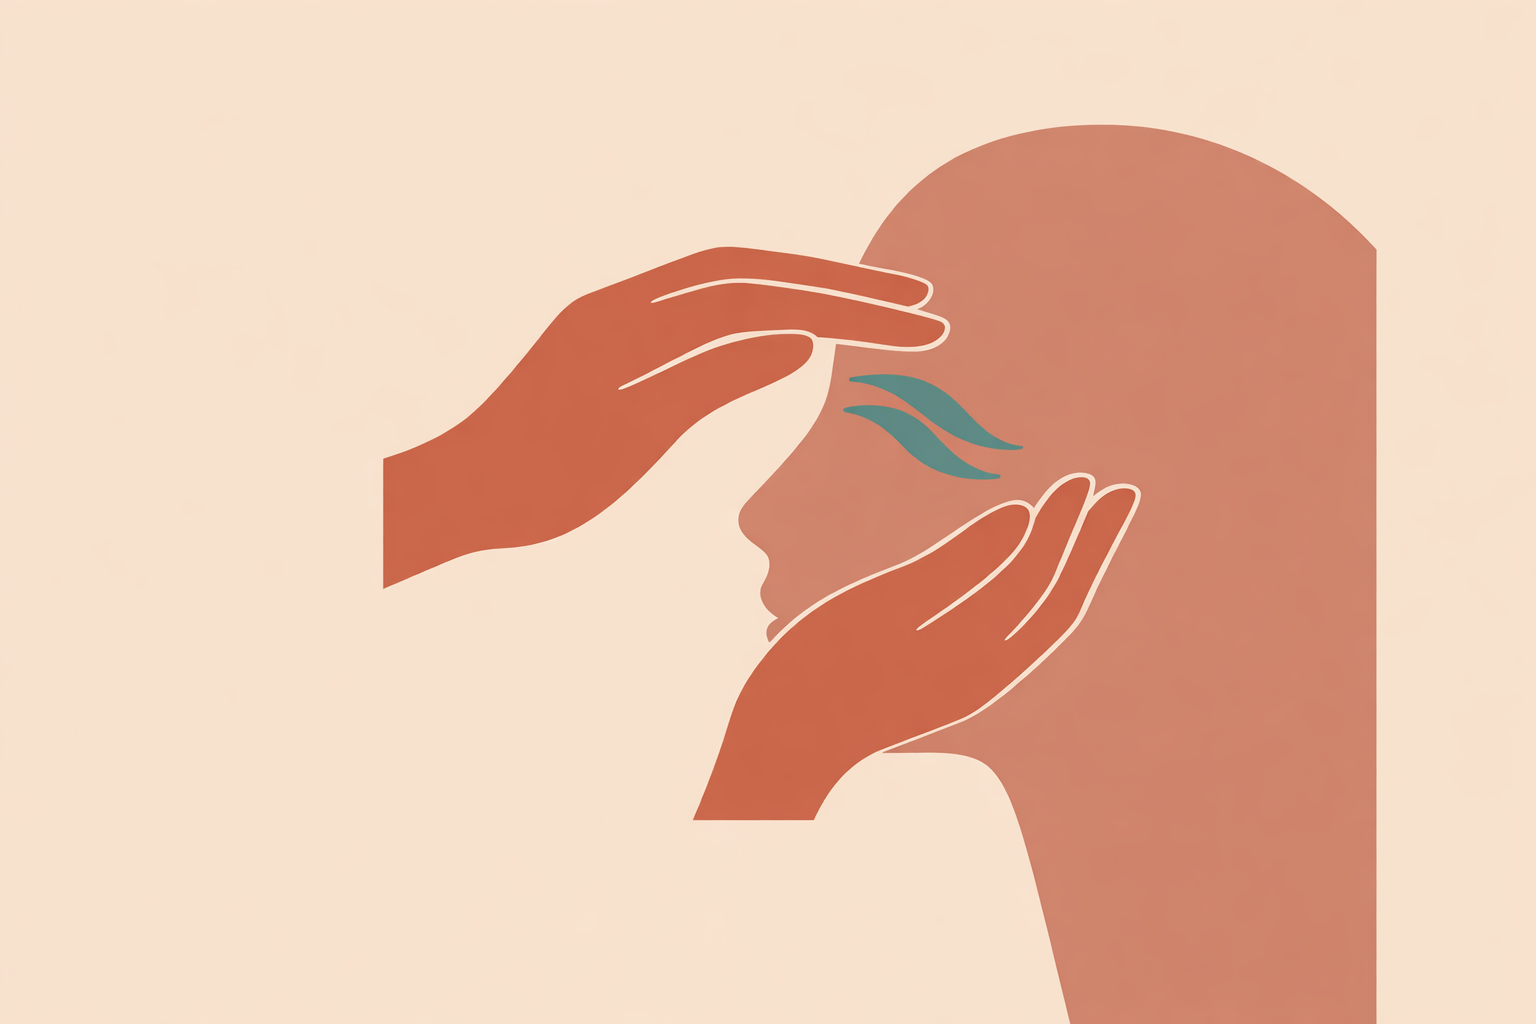
Face-sculpting sessions often aim for lift and definition. But when a client arrives looking puffy, feeling congested across the face, or carrying screen and travel tension, comfort is usually the best place to begin. Rather than adding pressure or reaching straight for a tool, start by easing heaviness around the brow, bridge, and upper cheeks.
Key Takeaway: A light, comfort-led sinus-area facial massage can be a useful opening for sculpting sessions. Kept surface-oriented and conservative, it helps soften facial tension, reduce the appearance of puffiness for a short time, and prepare the face for more focused sculpting work. The key is clear consent, very light pressure, honest language, and an understanding that the effects are supportive and temporary.
What “sinus drainage” means in facial sculpting
In sculpting work, “sinus drainage” is best used as a shorthand phrase, not a literal promise. Your hands are not working inside the sinuses; they’re working with the soft tissues over the brow, bridge of the nose, upper cheeks, temples, and nearby surface pathways where fluid can shift.
That distinction keeps your language accurate and your work grounded.
The effects here are surface-oriented. Light, rhythmic strokes encourage a sense of ease and movement through the tissues without pressing into deeper structures. In dermatology conversations, gentle adaptation is also how modern facial gua sha is commonly framed.
A clear way to explain it to clients is: “I’m using very light strokes to support comfort and reduce the look of surface puffiness around the brow, bridge, and cheeks. I’m not trying to force anything or work deeply.”
This kind of wording sets expectations while keeping the work calm and intuitive.
Consent, screening, and pressure boundaries
Face work is intimate, so start with explicit permission and boundaries. Keep it collaborative: “Would you like some very light work around the brow, bridge, and upper cheeks before we begin sculpting?” Then confirm preferences before you begin.
Before you start, ask about:
- skin sensitivity or recent product reactions
- recent facial procedures or injectables
- visible irritation, broken skin, or sun tenderness
- active breakouts that feel sore
- current headaches or strong jaw tension
If anything shows up, adjust your route, shorten the time, or skip the area. Good practice comes from choosing what fits the person in front of you.
Let pressure be your main boundary. Stay feather-light to light, particularly around the bridge, the under-eye border, and the temples. Aim for glide rather than drag, and avoid sharp tenderness or lingering redness.
Hands-only work is often the easiest way to keep that precision, since you can soften, pause, or redirect instantly.
A simple 8-10 minute sinus-area sequence
This sequence fits neatly at the start of a sculpting session. Keep the pacing unhurried and let the touch stay calm and consistent.
- Arrival: Begin with warm hands and minimal slip. Invite two slow breaths, then start with still, reassuring contact.
- Forehead sweeps: Glide from the inner brow outward toward the temples with very light pressure. Repeat several passes on each side.
- Brow softening: Use a gentle pinch-and-hold or small walking contact along the brow line to soften habitual frown tension.
- Bridge stillness: Rest fingertips beside the upper bridge of the nose and hold quietly for a breath or two, or use tiny circles with almost no weight.
- Upper cheek glides: Move from beside the nose outward along the upper cheeks toward the ears in slow, even passes.
- Temple spirals: Circle lightly at the temples, then trace softly around the ear area if that suits the client.
- Neck finish: With consent, complete with light lateral neck strokes downward toward the collarbone, avoiding the front midline of the neck.
Let the timing flex with the client and the session plan. Keep checking that the touch stays easy to receive.
After this opening, sculpting strokes often create a more refined, temporary de-puffed look, especially through the upper cheeks and under-eye border. A review of facial manual lymphatic approaches notes potential support for facial and periorbital swelling in certain contexts, including postoperative edema. In day-to-day sessions, describe the visual effect plainly: the face may look lighter and less full for a while.
Hands, rollers, and gua sha
If comfort is the goal, hands are usually enough. They offer the most sensitivity and the quickest pressure adjustments, which matters around delicate facial structures.
Tools can still be useful when handled conservatively. Rollers and gua sha can add variety and a pleasant ritual quality, especially when the angle stays flat, slip is ample, and you keep passes to a minimum.
Facial gua sha also deserves respectful framing. It’s a light, face-specific adaptation of a deeper body practice with East Asian roots, and different practice applies to traditional gua sha than the whisper-light approach used in facial sculpting.
If you use tools:
- keep the pressure lighter than you think you need
- avoid the eyelids and very sensitive skin
- do not work over broken or irritated areas
- clean tools thoroughly between clients
- switch back to hands whenever the face needs a more responsive touch
Often, one or two smooth passes with a flat stone along the upper cheek is plenty. In this area, restraint tends to read as skill.
How to talk about results with integrity
The best results language is calm, specific, and modest. This work supports comfort, softens expression tension, and can reduce the appearance of puffiness for a short time. It doesn’t need big promises to be meaningful.
Useful phrases include:
- supports ease through the upper face
- encourages gentle surface movement
- may reduce visible puffiness for a while
- can help the face feel lighter and more relaxed
Clients usually respond well to straightforward wording that matches what they can actually feel and see in the mirror.
To keep the session collaborative, try neutral check-ins like:
- “Does this area feel lighter, heavier, or unchanged?”
- “Is the pressure still comfortable?”
- “Do you notice any shift around the brow or cheeks?”
Simple aftercare for sinus-aware face work
Aftercare can stay practical and proportional to the session.
- Drink some water slowly afterward.
- Avoid strong facial actives for the rest of the day if the skin is sensitive.
- If puffiness is a recurring concern, resting with the head slightly elevated may help.
- Pause and seek appropriate support if swelling is pronounced, discomfort feels intense, or changes around vision or breathing are present.
When describing outcomes, keep the focus on support rather than promises: “Today’s shift is about comfort, softness, and a temporary reduction in facial fullness. If this opening worked well for you, we can repeat it next time.”
Making it part of your sculpting practice
Sinus-area facial massage works best when it stays simple. Light pressure, slow pacing, clear consent, steady observation, and honest language take you a long way.
Used consistently, it becomes a reliable transition into deeper sculpting work. The face settles, your sequence feels smoother, and the session becomes more individual to the person you’re supporting.
Over time, small observations guide your choices. One client loves bridge holds and temple work. Another prefers brow sweeps only. A third responds best when you keep everything broad and minimal. That kind of attentive adjustment is what makes the work feel truly refined.
At its best, this is quiet work: respectful of tradition, responsive to the person in front of you, and grounded in the idea that comfort creates a strong foundation for visible change in women’s health coaching contexts where facial puffiness and cyclical shifts may be part of the wider conversation.
Master Facial Sculpting Skills
Build on these comfort-first techniques in the Facial Sculpting Therapist Certification.
Explore Facial Sculpting →