


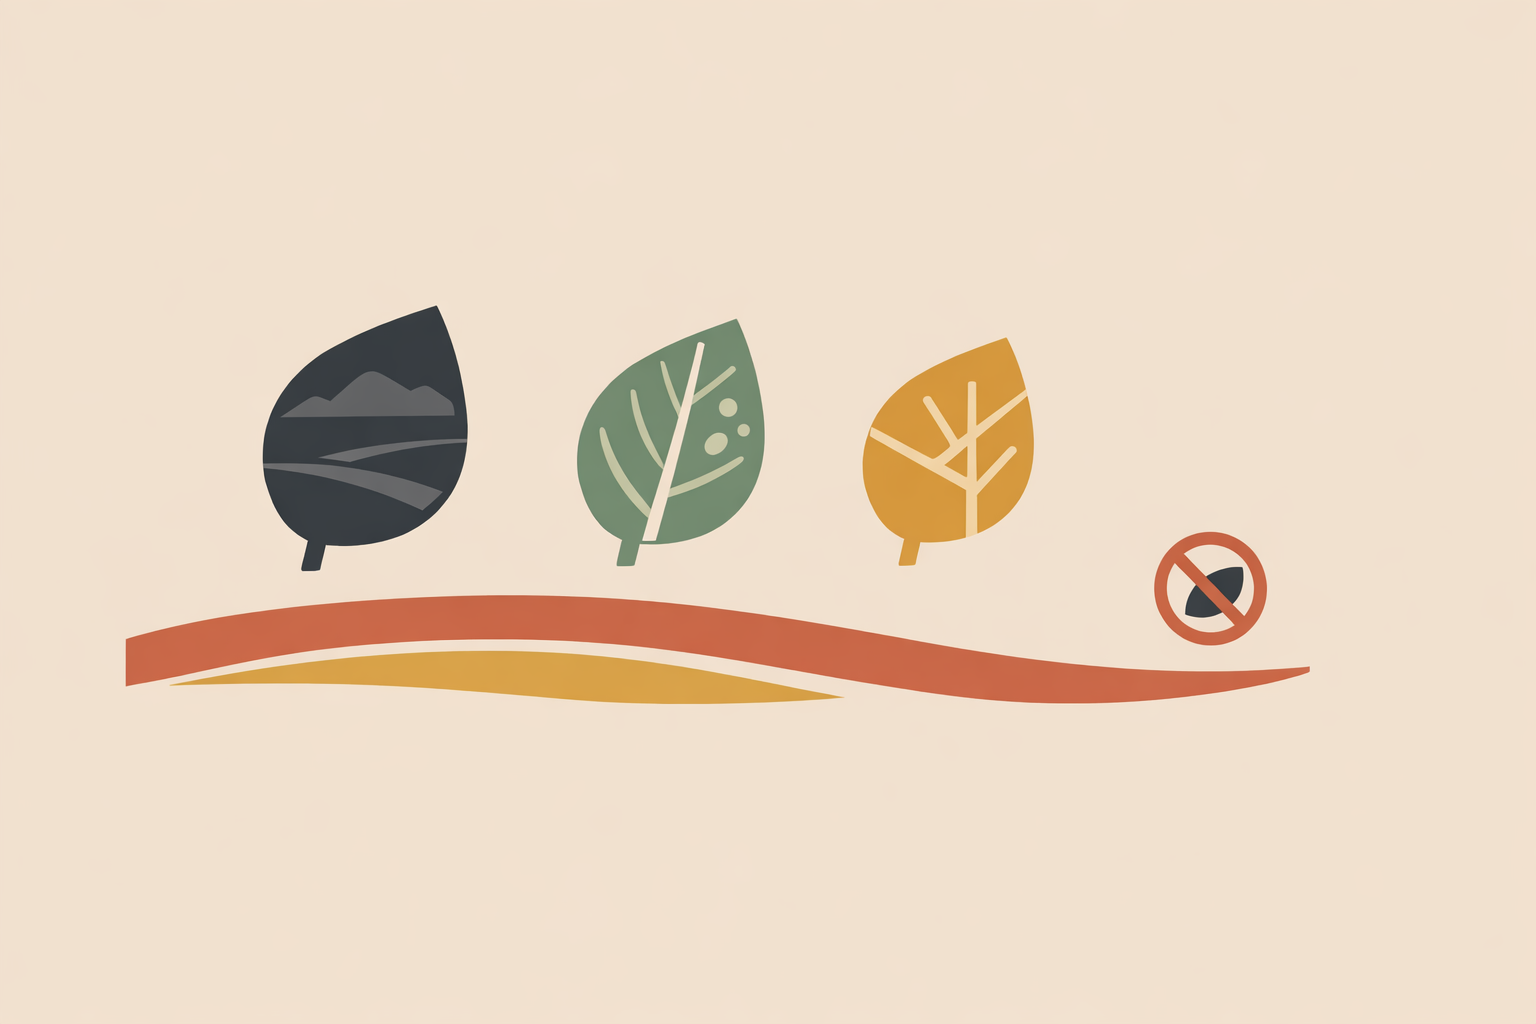
On a busy trail or at dusk in camp, most leaders worry about someone tasting a berry. In practice, trips are more often disrupted by casual contact: brushing a vine, grabbing a shiny leaf for balance, or breathing smoke from burned “mystery brush.” When a group is on the move, you need a simple routine that’s fast, hands-off, and easy for beginners to remember.
Key Takeaway: The safest field routine is a no-touch routine built on three checks: scan shape and habitat from a distance, refine with leaf patterns and surfaces, and only then use a few high-risk structural clues if needed. Paired with two firm boundaries—no tasting unknown plants and no burning unknown brush—this gives you a quick, teachable way to avoid common plant exposures.
Why these 3 field checks work
The aim isn’t to name every plant you pass. It’s to make calm, conservative choices before contact happens, so the group can keep moving without drama.
Plant problems often start with ordinary moments: a quick brush against a stem, a hand on a vine, or oils transferred onto gear at camp. A good field check helps you spot risk early and step wide.
Two boundaries keep everything straightforward:
- No tasting unknown plants.
- No burning unknown brush or vines.
With those habits in place, the three checks become a reliable rhythm: landscape first, leaf details second, and high-risk structures last.
Prepare at home with local plant awareness
The three checks work best when they’re rooted in place. Before a trip, review the main hazardous species for your region and season. Regional guides tend to be more useful than generic lists because they show local growth stages, lookalikes, and habitat notes.
If you can scout ahead, take a few comparison-friendly photos: the whole plant, a close leaf view, and a stem detail. Clear images improve accuracy when you review later.
Apps can support learning, but field conditions can reduce accuracy. Treat them as a prompt to slow down and look again, not as a final verdict.
Ask place-based questions before you go: What’s active this month? What lines wet trail edges? What shows up near campsites, ditches, and river access points? Long-term residents and traditional land knowledge can be especially helpful when approached with respect and permission.
- Save two or three key plant pages as offline images before the trip.
- Review the top local hazards with everyone at the trailhead.
- Decide in advance that uncertainty means distance.
Field Check 1: Scan shape and habitat first
Start wide and read the setting before you study details. Habitat is often your first warning.
Many higher-risk plants show up where people brush past without thinking: wood edges, riverbanks, ditches, disturbed soil, and trail margins. Once those patterns are familiar, you stop walking straight into trouble.
Poison ivy is a classic example. It often favors partial shade and moist ground, especially along rivers, roadsides, fencerows, and wooded edges. Even before you confirm the leaves, that kind of setting should sharpen your attention.
Tall umbel-shaped plants deserve the same respect. Giant hogweed can reach 14 feet or more and is associated with large white umbrella-like flower clusters, hollow stems, and purple blotching. If you see that silhouette on a damp bank or roadside edge, distance is the smart choice.
A shaggy, rope-like vine climbing a trunk is another no-touch sign in outdoor practice. You don’t need a perfect ID to decide you’re better off keeping skin and clothing away.
Use this first check to answer one question: should we even be near this plant? Often, that’s enough.
- Edges, banks, ditches, and disturbed ground deserve extra attention.
- Towering white umbels plus hollow, blotched stems mean step wide.
- Hairy climbing vines are best treated as hands-off.
Field Check 2: Use leaf patterns and surfaces to refine the call
If the shape-and-habitat scan raises suspicion, shift to leaf details without touching. This is where quick, practical distinctions show up.
The familiar poison ivy rule gets more reliable when you add structure. The middle leaflet often has a longer stem than the two side leaflets.
Arrangement matters too. Poison ivy leaves grow alternately along the stem, while common lookalikes such as box elder seedlings show opposite branching. When “three leaflets” feels unclear, this difference often settles it.
Leaf surface adds another clue. In the field, glossy or waxy leaves raise caution when they appear on a suspicious three-leafed plant. It’s not a standalone rule, but it’s a useful signal.
Stinging nettle belongs in this same visual-awareness skill set. Even slight contact can irritate the skin, so learning its upright form, serrated leaves, and fine hairs saves a lot of discomfort.
Old growth still counts. Urushiol-bearing material doesn’t stop being a problem just because the plant is dead, so fallen leaves and dry stems near camp deserve the same caution.
- Leaves of three: check the middle leaflet.
- Alternate vs. opposite growth can settle a lookalike question quickly.
- Shiny surfaces and visible hairs both raise the caution level.
Field Check 3: Notice sap, berries, and other red-flag structures
If the first two checks still leave doubt, use a final visual layer. This is not an invitation to handle the plant. Use distance, camera zoom, or a pointing tool instead of bare hands.
Many instructors lean on a few high-yield warning signs for quick “avoid” decisions: leaves of three, purple-spotted stems, milky sap, and stinging hairs. The strength here is cautious decision-making under real trail conditions.
Milky, latex-like sap is one of those signs. Across field traditions, white sap is treated as a stronger warning than clear sap and often points to potent defensive chemistry.
Bright berries deserve the same restraint. Many highly visible berries are chemically defended, so a conservative habit is simple: admire, photograph, and leave them alone.
One pattern is especially worth memorizing: tall plants with hollow, purple blotches and large white umbrella-shaped flower clusters. That combination justifies full avoidance.
This is also the right place to restate the fire boundary. Unknown vines and brush do not belong in the fire. If you can’t name it with confidence, don’t burn it.
- Milky sap: caution.
- Bright unknown berries: no tasting.
- Hollow purple-blotched stems with white umbels: avoid entirely.
Use more than one trait before making the call
In real terrain, a single trait can mislead. Two or three traits together are much more dependable for deciding to keep your distance.
That might look like this:
- Habitat plus growth form.
- Leaf grouping plus stem arrangement.
- Sap color plus visible hairs.
This layered approach is how experienced leaders stay steady. They stack clues, choose the safer option early, and avoid turning identification into a pressured guessing game within broader self-sufficiency and sustainability practice.
Teach the routine so the whole group can use it
The strongest plant awareness is shared. When you speak the checks out loud, newer hikers start noticing what you notice.
Keep the language simple:
- First, read the landscape.
- Second, check the leaves.
- Third, confirm with red flags if needed.
- When in doubt, step away.
You can make this interactive without turning it into fear-based teaching. Invite the group to spot leaf number, branching pattern, and shine from a few steps away, then reinforce the habit of respectful observation over touching, much like edible plant identification is best taught.
It also helps to build a local photo library together. If your group hikes the same region often, save images of key hands-off species through the seasons. Spring seedlings, summer vines, and autumn color can look surprisingly different, and familiarity grows with repeated seeing.
Clean clothing and tools after possible contact
Good judgment continues after the hike. If clothing, tools, or gear may have brushed suspicious vegetation, clean them before oils spread further into camp, the car, or home.
Urushiol can remain active on tools and clothing, and cleaning helps prevent re-exposure.
Pets deserve attention too. Fur can carry plant oils even when an animal seems unbothered, so it’s wise to stay mindful after brushy walks or camps near trail edges.
Walk with respect, not fear
The strength of this method is its simplicity: scan the habitat, read the leaves, watch for strong red flags, and choose distance when the picture is unclear.
From a traditional perspective, hazardous plants aren’t enemies. They’re part of a living landscape that asks for attention, humility, and clear boundaries. Practiced this way, plant awareness becomes a steady outdoor skill and a more respectful way of moving through wild places.
Practice the three checks until they feel automatic, and teach them generously as part of stronger safety systems and wilderness survival instruction. They protect your group, support confident leadership, and help everyone travel with greater care. In the end, keep the two non-negotiables front and center: no tasting unknown plants, and no burning unknown brush.
Train as a Wilderness Survival Instructor
Build field-ready plant safety habits in the Wilderness Survival Instructor course.
Explore Wilderness Survival Instructor →








