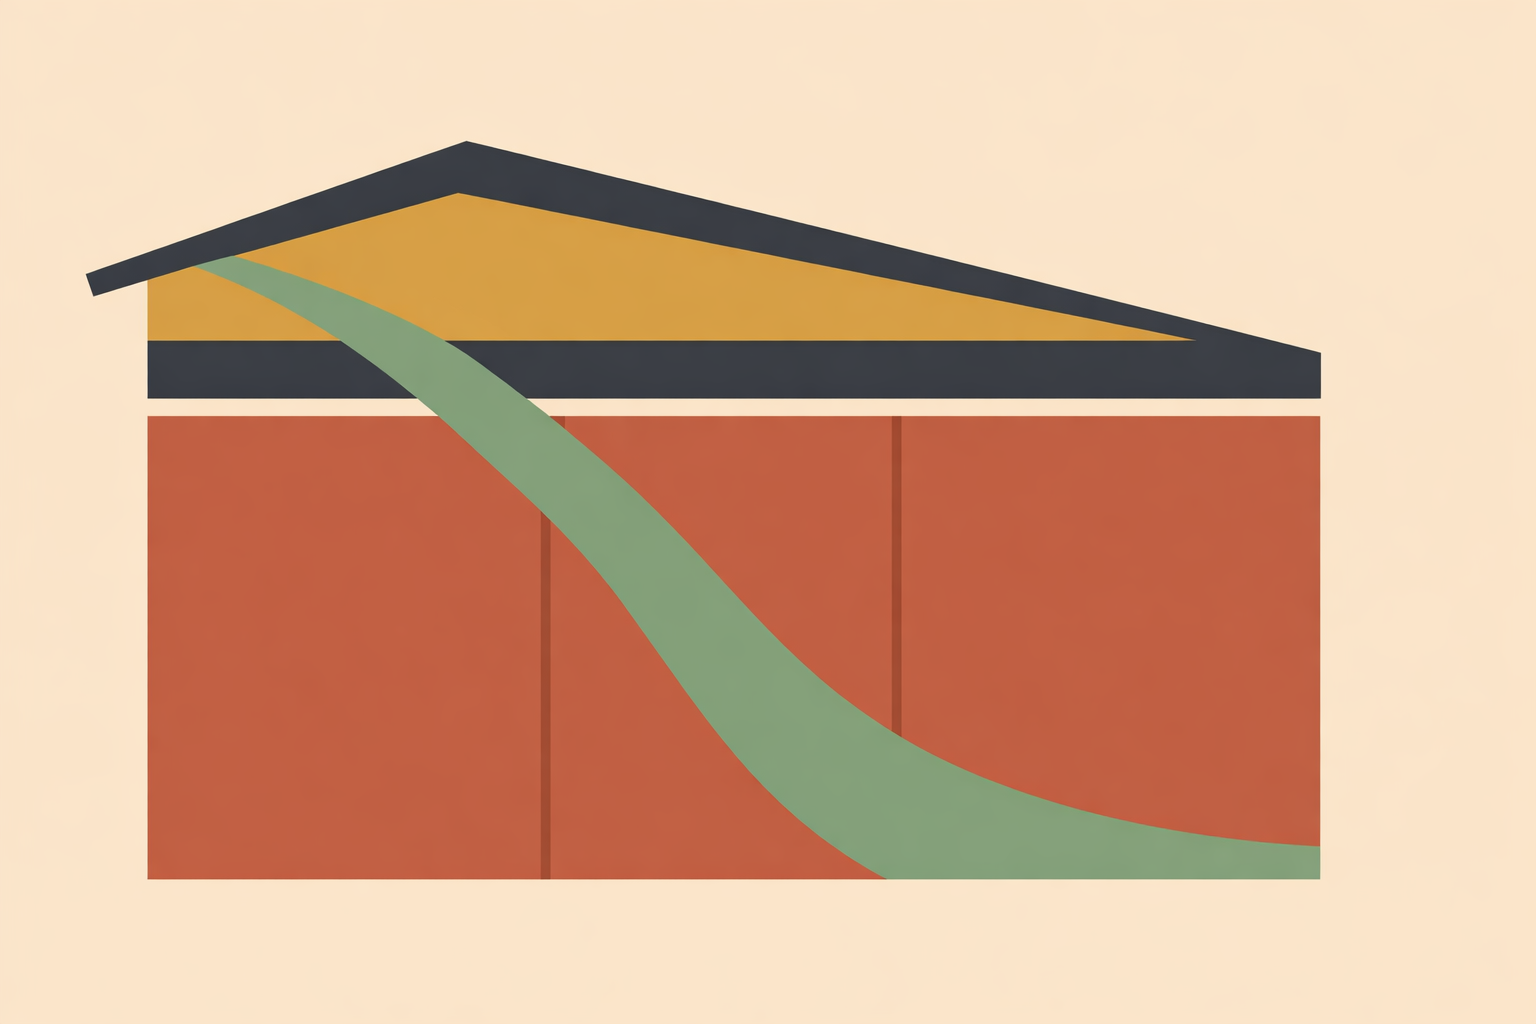
Most damp marks on wattle-and-daub walls don’t begin where the stain shows. Sealing, repainting, or replacing that visible patch can feel satisfying, yet it often traps moisture, hides the route it travelled, and leaves timber edges quietly vulnerable. In practice, the real entry point is often above, beside, or below the panel rather than in the daub itself.
The sounder approach is to read the wall as a whole moisture system. Trace the water’s path first, then work inward to the frame, the daub, the finish, and finally the indoor environment. This sequence typically leads to smaller, more compatible repairs and fewer repeat problems.
Key Takeaway: Durable wattle-and-daub care comes from tracing moisture routes and keeping the wall assembly vapour-open, not from sealing symptoms. In practice, that means checking rainwater goods and junctions first, then ground levels and splashback, then the frame and panel edges, then surface cracks and finishes, and finally indoor humidity before planning small, selective repairs.
1. Follow the rain before blaming the daub
A damp patch halfway up a panel often starts somewhere else. Historic building guidance recommends checking causes such as cracked or misaligned rainwater goods before focusing on the wall itself.
Start above the panel and work outward. Stand back and follow the likely route of rain across roof coverings, valleys, flashings, gutters, downpipes, and wall junctions. Water can also run along timber members and fixings, then appear at a distance from where it entered.
A quick check after rainfall is often more revealing than a long look on a dry day:
- Look for overflow marks, silt lines, or shiny wash paths on gutters and downpipes.
- Check whether downpipes discharge too close to the wall base.
- Study eaves, lean-to connections, window heads, and porch junctions where water can be redirected.
- Photograph the same panel in wet and dry conditions to spot repeating patterns.
This discipline prevents the classic mistake of repairing the blotch instead of the route. In traditional buildings, the route is usually the real story.
2. Protect the wall base from slow, persistent wetting
After checking the upper water path, move to the base. Raised ground levels beside timber and daub can cause a slow, stubborn soak that repainting rarely improves. Historic England notes that earth-based walls are vulnerable to water penetration and that lasting care comes from addressing causes rather than relying on impermeable coverings that can worsen decay.
Look closely at how paving, soil, mulch, and planting meet the plinth or lowest timbers. If surfaces slope toward the wall, or mulch and soil bridge the base, rain is being encouraged into the building fabric. This kind of wetting can be quiet, steady, and damaging over time.
Useful practical checks include:
- Pull back soil or mulch so the wall base can breathe.
- Trim dense planting that holds damp air against the lower panels.
- Add a 300-500 mm gravel strip at the base to reduce splashback wetting.
- Create a shallow fall or drainage channel where surface water runs inward.
These are modest interventions, and they often make a noticeable difference. Lower panels that stay dark for days after rain usually need less “sealing” and more protection from repeated splash and ground contact.
3. Read the timber frame and wattles in context
Wattle and daub works as part of a moving, breathing timber structure. Once rain paths and ground conditions have been checked, shift attention to the frame: posts, rails, braces, sill members, and any visible wattles or laths.
Probe stained timber gently and observe before deciding what it means. Look for softness, loss of section, loose edges, insect debris, or a musty smell that lingers after dry weather. Traditional wattle-and-daub infill commonly drew on local woods such as hazel, oak, or chestnut, and that local compatibility is worth carrying through into any repair plan.
Not every separation is a problem. Fine gaps where daub meets timber are often normal shrinkage. Wider, darker openings deserve more respect. Conservation guidance highlights the need to prevent rain entering cracks and gaps beside the frame, because those openings can slowly wet adjacent timber.
Fine edge movement is part of an old wall’s life. Open joints that regularly catch weather are the ones to take seriously.
4. Map cracks and loose areas before you patch
Before touching the daub, map what is happening across the panel. A slow walk around each elevation often reveals patterns that rushed patching misses.
Fine crazing is common in earthen surfaces and often needs nothing beyond monitoring. More attention is warranted when cracks are wide enough to catch water, when they track to damp timber, or when the panel sounds hollow or feels loose. In day-to-day practice, cracks wider than about 2-3 mm are a useful prompt for a closer look, especially if they are changing.
A simple routine helps keep decisions grounded:
- Mark defects with low-tack tape or a china pencil.
- Note whether each crack is hairline, open, stained, or linked with bulging.
- Record where cracks meet timber junctions.
- Recheck after the next spell of wet or windy weather.
This prevents over-repair. Many old panels carry stable surface crazing as part of their character; the goal is to spot what’s active and letting water in.
5. Keep finishes vapour-open
Finishes matter because they control how readily a wall can release moisture. On wattle and daub, hard modern skins frequently create more trouble than they solve.
Historic England warns that cement-based fillings and impermeable coatings can accelerate decay in older walls. In the same spirit, SPAB advises choosing permeable materials that allow moisture to pass through and evaporate, rather than locking it inside the wall.
This is why cement render and film-forming paints so often disappoint on traditional panels: they tend to crack where the wall moves and can hold moisture behind them. Limewash and clay paint usually sit more comfortably within the natural rhythm of these assemblies and within natural building practice.
A few practical clues can help during inspection:
- A glassy, hard surface often suggests a closed finish.
- If water beads and sits on the surface for a long time, outward drying may be restricted.
- If coatings flake repeatedly at joints, the finish may be too rigid for the wall.
Where refinishing is needed, aim for compatible, flexible materials and thin coats. The work is slower, but it tends to cooperate with the wall rather than challenge it.
6. Separate condensation from rain ingress
Not all damp around a traditional wall comes from outside. Cooking, bathing, laundry, and uneven ventilation can raise indoor humidity enough to create surface moisture and, in some build-ups, moisture within the wall.
A recent study of historic timber-framed infill panels identified interstitial condensation in wattle-and-daub assemblies under some conditions. Moisture can gather within the layers when indoor humidity stays high and colder layers are present.
Traditional earthen and lime wall systems often help steady indoor humidity, and they still benefit from sensible household habits. Many practitioners aim for roughly 40-60% relative humidity and become cautious when levels sit above about 65-70% for extended periods.
Useful everyday steps include:
- Run kitchen and bathroom extractor fans for 15-30 minutes after use.
- Use short, effective ventilation after cooking or showering.
- Dry laundry in a well-ventilated space rather than loading the main room air.
- Watch for recurring signs such as wet windows, musty corners, and persistent morning dampness.
Moisture meter readings can help, but traditional materials can make single readings misleading. The most reliable picture comes from combining readings with visual clues, weather patterns, and how the wall behaves over time.
7. Repair selectively, then revisit after weather
Once the source is clearer, keep repairs small, local, and compatible. Wholesale replacement is often unnecessary. Many panels respond beautifully to targeted attention after the true moisture path is corrected.
Retaining existing wattle and daub is usually the wiser craft choice, and it also avoids avoidable waste from demolition, new materials, and transport. Traditional practice generally rewards steady maintenance over replacement.
For shallow local repairs, the basics are straightforward:
- Pre-wet the repair area so it doesn’t pull moisture too quickly from fresh daub.
- Secure any loose wattles or edges first.
- Press in compatible material in thin layers.
- Allow patches to dry slowly, protected from strong sun and wind, to reduce shrinkage.
- Finish with a compatible vapour-open surface once fully dry.
Then return and look again. Recheck after heavy rain, after a windy storm, and again in a different season. Traditional walls reward observation, and a notebook plus a few repeat photographs can prevent small issues becoming repeat repairs.
Conclusion: work with the wall, not against it
Good wattle-and-daub care follows a steady rhythm: trace the rain, protect the base, read the frame, map the daub, keep finishes open, watch indoor humidity, and revisit after weather. This approach respects how traditional wall systems actually behave and sits comfortably within broader self-sufficiency and sustainability thinking.
The core lesson is simple. Solve the moisture route before repairing the symptom. In many cases, the most important decision is not what to patch, but where the water is really coming from.
With compatible materials, patient observation, and selective repairs, old panels can keep serving for many years. Alongside the practical benefits, this way of working honours a building tradition shaped by local materials, craft knowledge, and close attention to place.
Build Better with Natural Building
Apply these moisture-first principles in practice with the Natural Building Course.
Explore Natural Building Course →