


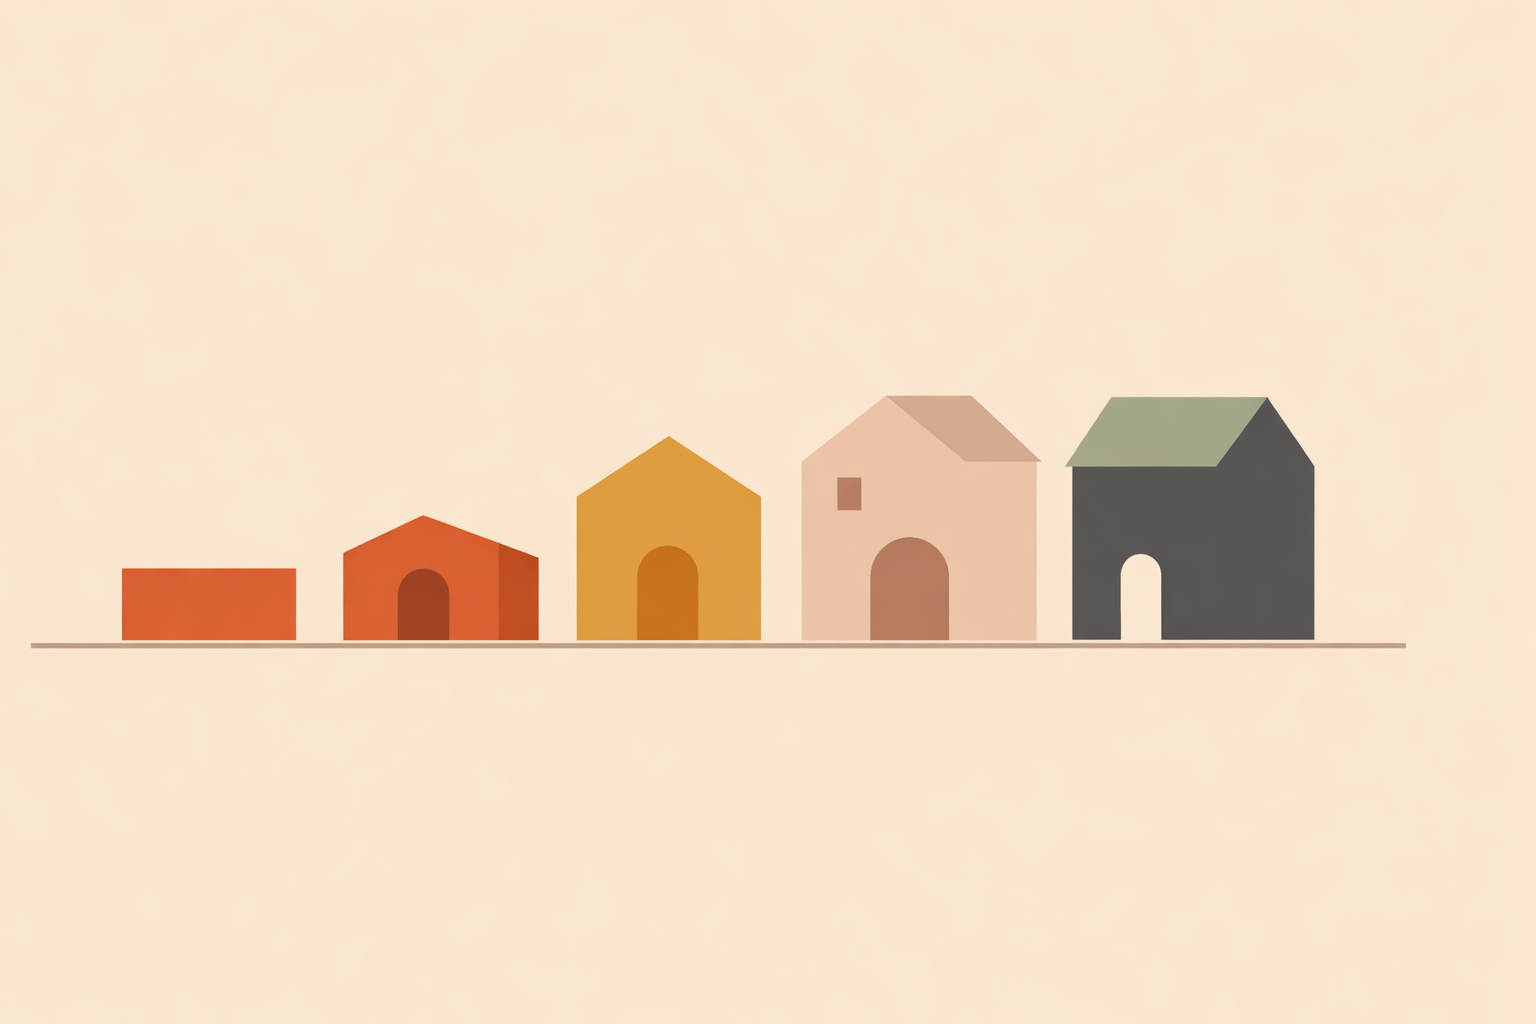
Jumping straight into a tiny house often creates friction that could have been avoided. Plans slow down, moisture details get improvised, and a hopeful build can drift away from straightforward approval pathways. A steadier approach is to build in stages: start small, learn the craft on useful structures, then move toward larger envelopes with better skills, clearer documentation, and real confidence.
Key Takeaway: A code-aligned progression makes natural building more durable and more realistic. Start with a permit-exempt shed to practice detailing, move into a light straw-clay workshop, then a straw-bale studio, a cob garden room, and finally a hemp-lime cottage or retrofit. Each step teaches moisture management, better communication with officials, and practical ways to create comfortable, resilient spaces.
Project 1: Permit-Exempt Natural Shed
If you want a low-risk place to begin, build a small shed. In many regions, modest accessory structures can be built without a full permit process, making them perfect for practicing plasters, roof overhangs, base details, and weather protection before you take on a living space.
Treat it as a working classroom, not a disposable first try. A well-built shed can store tools and supplies while you build the habits that make every later project easier within a broader self-sufficiency practice.
- Footprint: around 10 ft × 12 ft, with height kept modest.
- Foundation: a compacted gravel pad and short stem wall to keep natural walls well above splashback.
- Wall system: a slim straw-bale wrap or a cob-and-wood hybrid.
- Roof: generous eaves and careful drainage from the start.
The core principle is simple: good hat, good boots, good coat. For straw-based walls, that protective coat should include at least 30 mm of exterior protective render or cladding.
This is also where you begin learning the language of approvals. Even when no application is required, a brief conversation with your local office helps set a cooperative tone. Keep it plain: accessory shed, no sleeping, no plumbing, durable exterior finish, and thoughtful weather protection.
Small builds also invite community in. A weekend shed-raising lets neighbors feel clay, straw, and lime in their hands, and that grounded experience often builds more confidence than a pile of arguments ever could.
Project 2: Light Straw-Clay Workshop
Once the basics feel familiar, a workshop or classroom is a strong next step. Light straw-clay pairs a familiar structural frame with an ancestral infill system that’s forgiving, tactile, and well suited to breathable finishes.
This is often the point where full permitting makes sense. The 2024 International Residential Code includes Appendix BI for light straw-clay and treats it as nonbearing infill, which fits neatly with a simple timber or stud frame.
A practical 16×20 workshop might look like this:
- Structure: timber posts or a straightforward stud frame.
- Infill: 8–10 inches of light straw-clay tamped between forms.
- Drying: protect from rain and keep air moving.
- Finish: earthen plaster inside, lime outside.
Drying time matters. At this scale, light straw-clay walls often need 3–6 weeks to dry before plastering, depending on climate and wall thickness.
For permit conversations, stay specific: the frame carries the load, the infill is nonbearing, and the finish system is vapor-open and weather-aware. That gives officials something clear to follow without turning the exchange into a debate.
As a space, light straw-clay has a quiet, grounded feel that suits learning and making. For many builders, this is where natural construction shifts from “interesting” to obviously practical.
Project 3: Straw Bale Studio or Tiny Home
After straw-clay infill, a straw-bale studio is a natural progression. Here, straw becomes the main enclosure, bringing thickness, hush, and a deep sense of shelter.
The IRC provides Appendix BJ for straw-bale construction, offering a prescriptive path that favors simple, low-rise buildings. For a one-story studio or tiny home, that clarity often smooths planning and approvals.
A compact, dependable pattern works well:
- Raised stem wall to separate bales from ground moisture.
- Flat-laid 23-inch bales for predictable courses.
- Wide eaves, especially on the weather-facing sides.
- Simple openings with careful flashing at windows and doors.
Moisture discipline holds the whole assembly together. Before plastering, bale moisture should be under 20% when checked with a pin meter.
Many people notice the experience of straw-bale spaces right away. The walls soften sound, ease temperature swings, and create an atmosphere that feels calm and protective.
When you prepare drawings, keep them tidy and direct: base detail, bale orientation, plaster build-up, window bucks, and roof overhangs. Clear details do a lot of the explaining for you.
Project 4: Cob Garden Room or Common House
Cob shines in shared spaces. A garden room, tea house, or small common building lets earthen construction do what it does best: hold warmth, invite slowness, and feel rooted in the land around it.
The IRC now includes Appendix BK for cob, making this path more legible for both builders and officials. Prescriptive limits keep buildings simple, and that simplicity helps cob stay approachable as a real option.
A dependable small cob building usually includes:
- A raised base that protects the wall from splashback.
- Local subsoil tested with simple sample bricks.
- Modest openings with well-supported lintels.
- A roof with generous overhangs.
- A bond beam or ring beam to distribute roof loads evenly.
Cob rewards patience and ongoing care. Earthen finishes can be renewed with simple mixes and shared labor, which makes cob especially suited to community structures that people actively use.
For many groups, that’s the deeper value. Cob supports stewardship and participation, and it keeps upkeep human-scale.
Project 5: Hemp-Lime Cottage or Retrofit
Hemp-lime makes a strong final step because it draws together lessons from earlier projects: breathable walls, careful drying, thoughtful detailing, and a clear link between comfort and material choices. It works well in new builds and in retrofits over an existing frame.
The 2024 IRC added hemp-lime in Appendix BL, giving it a more visible place in current code conversations. Even where local adoption is still catching up, it’s increasingly recognized as a practical natural wall system.
Two common approaches stand out:
- New cottage: a modest timber or stud frame with cast-in-place hemp-lime and lime-based exterior protection.
- Retrofit: a hemp-lime outer layer added to an existing wall so the original interior remains easier to access.
One of hemp-lime’s most valued qualities is comfort stability. In monitored building performance, indoor humidity remained below 60% during hot, humid periods, with indoor readings typically staying in a narrow band.
Performance still depends on the full assembly and your climate, but this helps explain why experienced builders value hemp-lime where conditions swing. Spaces often feel steadier when the wall is designed to stay vapor-open.
If Appendix BL has not been adopted where you live, an Alternative Means and Methods path may still be possible. Bring a clean packet: wall section, material description, drying and finish details, and a straightforward explanation of moisture handling and durability.
Conclusion: Build in a Sequence You Can Sustain
These five projects work best as a progression. The shed builds weather sense and confidence. The light straw-clay workshop introduces formal approval pathways. The straw-bale studio brings those lessons into daily use. The cob room strengthens community life. The hemp-lime cottage or retrofit rounds out the path with a highly comfortable, modern natural envelope.
This sequence also respects how real skill develops. You don’t need to prove everything at once. Build one useful structure well, and the next step becomes simpler and more achievable, especially if you are pursuing self-sufficiency certification through hands-on projects.
Natural building is relational work. It asks for attention to climate, place, craft, and the people around you. When you start with the smallest structure that serves a real purpose, you build more than a single project: you build trust in the process, and that trust is what helps natural construction thrive over time.
Build Skills with Self-Sufficiency
Apply this staged building approach through the Self-Sufficiency Certification and strengthen practical, resilient home systems.
Explore Self-Sufficiency →








