The render gets applause at kickoff; plan check comes back with redlines: unclear load path, wildfire eaves not detailed, no overflow to daylight. The builder pricing a “sustainable” set asks where the ring beam ties into the bermed wall and how the below-grade membrane laps. The client forwards a note from the authority requesting evidence of overheating mitigation and drainage capacity. Meanwhile, the Rhino model looks polished but diverges from the hand sketch and the spec. This is the moment when sustainability either becomes traceable on the sheets or stays a slogan.
A client-ready sustainable blueprint is a chain of evidence, not a mood board. Trust grows when every important claim can be followed through drawings, notes, checks, reviews, and revisions that tell one consistent story.
Key Takeaway: A trustworthy eco-home set makes its intentions visible and buildable. That means turning sketches into accountable drawings, grounding choices in site and jurisdiction, showing passive-solar and water logic with clear diagrams and numbers, documenting earth-based forms as complete systems, aligning hand drafting with digital modeling, and making risks and revisions easy to follow before issue.
Checkpoint 1: Turn Sketches Into Accountable Drawings
Evocative sketches win hearts. A client-ready set wins confidence by stating, clearly and consistently, what will be built, where it sits, how it connects, what materials are intended, and who owns each safety-critical decision.
Move from promises to proof. If notes say “breathable, low-carbon wall,” the drawings should show the full build-up, plaster type, moisture approach, and bond beam. If notes say “fire-wise eaves,” the details should call out distances, finishes, and fasteners. Credibility comes from traceability.
A strong cover-sheet habit is a small block titled What This Set Proves, with five items and sheet references, such as:
- Continuous water control at all openings
- Structural load path for the dome or vault
- Overheating mitigation
- Foundation-to-wall connection
- Site drainage and overflow
This one addition reduces guesswork for clients, reviewers, and builders.
For example, a charcoal sketch of an Earthship-style bermed wall becomes dependable when it’s translated into a section that shows below-grade waterproofing, drainage board, filter fabric, footing drain to daylight, and the overflow route on the site plan. A note such as “Engineer to confirm lateral earth pressures at Rev B” strengthens the set because it makes the status unmistakable.
Keep the title block equally disciplined:
- Issue status: Preliminary / For permit review / Issued for construction
- Drawing list with sheet numbers
- Project address, north arrow, scale, and revision index
- Designer and consultants with contact details and scope notes
When the set reads this cleanly, “sustainable” becomes a documented sequence of decisions.
Checkpoint 2: Ground the Design in Site, Climate, and Local Rules
Eco-home work is strongest when it lets the land and the local rules lead. A site walk often reveals what screens hide: cool air settling in a swale, gusty corners, traffic noise, overlooked views, or a drainage line that explains everything.
Start jurisdiction-first. Name the reviewing authorities, adopted residential code, zoning, setbacks, height limits, overlays, wildfire or flood requirements, septic and water rules, accessibility expectations, and energy-performance obligations. Where possible, include the exact clause or reference on the general sheets.
Climate belongs on the front pages too. Current public guidance flags overheating risk, extreme precipitation, wildfire exposure, and future temperature shifts as baseline considerations. A reliable set shows the responses in plain terms: shading, night purge, screened vents, overflow routes, and durable drainage strategy.
Let the site survey do real work. Boundaries, contours, trees, rocks, utilities, water sources, drainage paths, and prevailing winds shape what’s practical. State what’s verified and what’s still assumed so later decisions don’t unravel earlier drawings.
Then keep changes visible. If a vaulted roof exceeds a local height limit, adjust the ridge, update the elevations, and log the revision across every affected sheet. Reviewers trust teams that document their course-corrections.
When the design is visibly shaped by land, weather, and local rules, it reads as grounded.
Checkpoint 3: Show Passive-Solar and Water Strategy Clearly
If passive-solar thinking is doing real work in the design, it should be easy to see. A sun-path diagram can show winter and summer angles, window orientation, nearby shading, roof overhangs, and intended collection zones. As the project matures, those intentions need to connect to dimensions and checks.
One useful reference point is that at 35° north latitude, the winter-solstice solar altitude is about 31.6°. Use numbers like this to guide a first-pass overhang sketch, then confirm it against the actual sections, window heads, and the site’s seasonal sun path.
Overheating strategy should be just as legible. Mark where west and north-west glazing needs stronger shading, where cross-ventilation is expected, how night purging is intended to work, and where thermal mass supports steadier indoor conditions. Notes carry more weight when they sit directly on the plans and sections they refer to.
Make envelope continuity visible at junctions. In wall-to-roof details, draw the path of air control, water control, insulation, and thermal mass with clear linework or hatching. A note saying “all control layers remain continuous across junctions” only helps if the drawing proves it.
Give water systems the same clarity. Distinguish potable supply, rainwater catchment, stormwater, greywater, blackwater, irrigation, and wetland areas if they’re part of the concept, and add simple numbers where they help show scale, capacity, and overflow logic.
Passive design succeeds when orientation, shading, ventilation, thermal mass, and daily use patterns are coordinated from the start, especially in passive-solar house design.
Checkpoint 4: Make Earth Walls, Domes, Vaults, and Berms Buildable
Earth-based forms deserve full, respectful documentation. When the heart of a home is an earthbag wall, aircrete dome, catenary vault, or bermed assembly, present it as a complete system: geometry, layers, load path, moisture flow, construction sequence, and inspection points.
An earthbag specification box can answer key questions in one place: bag type, fill, course method, openings, buttresses, bond beam, plaster approach, capillary break, and roof tie-in. Builders and authorities relax when essentials are collected cleanly instead of scattered.
For domes and vaults, show how forces move. Draw where thrust travels, where ties or buttresses resolve it, how the ring beam works, and how openings are formed safely. Then detail waterproofing, insulation, and drainage with the same care as the structure.
Berms need special attention because they’re fundamentally about water management. Below-grade sections should show soil retention, drainage board, waterproofing laps, protection board, filter fabric, footing drain to daylight, cleanouts, root barrier where needed, and access for future maintenance.
Traditional performance is a real foundation for confidence here. Structural literature notes that many historic arches, vaults, and domes survived severe earthquakes, even while remaining vulnerable in certain conditions and requiring context-specific care. That’s the practitioner’s balance: respect proven forms, then document each new build so it earns trust on its own site and in its own climate.
Authorities are generally more receptive to alternative forms when they’re presented as coordinated packages with coherent details, clear checks, and explicit inspection points.
Checkpoint 5: Align Hand Drafting and Rhino Into One Story
Digital modeling is powerful when it grows from disciplined hand thinking. A quick hand-drafting pass often resolves proportion, orientation, circulation, service zones, and awkward relationships before the model becomes visually persuasive.
A light workflow is often enough:
- One base plan at 1:100 on graph paper
- Tracing overlay for structure
- Overlay for windows and solar logic
- Overlay for furniture and circulation
- Overlay for drainage and utilities
Those overlays expose conflicts early: a door swing colliding with a thermal-mass pilaster, a utility route that can’t be built, or a clerestory that weakens a key connection.
When you move into Rhino, keep it rigorous. Set units, place the origin in relation to the site benchmark, and use layers that separate site, foundations, walls, structure, insulation, waterproofing, glazing, roofs, water systems, vegetation, furniture, and annotations. Model real thicknesses and cavities so the model tests buildability, a core skill in 2D-3D bio-architecture design.
Then cross-check deliberately. Cut sections through every opening, verify beam-to-frame junctions, track where downpipes land, and confirm drainage routes truly connect to an outfall. Each clash becomes a logged issue with a defined fix and affected sheets.
Decide early which views drive plans, elevations, sections, details, and schedules. If a render disagrees with the drawings, the render should lose. The sheets are the project record.
Checkpoint 6: Make Risks, Responsibilities, and Revisions Visible
A set becomes truly client-ready when it shows the design and the remaining uncertainties, who owns them, and how they’ll be resolved. This is where simple registers create a lot of calm.
A practical risk register can track product availability, unresolved water assumptions, specialist confirmations, pricing gaps, and sequencing concerns. Pair it with an evidence register that records what’s already supported and what still needs checking.
Useful entries often include:
- Soil bearing assumptions and whether site confirmation is scheduled
- Water-use assumptions behind rainwater sizing
- Glazing performance values used for shading logic
- Foundation assumptions pending specialist review
A red-amber-green system makes readiness easy to read. Red means unresolved and not ready to issue. Amber means provisional. Green means coordinated and documented. A small legend on the general sheet helps everyone interpret it consistently.
Independent review is another clear trust marker. A second designer may catch coordination gaps. A structural engineer may identify risky assumptions. An energy or climate-focused consultant may strengthen overheating strategy. A contractor or experienced natural builder may flag sequencing, access, weather protection, or temporary-works realities that drawings can miss.
Finally, revision control should be unmistakable. Every change needs a date, description, author, reviewer, and list of affected sheets, and superseded drawings must be archived clearly so nobody prices or builds from an old revision.
You can call a set client-ready when the intent is easy to find, systems agree across sheets, requirements are identified, specialist input is integrated or transparently flagged, and issue status is obvious at a glance.
Conclusion: Trust Is Built Sheet by Sheet
A sustainable house blueprint earns trust by making its logic visible: what is being built, where it belongs, how it carries load, how it handles water, how its ecological intentions function in real conditions, and who has checked each safety-critical decision.
Keep a clear performance hierarchy. Reduce demand early through orientation, compact form, shading, insulation, airtightness, and healthy ventilation. Then add efficient systems, on-site renewables, water reuse, and ecological landscape design. Early decisions shape the whole project.
Embodied-carbon awareness fits that same early stage. Public building guidance encourages attention to embodied carbon through reuse, right-sizing, lower-carbon materials, and life-cycle thinking. This usually translates into simpler assemblies and durable choices before complexity locks in.
As the design evolves, check resilience in everyday terms: maintainability, repairability, and steadiness during power cuts, water interruptions, extreme heat, heavy rain, smoke events, or supply delays. Then record those decisions on the sheets, not just in meeting notes.
Before issue, hand the set to a fresh reviewer and ask five questions: What is being built? Where is it located? How does it carry load and control water? How does it meet its environmental goals? Who has verified each safety-critical decision? If the answers are quick to find, the blueprint is ready to carry trust forward.
Master Bio-architecture Design Skills
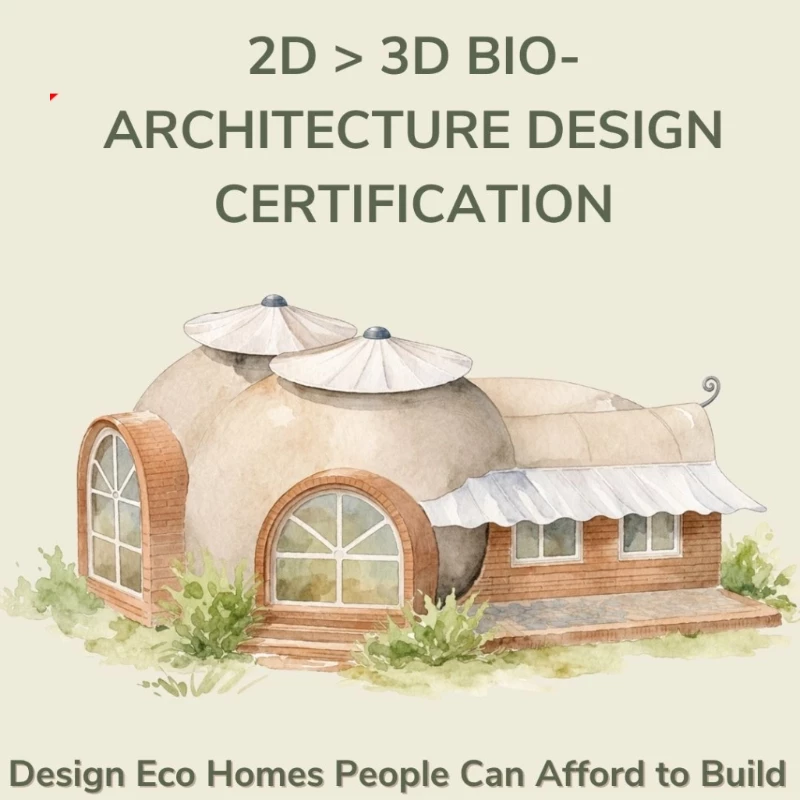
Apply these coordination checkpoints in the 2D-3D Bio-architecture Design Certification to produce buildable, review-ready drawing sets.
Explore the Certification →