

Most practitioners address tight hamstrings the same way: straighten the knees, chase the floor, and hold longer. In Down Dog the heels get driven toward the mat; in forward folds the spine rounds to “get there”; and in many sequences, long static stretches show up before the body has truly warmed. The pattern is familiar: guarding in the backs of the legs, pressure behind the knees, the occasional nerve-like zing, and a breath that turns effortful.
A more skillful approach treats range as a conversation with the whole system. Warm gradually, move with the breath, choose joint-smart angles, and keep sensation where you want it: in the broad body of the hamstrings rather than the joints. Ashtanga offers reliable anchors here too—steady attention, clear drishti, and enough inner tone to support the shape without hardening around it.
Key Takeaway: Effective hamstring work is less about forcing depth and more about combining breath-led movement, clear alignment, and thoughtful support. A practical sequence moves from simple preparation into seven well-chosen poses: Reclined Strap Stretch, Half Split with Blocks, Low Lunge Rock, Pyramid with a Chair, Supported Forward Fold, Downward Dog with Bent Knees, and a propped Seated Forward Fold. Used consistently, these shapes can build steadier, more usable range without strain.
Warm Up First: Breath, Rhythm, and a Softer Starting Point
Before deeper folding, give the body time to arrive. A few minutes of rhythmic movement—cat–cow, gentle squats, or brisk arm swings—often makes the whole back line feel more responsive than dropping straight into a long hold. Traditional practice spaces favor breath-linked movement for this reason: it invites readiness instead of resistance.
Pair that with slow nasal breathing. A longer exhale helps many bodies release protective bracing, and research on slow breathing points in the same direction.
Keep the mindset grounded: you’re listening for where space can emerge today.
- Try 3 rounds of 5 cat–cow breaths.
- Add 10 controlled hip circles each way.
- Finish with 20 seconds of marching in place.
- Before your first fold, take 5 rounds of inhale for 4 and exhale for 6–8.
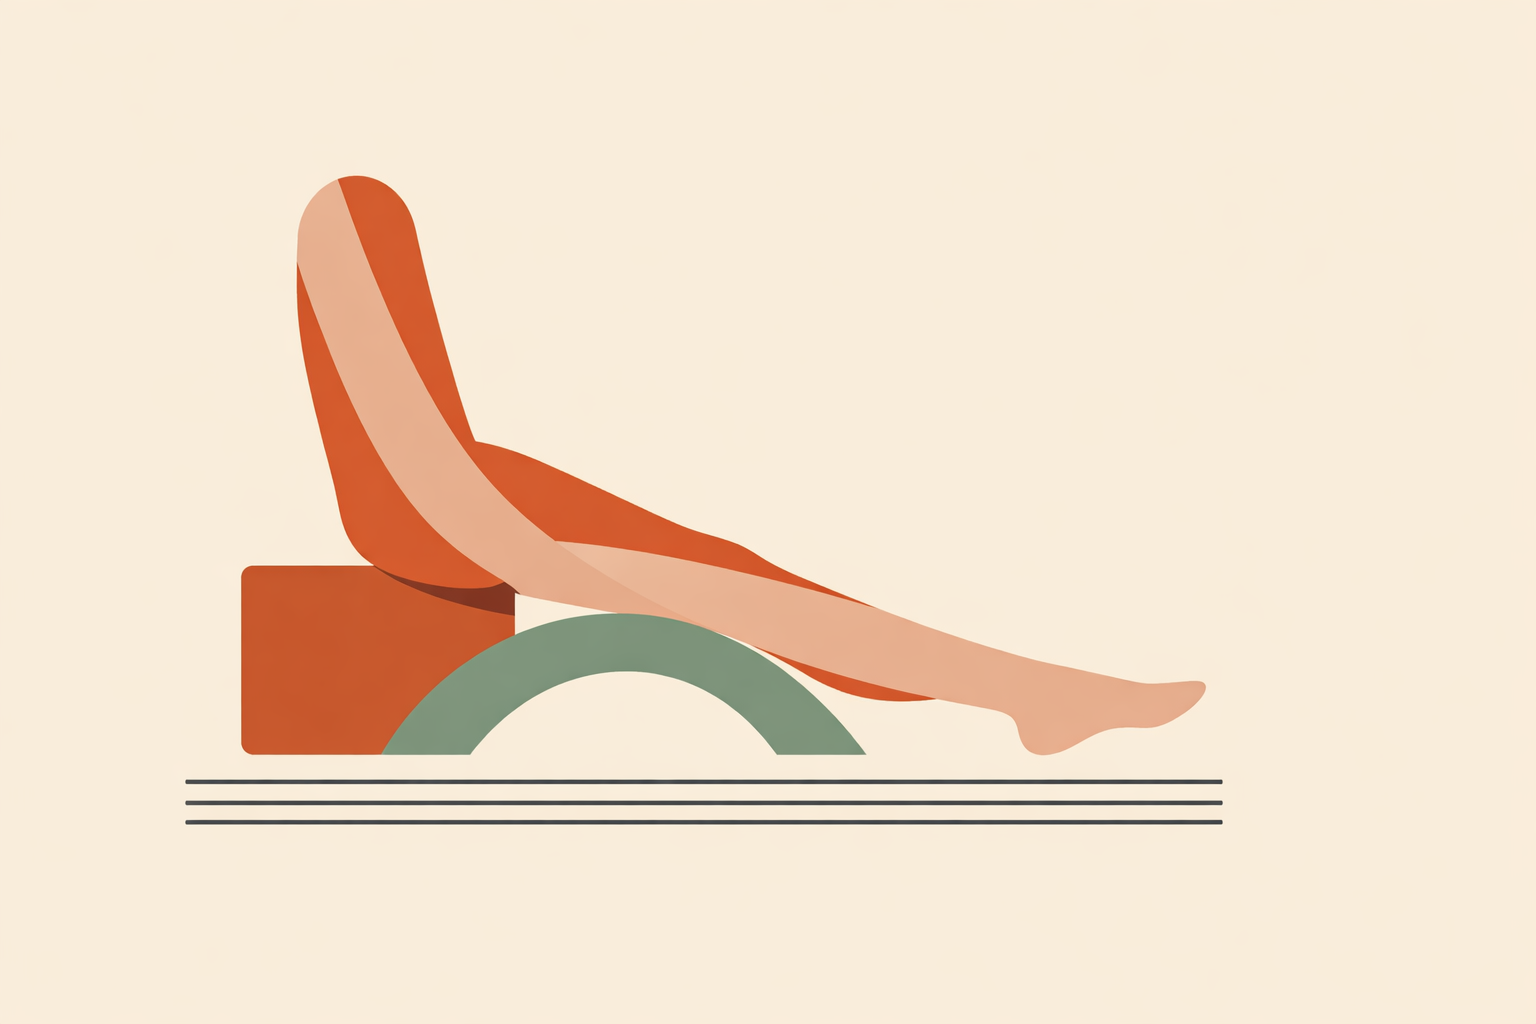
1. Reclined Strap Stretch (Supta Padangusthasana A)
For clean feedback without balance demands, start on the floor. Reclining helps the back body settle and makes it easier to feel what the pelvis, ribs, and breath are doing.
Lie on your back and loop a strap over the ball of your right foot. Extend the left leg long with toes pointing upward. Begin with the right knee slightly bent. On the inhale, press the thigh gently away from your face; on the exhale, draw the strap in just enough to meet a clear, breathable edge.
Keep the pelvis quiet. If the opposite ribs or thigh start to lift, reduce range and rebuild your base.
A hold of 30 seconds is a useful benchmark for flexibility work, and many practitioners also stay up to 60 seconds as long as the breath remains smooth.
- Press the non-working foot into a wall for more pelvic steadiness.
- Keep a soft bend in the lifted leg at first, then gradually reduce it if sensation stays broad and clean.
- If you catch yourself straining, back off slightly and let three slower exhales guide the next change.
2. Half Split with Blocks (Ardha Hanumanasana)
Half Split is where people often rush to straighten the front knee and lose the spine. A steadier approach keeps a micro-bend, hinges from the hips, and builds forward length before asking for more depth.
From Low Lunge, shift the hips back over the rear knee and root the front heel. Place both hands on blocks at their tallest height. Inhale to lengthen the chest forward; exhale to draw the sit bones back. Keep the front knee slightly soft so sensation lands in the hamstring muscle instead of concentrating behind the knee.
Add a tiny co-activation through the front heel, as if gently pulling the mat back. Many practitioners find this reduces guarding and makes the range feel more dependable. Research on neurodynamic techniques supports the broader idea that nervous-system-informed approaches can improve hamstring flexibility, even if this exact cue comes from teaching experience.
- Stay for 8–10 slow breaths.
- Keep the spine long and the throat easy.
- If there is pinching behind the knee: place a folded blanket under the calf or maintain a deeper bend in the front leg.
3. Low Lunge Rock for Early Range Exploration
Early in practice, gentle rocking between Low Lunge and a modified Half Split often serves better than forcing a static endpoint. It keeps you curious, lets the breath set the pace, and teaches you where the body wants less or more.
From Low Lunge, inhale as the hips glide slightly forward. Exhale as you shift back, keeping the spine long and the front knee softly bent. If it feels clean, lift the front toes lightly, then lower them again as needed.
If a sharp or tingling sensation shows up, ease off right away. This often reflects more neural loading than muscular stretch, and work on neural loading helps explain why it feels different from ordinary hamstring sensation.
- Use 6–8 slow rocks per side.
- Keep the movement small and breath-led.
- If the leg feels zingy: bend the knee more and return to plain rocking without lifting the toes.
4. Pyramid Pose with a Chair (Parsvottanasana)
Pyramid becomes much clearer when balance is supported. A chair gives structure so attention can stay on pelvic alignment, spinal length, and even sensation through the back leg and front hamstring.
Step the right foot forward and the left foot back by 2–3 feet, letting both hips face forward as much as is natural. Place hands on the back of a sturdy chair or on the wall. Inhale to lengthen the spine; exhale to hinge at the hips until you feel a manageable stretch. Keep a micro-bend in the front knee and spread weight through both feet.
If the low back rounds, come higher and send the sternum forward. If the front knee feels compressed, a folded mat or wedge under the front heel can shift sensation upward into the hamstring belly.
- Stay for 5–8 breaths on each side.
- Imagine broadening across the sit bones as you exhale.
- Use support to refine the shape, not to force a deeper fold.
5. Supported Forward Fold (Uttanasana) on Blocks
Blocks can change the whole experience of forward folding. They help keep length through the spine and spread sensation more evenly through the back line, instead of turning the pose into a “touch the floor” project.
Stand with feet hip-width apart and knees softly bent. Place two blocks under your hands. Inhale to lengthen the spine; exhale to hinge from the hips and rest hands on the blocks. Keep a light tone through the belly so the ribs don’t collapse forward.
If you like timing holds, 30 seconds is again a solid reference, and many people find 30–45 seconds (about 6 slow breaths) is enough to settle without hardening.
- Raise the blocks if the breath shortens.
- Keep a soft bend in the knees instead of locking them back.
- A rolled blanket behind the knees can reduce a protective, defensive feeling.
6. Downward Dog with Bent Knees
In Downward Dog, spinal length leads the way. Generously bending the knees often creates a cleaner, more useful shape than forcing straight legs and heavy heels.
From hands and knees, tuck the toes and lift the hips. Bend the knees enough that the belly can move toward the thighs. Press evenly through the hands, broaden through the shoulders, and let the head hang easily.
From there, straighten one or both knees a little only if the spine keeps its length and the breath stays unforced. Walking the dog can help: bend one knee, then the other, keeping the pelvis buoyant.
- Stay for 5–8 breaths.
- Think “tail high, spine long” before worrying about the heels.
- Use blocks at the wall if you want less wrist load and more control.
7. Seated Forward Fold with Support (Paschimottanasana)
Seated forward folds can feel deeply settling when they’re set up well. Aim for an even arc from pelvis through spine, with steady breathing.
Sit on a folded blanket and loop a strap around the balls of the feet. Hold the strap close enough that the arms stay active without pulling you into collapse. Inhale to tip the pelvis forward; exhale to invite the chest toward the shins while keeping length in the low back. A bolster across the thighs can offer both feedback and support.
If the pelvis won’t tip forward, add more height under the seat. That one adjustment often makes the whole pose feel coherent.
- Stay for 60–90 seconds, or about 10 slow breaths.
- Keep the back of the neck long.
- Think chest forward, not head down.
How to Weave These Poses into Practice
You don’t need all seven poses every time. Two or three smart choices inside a short flow can change the tone of an entire session.
One simple 5–7 minute progression:
- 2 gentle Half Sun Salutations with bent-knee Uttanasana on blocks
- Downward Dog with bent knees for 5 breaths
- Low Lunge to Half Split rocks for 3 rounds each side
- Pyramid with a chair for 5 breaths each side
- Reclined Strap Stretch for 5 breaths each side
With regular repetition, many practitioners notice broader capacity through the posterior chain over time, not just at one small attachment point. Stretching programs can improve range of motion, and the finer shifts in sensation and coordination are often clearest through direct, consistent practice.
Drishti, Bandhas, and the Inner Feel of Forward Folds
Ashtanga reminds us that the shape is only part of the practice. Attention, breath, and inner organization change the experience of a fold as much as leverage does.
In forward bends, let the drishti rest softly at the toes or toward the tip of the nose. This inward-facing gaze often reduces grasping and keeps effort quieter. Within this lineage, drishti is understood as part of steady attention.
You can also add very light engagement through mula bandha and a soft lower-belly tone often associated with uddiyana bandha. Keep it subtle, like gathering inward so the pose feels contained and steady.
- On the exhale, gently tone the low belly.
- On the inhale, let the sit bones broaden and the spine lengthen.
- Keep effort light enough that the jaw and throat stay soft.
Safe Range and Clear Red Flags
Hamstring work responds well to consistency, patience, and honest range. Aim for a clear sensation that stays breathable. When the body hardens around the pose, you’ve likely moved past the useful edge.
Common red flags and helpful shifts:
- Pinching behind the knee: add more bend or support the leg differently.
- Strong pulling at the sit bone: reduce the angle and choose a more supported variation.
- Tingling or sharpness down the leg: ease off, shorten the range, and skip any flossing-style work that day.
Many people notice meaningful changes within a few weeks with steady practice. Reviews of stretching programs support gains over 1–6 weeks, even though the ideal daily dose varies.
Teaching Cues and Adjustments That Build Trust
When guiding others, cueing quality matters as much as pose choice. Tight hamstrings often come with frustration or a habit of pushing, so language that is clear and kind changes the whole learning environment.
Useful verbal frameworks include:
- Normalize: “Strong, active bodies often protect the back line.”
- Favor direction over depth: “Lengthen forward first; let the fold follow.”
- Offer choice: “Use the block height that keeps your breath easy.”
If hands-on support is part of your work, keep it minimal, consent-based, and specific. Stabilize rather than push, and prioritize clarity over intensity.
- In Reclined Strap Stretch, cue the thigh away rather than pulling the foot closer.
- In Half Split, help organize the outer hip and the line of the spine rather than pressing down.
- In Pyramid, support the pelvis and rooting of the feet instead of increasing depth.
A Short Closing Sequence to Settle the Work
After opening the back line, it’s wise to close with simple shapes that rebalance the body and let effort taper naturally.
- Low lunge quad opener for 3 breaths each side
- Supine figure-four for 5 slow breaths each side
- Constructive rest with calves on a chair for 10 breaths, emphasizing a longer exhale
This kind of finish often leaves the body feeling more integrated and less reactive later in the day. Keeping the breath slow and unforced also brings you back to the calming support of longer exhales.
Conclusion
Opening tight hamstrings doesn’t require force. It asks for intelligent sequencing, patient breathing, steady attention, and enough support that the body feels safe enough to respond. Supine work offers clarity, kneeling shapes build control, standing folds encourage integration, and seated poses help the work settle in.
Return to these shapes regularly and let the breath lead. Over time, hamstring work becomes a disciplined, respectful conversation with the whole back line, and for readers deepening their Traditional & Eastern Medicine studies or formal yoga teacher training, that kind of patient observation is part of the craft.
Explore Yoga Teacher Training
Apply these hamstring and alignment principles in context with Naturalistico’s Yoga Teacher Training.
Explore Yoga Teacher Training →