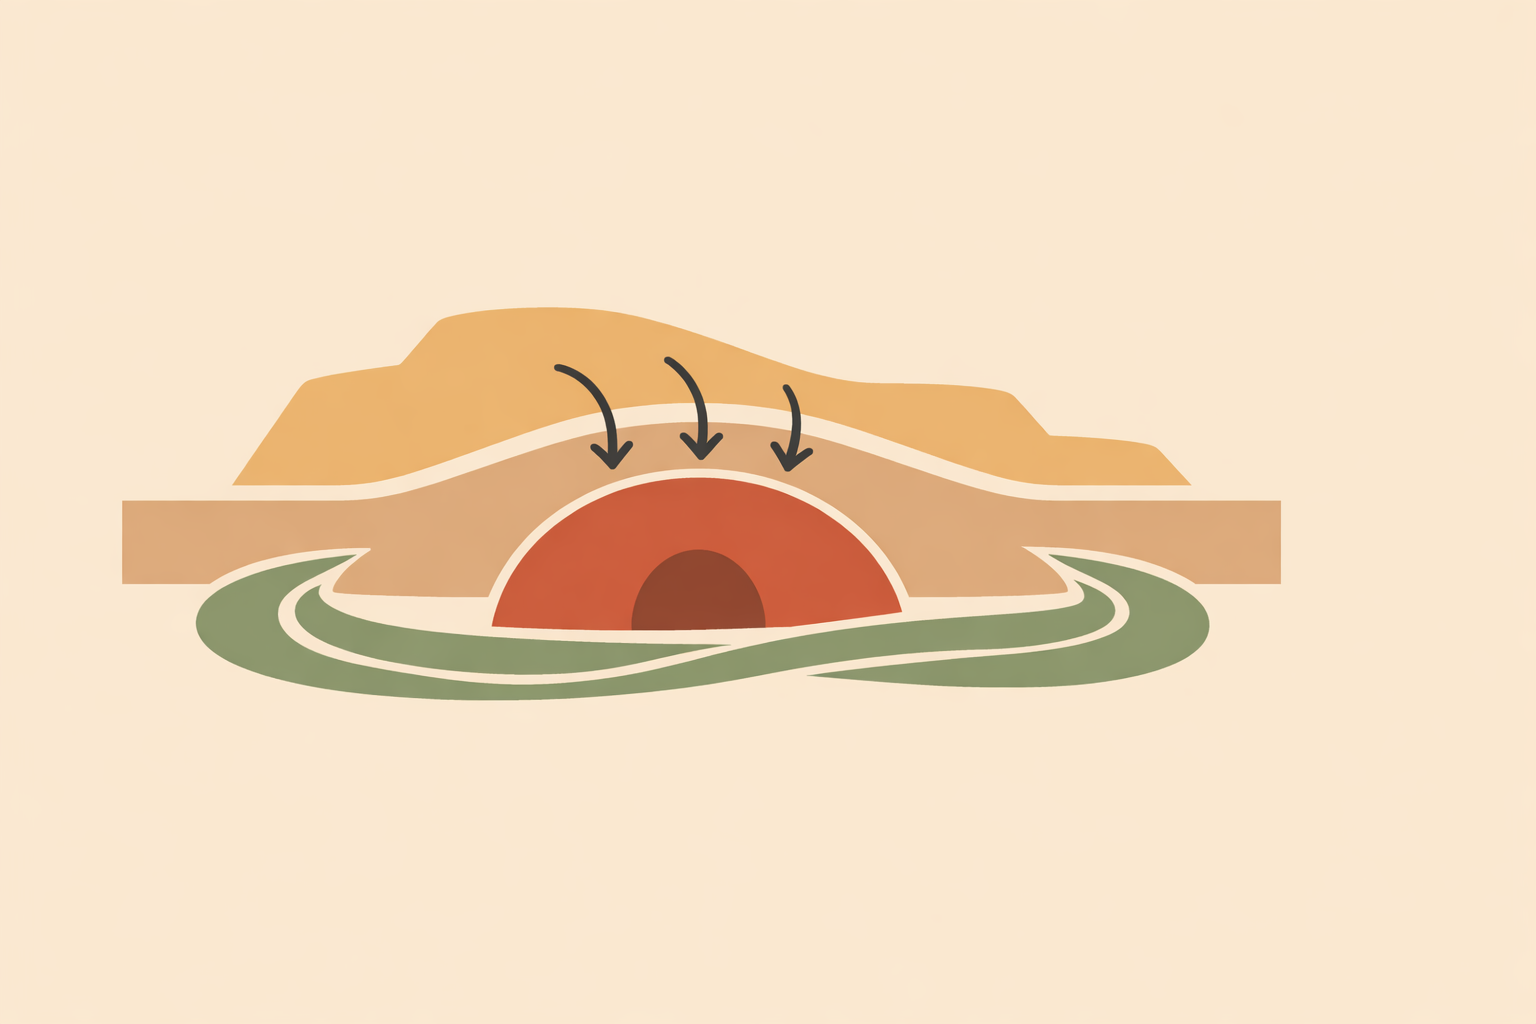
Most owner-builders begin with the image: a vaulted form, a bright south face, a hillside that seems made for it. But with earth-sheltered design, permitting is not a later formality. As soon as soil bears on a roof or presses against a wall, the whole project is read through structure, drainage, slope stability, egress, daylight, and long-term durability.
Key Takeaway: For an earth-sheltered vault house, the permit set is the design brief. The clearest path to approval is to show, from the first drawings onward, how the house carries earth, manages water, brings in light and air, and fits the land without creating avoidable risk.
Siting, zoning, and water: reading the land with the code in mind
Good siting starts with time on the land. Notice the slope, seasonal runoff, prevailing winds, winter sun, and where the ground naturally stays damp. Permitting just asks you to translate those observations into a site plan someone else can verify.
For earth-sheltered homes, zoning review often goes beyond setbacks. Some local rules ask for drainage and erosion measures up front, especially where grading and backfill could redirect water.
On sloped sites, reviewers may also want a clear response to slope failure risk. A simple section can carry a lot of weight when it shows native soil, drainage layers, retaining elements, planting zones, and finished grades in one view.
If the design changes how water leaves the site, expect closer review. In some places, a drainage plan and erosion controls are part of the initial conversation, not a later add-on.
Useful items to include on the site plan:
- Setback lines tied to fixed survey points
- The buried footprint and the visible facade line shown separately
- Drainage arrows, swales, outlet points, and discharge notes
- Erosion-control measures keyed to construction sequence
- Stabilization notes for disturbed soils after backfill
Orientation deserves the same respect. Traditional building cultures favored sun-facing homes because it supports daily comfort and seasonal resilience. On paper, that wisdom becomes clear facade alignment, thoughtful shading, and grading that welcomes winter light instead of burying it.
Designing a vault that clearly carries earth loads
Vaults have a long, proven history—graceful, efficient, and deeply satisfying to inhabit. In a permit set, that elegance has to be translated into load paths and details that can be checked.
Start with the forces that matter most: soil cover, live loads above, lateral earth pressure at retaining edges, and water pressure where drainage could be overwhelmed. Reviewers want to see how those forces travel through the structure and where they are resolved.
Below-grade walls are often built in reinforced concrete or reinforced masonry because their performance is familiar and straightforward to demonstrate. If you’re proposing a timber vault or another less common assembly, include a clear narrative of how thrust is contained, how bearings are detailed, and how connections stay protected from moisture over time.
Helpful notes on drawings often include:
- Vault span, length, and rise
- Depth of earth cover
- Bearing conditions at walls or grade beams
- Rib spacing, ring beams, ties, and connectors
- How end walls, buttresses, or return walls resist thrust
The goal isn’t to bury the drawings in engineering terms. The goal is a complete structural story so the vault reads as deliberate and dependable.
Reviewers also respond well to continuity: a continuous load path, waterproofing layer, drainage plane, and insulation line. When one of those is interrupted, it’s harder to trust what happens behind the soil.
Waterproofing details that inspire confidence
In earth-sheltered work, water management is often the deciding factor for both performance and approval. People who review plans have seen what happens when below-grade assemblies depend on hope instead of detailing.
That’s why below-grade standards commonly require waterproofing where hydrostatic pressure may exist. A vault can be structurally beautiful and still fail if water is allowed to linger.
Reliable assemblies usually layer protection rather than betting everything on one product. Many designs combine a primary membrane, protection board, drainage mat, perimeter drain, filtered gravel, and a discharge point that reliably carries water away from the structure.
Many builders also use bentonite panels on below-grade walls because they can swell when wet and help seal small cracks or punctures.
Because these systems become hard to access after backfill, they should be designed for the full life of the building. That means robust materials, inspectable transitions before backfill, and details that don’t assume future access you may never have.
Useful waterproofing notes often include:
- Membrane type and where it remains continuous
- Protection board at corners and vulnerable transitions
- Drainage mat extending down to footing level
- Perimeter drain size, slope, cleanouts, and discharge location
- How facade flashings tie into the below-grade water-control layer
When these parts are drawn clearly, the project reads as durable and well-managed.
Glazing, exits, and habitable rooms that pass review more smoothly
Even when most of the home is nestled into the land, rooms still need daylight, fresh air, and safe ways out. This is where a concept becomes architecture: facade, openings, wells, and transitions have to work as one.
South-facing glazing is often the natural choice, and in colder regions south-facing glazing generally supports winter solar gain, while shading helps prevent summer overheating. That long-held instinct to face the sun still serves modern comfort when it’s detailed with care.
On the permit set, glazing should be shown as a working assembly. Sill pans, head flashings, jamb transitions, insulation continuity, and drainage paths matter even more where a bright facade meets an earth-covered shell.
If you use window wells, make them easy to review: dimensions, drainage, and access shown clearly. When sleeping rooms rely on those openings, label that relationship plainly so reviewers can trace light, air, and exit without guesswork.
Room-by-room notes for glazing and operable area also help. Clear math builds confidence fast.
Planning comfort under soil: insulation, condensation, and fresh air
One of the great strengths of earth-sheltered design is steadiness. With the shell buffered by soil and protected from wind, interiors often feel quieter and less reactive to outdoor swings. That comfort still needs to be designed.
Reliable assemblies keep the structural shell warm and dry from the outside, limit thermal bridging, and protect transitions around glazing, slabs, and penetrations. Continuous exterior insulation is often the cleanest way to support that goal in self-sufficiency and sustainability work.
Condensation risk deserves careful attention at facade edges, sill areas, and any spot where indoor air can meet a cold surface. Many disappointing earth homes come down to one unresolved transition, not a bad overall concept.
Ventilation carries equal weight. Earth sheltering can create very still interiors, which many people love, and fresh air still needs a deliberate route. Balanced ventilation, sensible humidity targets, and a clear exhaust strategy for kitchens and bathing spaces should be part of the drawings.
If your region calls for radon-resistant construction, show that pathway clearly as well. Below-grade work asks you to take invisible risks as seriously as visible ones.
A comfort sheet in the permit set can be brief but useful:
- Exterior insulation values and locations
- Thermal-break strategy at slab and facade
- Ventilation equipment and intended airflow
- Humidity-control notes
- Sub-slab venting or other soil-gas measures where relevant
This is where the home becomes consistently pleasant to live in, season after season.
Assembling a permit-ready package for an earth-sheltered vault house
The strongest submissions tell one story from sheet to sheet. The house fits the site. The vault carries the earth. Water is directed away. Interior rooms receive light and air. Disturbed soils are stabilized. Nothing critical is left to assumption.
For nonstandard systems, many jurisdictions allow an Alternative Means and Methods pathway. When it applies, include a short narrative showing how the proposal meets the intent of the code through equivalent strength, durability, and safety.
A practical permit package often includes:
- Site plan with setbacks, grading, drainage, and outlet points
- Plans and sections showing the vault geometry and support conditions
- Wall and roof details with waterproofing, drainage, and insulation layers
- Facade details showing flashing, sill conditions, and glazing transitions
- Room notes for light, ventilation, and exit provisions
- A brief narrative for any unconventional structural or enclosure system
Professional support costs vary widely by region, complexity, and how unconventional the structure is. Owner-builders are usually best served by budgeting for structural review, site planning, and drawing coordination early, since those pieces carry the whole project.
It also pays to talk with local reviewers early. A short pre-application meeting can prevent weeks of redesign by surfacing expectations before the set is finalized.
Conclusion: designing for approval without losing the soul of the home
An earth-sheltered vault house can feel ancient and modern at once: rooted in older building wisdom, yet fully capable of meeting contemporary expectations when it’s drawn with care.
The most successful projects don’t separate beauty from permitting. They use the permit process to refine the beauty, clarifying how the home meets the ground, sheds water, welcomes sun, and supports a stable, quiet interior for decades.
If you’re early in the process, keep the next steps grounded: walk the site carefully, sketch the load path, draw the drainage before the finishes, resolve the facade edge, and discuss the concept with local reviewers before committing heavily to excavation or materials for an earth-sheltered vault house.
That approach protects both vision and practicality. It’s how a compelling earth-sheltered idea becomes a buildable, reviewable, enduring home within a broader self-sufficiency and sustainability approach.
Build Your Hobbit Vault
Apply these permitting and detailing principles step-by-step in the Hobbit Vault Course.
Explore Hobbit Vault Course →