The quickest way to throw an eco-home off course is also the most common: opening Rhino before the site has had a say. Teams leap into forms, renders, or a favored natural system, then spend weeks undoing work when winter sun, drainage, structure, or approvals contradict the early sketch. Builders ask for sections that don’t exist; reviewers want moisture logic; clients discover the “green” idea overheats by June. When climate and constructability are left until later, you pay for it twice, in time and in trust.
Key Takeaway: Eco-home design holds together when each decision grows from the land and stays coordinated all the way into the drawing set. A reliable workflow starts with site study, turns that into a climate-aware brief, tests ideas by hand, resolves assemblies in section, then builds a disciplined 3D model that can generate consistent plans, sections, and details.
Step 1: Study the site before drawing the eco-home
Start outdoors with a notebook and an attentive mindset. Before imagining walls, read the land as a living system: sun, wind, slope, water, vegetation, neighbors, access, sound, and how the seasons move through the place.
A simple base at 1:200 on graph paper is enough to begin: north arrow, scale bar, boundaries, rough contours or spot levels, existing trees and shade, water paths, neighboring massing, entrances, and setbacks you already know. Field notes can stay plain and useful: “Winter sun clears ridge by 9:20 a.m.; afternoon glare from west farm track; prevailing winter winds NW; summer breeze SSW; downslope drainage toward willow swale.”
Confirm orientation early. Distinguish true north from magnetic north, then stick to one choice across sketches and the 3D file so plans, sections, and geometry don’t drift out of alignment.
Next, map sunlight at morning, midday, and late afternoon for solstice and equinox dates. This quickly shows solar opportunities, glare, and overheating risk, and it hints at natural placements for daily life, like a morning kitchen or a shaded veranda.
Keep your notes honest by separating what you saw from what you’re guessing. Label a page with “Measured,” “Needs verification,” and “Working hypothesis.” For example: “Soil: silty clay at test pit by oak (measured); perforated drain capacity (verify); wind scoops at ridge (hypothesis).”
Traditional local knowledge deserves equal standing with mapped data. People who have watched the same valley through decades of storms often know where wind accelerates and where water returns during a flood year, even when those stories don’t appear on standard site information. Designing with that memory in mind is often what makes a concept truly place-wise.
Before leaving the site study, run a quick constraints checklist:
- Solar access, shading obstructions, and glare risks
- Flood and runoff pathways
- Soil conditions and bearing questions
- Fire exposure or ember directions
- Access for delivery and build phases
- Utility routes and easements
- Protected vegetation and habitat
- Setbacks, height limits, and likely approval steps
When you finally start laying out spaces, you’re no longer guessing. The land has already offered the backbone of the design.
Step 2: Turn site findings into a passive-solar brief
Translate the site study into a one-page brief you can design from. This becomes the steady reference for plans, sections, materials, and coordination.
Write the climate logic in everyday language: how the home will welcome winter sun, limit summer gain, bring in daylight, and move air naturally. Passive-solar design works best when it’s shaped by the site rather than copied from a template.
Include a few clear targets. In many temperate climates, a practical baseline is 5–7% south-facing glass relative to floor area, increasing only when there’s enough thermal mass and reliable shading. State orientation tolerance just as plainly: the main glazed face stays effective within 15° of true south, and within 30° still captures about 90% of optimal winter gain.
Then bring in cultural needs with care and respect. If a household wants an east-facing entry, a hearth in a specific quadrant, or room relationships that support ritual life, place those goals in the brief and design them into the climate strategy rather than treating them as an add-on.
A brief might read: “Taos, NM, 36°N. Living and kitchen in winter-sun zone; south glazing equals 6% of floor area with 30-inch overhang; interior earthen mass to steady temperature swings; bedrooms cooled by night-flush cross-ventilation; entry adjusted slightly east to respect family tradition; shading trees kept clear of the south wall.”
With this on one page, the project stops relying on taste alone. The design starts moving with purpose.
Step 3: Sketch by hand before modeling
Before digital precision, let your hands work. Pencil sketches reveal spatial relationships and rhythm quickly, without the pressure to “finish” too soon.
Start with a diagrammatic plan over the site base. Focus on zones by sun and sound, entrances, service routes, and a likely structural rhythm. Notes on the drawing keep decisions visible: “Kids’ rooms shielded from west glare; pantry backs to cool berm; laundry on windward side for line drying.”
Layer tracing paper and iterate. Test roof forms, glazing patterns, courtyard notches for summer shade, or an earthen dome. Sketch rough sections beside rough plans so you can check winter light reach, drainage, and floor levels on slope while changes are still easy.
Develop plan, elevation, and section together. This habit catches contradictions early and strengthens spatial judgment because each view must agree with the others.
Keep a dated trace stack and record why changes happened: “Shifted kitchen east for morning sun,” or “Lowered clerestory to soften summer gain.” It becomes a clear design history you can share with collaborators.
For example, you might sketch a 24-by-36-foot rectangle, rotate it slightly toward south to hold a view line, then confirm in section that a 30-inch overhang blocks high summer sun while winter light reaches deep into the room. At this stage, paper is often the most truthful test.
Step 4: Resolve natural assemblies in section
Sections are where an eco-home becomes real. Plans can look convincing while hiding problems; sections show whether the home can stand up, shed water, and handle air and moisture sensibly.
Begin at the ground. Draw bearing conditions, stepped foundations on slope, floor build-up, and the drainage path. Notes like “washed stone, geotextile wrap, perforated drain to daylight” prevent vague thinking and keep the project buildable.
If you’re working with earthbag or other earthen assemblies, draw the full build-up: thickness, opening support, moisture protection, base conditions, and the roof connection. If you’re exploring domes or vaults, test the shell thickness, waterproofing, insulation, finish layers, and how the base meets the foundation.
Use sections to test environmental behavior too. Show winter sun depth, summer shade lines, stack-vent routes, berm depth, and how thermal mass relates to glazing. Around grade transitions, make the water logic unmistakable: aim for grade fall away from the building where feasible, and draw capillary breaks, flashing turn-ups, splash protection, and inspection access.
Practice teaches a steady lesson: working with gravity, moisture, airflow, and sunlight costs less than arguing with them later. A good section saves the project from expensive surprises.
A compact section note can carry a lot of intent: “Earthbag wall 18 in; stabilized base courses x3; timber lintel over 4 ft opening; eave projection 36 in; perimeter drain to daylight; interior earthen plaster as thermal mass; vapor-open roof assembly with ventilated cavity.”
Step 5: Build the Rhino model with discipline
Move into Rhino once your hand set is coherent. Digital modeling is powerful, and it rewards clear thinking.
Set up the file like a well-organized workshop: correct units and tolerances, consistent layer names, blocks for repeated elements, sensible material categories, and a site-aligned coordinate system. Save standard views for plans, sections, and perspectives so checking alignment becomes effortless.
Model in a reality-based order: site and terrain, foundations, primary walls or shells, roof or dome, openings, partitions, environmental systems, then landscape and presentation elements. Starting with terrain helps prevent a building that “floats” conceptually above its place.
Use Rhino’s strengths for curved and natural forms. Domes, vaults, berms, and terrain can be explored with NURBS, meshes, or SubD, whichever stays clean and readable. Grasshopper is worth bringing in when parameter control reduces mistakes and supports coordination, especially in parametric domes.
Cut sections early and often. Place section planes through foundations, curved walls, roof junctions, berm bases, glazing, and floor transitions. If the section contradicts your hand studies, revise now while everything is still flexible.
A workflow note might read: “Topo mesh built from surveyed points; building rotated 12° to site axis; vault modeled first for section clarity; window blocks repeated with set jamb depth; section cuts named S1–S5 to match hand studies.” That kind of discipline keeps the model dependable.
Step 6: Extract coordinated plans, sections, and details
Once the model is stable, use it to produce a drawing set that tells one consistent story. The real value here is coordination.
A stable model allows updates to flow through plans, sections, and elevations without re-drawing everything. Keep design layers separate from annotation layers so dimensions, tags, and notes stay manageable.
Organize the set around the questions reviewers and builders need answered:
- Where does the building sit on the land?
- How is it supported?
- How does it handle water?
- How does light, shade, and airflow work?
- How do people move through it?
- How do materials meet at critical junctions?
Build a simple index with sheet numbers, titles, scales, revision dates, authorship, and status (concept, coordination, submission). Dimension from stable references like grids, structural axes, property boundaries, and finished-floor levels.
Then audit across sheets: door sizes, window tags, levels, wall thicknesses, roof edges, room names, section markers, material tags, and key environmental features should match everywhere. Coordination problems are cheapest to fix on paper.
For example, if one sheet labels a window as W-03 at 4'-0" by 5'-0", that same W-03 should show at the correct height in elevation, point to matching details, and carry consistent notes in the schedule. One label should mean one thing throughout.
Step 7: Prepare a package ready for review and approval
Documentation is a form of hospitality. It helps clients, collaborators, and local authorities understand what you’re proposing and make good decisions with confidence.
A practical sheet list often includes: cover information, site plan, constraints or zoning diagram, floor plans, roof plan, elevations, building sections, foundation plan, structural concept references, wall and roof assemblies, window and door schedules, environmental systems, water strategy, key construction details, notes, specifications, and a few carefully chosen 3D views.
If you’re proposing earthbag or related natural systems, be especially explicit: wall dimensions, material descriptions, stabilization where used, reinforcement or confinement strategy, opening details, and connections to foundation and roof. Approval standards vary widely, so flag uncertain items clearly: “to be verified,” “subject to structural design,” or “confirm local authority requirements.”
Keep performance language grounded. Labels like zero-energy, regenerative, carbon-neutral, self-sufficient, or non-toxic can confuse if they aren’t defined. It’s usually stronger to show the strategies: solar orientation, mass-and-shade logic, water harvesting, or wetland flow, presented in context.
Pair the technical set with a client-friendly story: a one-page site diagram, annotated plans and sections, two or three key interior views, a material palette, and a short decision log. People follow the project more easily when they can see both the “what” and the “why.”
Conclusion: Make the site-to-3D workflow repeatable
This workflow is iterative. New soil findings reshape foundations. A section study refines a roof curve. The model reveals a junction that needs a cleaner solution. Review feedback asks for one more detail. That’s refinement doing its job.
Before issuing a set, use a simple quality gate. You’re close when site logic is explicit, passive strategies appear in plan and section, assemblies are named, moisture and drainage are resolved, the model stays clean, drawings match, open items are listed, and responsibilities in the review process are clear.
Let analysis support design, not replace it. Digital outputs depend on inputs such as climate files, material assumptions, occupancy patterns, shading inputs, and geometry, so critical decisions benefit from the right technical specialists when needed.
What turns ambition into a buildable eco-home is the chain itself: careful site study, a climate-aware brief, hand sketches that strengthen spatial thinking, sections that keep assemblies honest, a disciplined 3D model, and a coordinated set others can review with confidence.
If a whole home feels like too much at first, practice on a smaller piece within self-sufficiency and sustainability. A sun-responsive shed, a vaulted studio, or a simple water sequence teaches the same rhythm. With repetition, the workflow becomes less like a checklist and more like a way of listening—first to the land, then to the building that wants to emerge from it.
Explore 2D-3D Bio-architecture Design
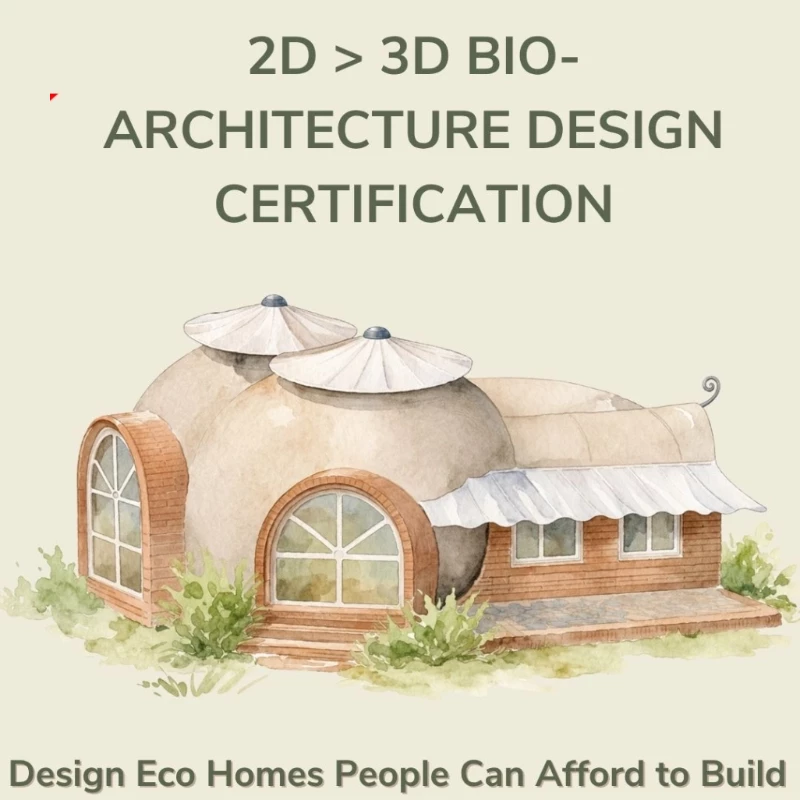
Apply this site-to-model workflow in the 2D-3D Bio-architecture Design Certification.
Explore 2D-3D Bio-architecture →