Eco-home designers who begin with hand sketches and careful site observation often hit the same bottleneck: the concept develops beautifully in Rhino, but permit review and consultant coordination ask for BIM-aware deliverables. Too often, that triggers a late-stage rebuild. Curved walls get flattened into generic masses, domes are remodeled just to make schedules run, and terrain is stripped back so an exchange will behave. Meanwhile, passive-solar decisions are sometimes tested in a separate file, so performance thinking drifts away from the drawings.
A Rhino-first, BIM-ready workflow keeps the work steadier. Instead of redrawing the project in stages, you develop one central model that can hold organic geometry, climate logic, and the classifications downstream tools expect. Model as if you will print tomorrow, classify as if you will export next week, and use bridges only where coordination truly requires them.
Key Takeaway: Eco-home delivery becomes smoother when Rhino serves as the BIM-ready source of truth. A single model can carry hand-drawn intent, organic form, passive-solar thinking, drawing production, and clean exchanges—so you model once, refine thoughtfully, and hand off with less rework.
From paper sketches to a Rhino source of truth
Hand sketching still belongs at the beginning of eco-home design. Tracing paper, site notes, and quick sections often reveal more about orientation, shelter, and daily use than a screen does in the first hour.
The strongest move is to treat those sketches as the first layer of the digital model rather than disposable preliminaries. Scan or photograph plans and sections, bring them into Rhino as background references, set units, then align the file to true south and site conditions. That grounds intuition in a coordinate space that can carry the project forward.
Rhino’s multiple viewports make the transition feel natural. As you trace in plan, the form rises in perspective; as you shape the volume, the section stays live, which keeps design thinking spatial from the start.
Two habits make the model steadier from day one:
- Use clear layer logic, such as structure, envelope, glazing, water, and land.
- Orient the project to the site early, so slope, trees, views, and winter sun are part of the model rather than afterthoughts.
That early order pays back later when the same layers start supporting drawings, analysis, and export classifications.
Model the eco-home bones in Rhino 8
Start with the primary structure. Foundations, earth walls, shells, vaults, berms, and major openings form the backbone of the project. When these are modeled cleanly, everything downstream becomes calmer and faster.
Rhino 8 supports this kind of momentum. Tools such as PushPull make it easier to adjust thicknesses and carve openings directly in view, while Auto CPlanes and direct editing help you stay fluid on sloped sites and curved forms.
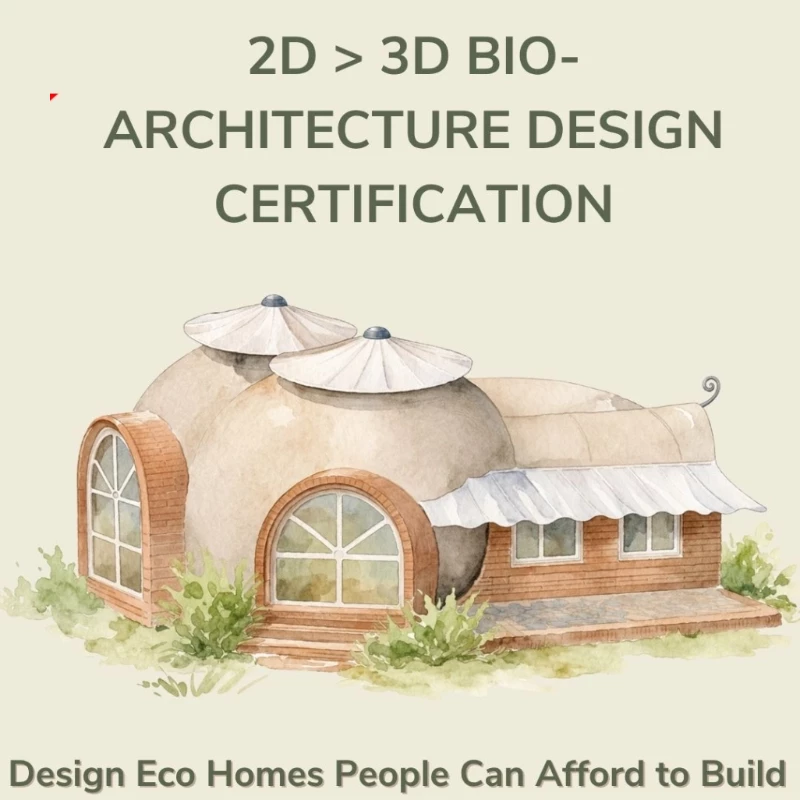
For organic shells, SubD is often a great fit. It can keep transitions soft where the form wants to be gentle, while still holding sharper edges at ring beams, ledges, or openings. A small dome studio, for example, can begin as a structural curve in section, be revolved into a shell, thickened into a solid, and then refined where it counts.
A practical sequence might look like this:
- Draw the main shell in section and revolve it into form.
- Thicken it into a buildable volume.
- Cut the entry, glazing, and roof opening using the same solid logic.
- Lay in berms and terrain relationships while the massing is still simple.
Restraint helps at this stage. Use solids for core building elements, keep terrain manageable, and save fine sculptural edits for moments that truly change the experience or constructability. Export quality usually begins with modeling discipline, not repair work at the end.
Attach meaning to geometry with layers and IFC mapping
Geometry alone rarely coordinates well. The steadier approach is to attach meaning as you model, so the file already “knows” what its parts are when it’s time to share.
Start with consistent layer names tied to real building systems. Then connect those layers to export categories. A curved earth wall can still arrive downstream as a wall, and a dome can still be read as a roof, which keeps organic form legible for others.
Tools such as VisualARQ can help by turning Rhino geometry into data-rich building elements and supporting IFC mapping by layer. In practice, this means a layer like 02_Envelope_Earthbag can export as an IfcWall, while a dome shell can be mapped as an IfcRoof if that best matches the project’s documentation needs.
A simple classification table goes a long way:
- 01_Foundations → IfcFooting
- 02_Envelope_Earthbag → IfcWall
- 03_Roof_Dome → IfcRoof
- 04_Glazing_Framed → IfcWindow
- 05_Land_Berm → IfcSite or IfcBuildingElementProxy
Test a small pilot exchange early. A quick check with one consultant or coordinator often reveals whether your naming, categories, and geometry are translating clearly before the drawing set becomes heavy.
Keep passive-solar analysis close to the design model
One of the biggest advantages of a Rhino-first workflow is continuity between design and climate decisions. When orientation, glazing, and shading are tested in a separate model, mismatches sneak in and the feedback arrives late.
With Grasshopper and Rhino surfaces, the same geometry used for design can be used to test daylight, glare, and solar gains. If you are working toward Passive House–level rigor, export to WUFI Passive or PHPP can be added by enriching existing geometry rather than rebuilding it.
Early passive-solar choices also benefit from clear rules of thumb. A 5–15° orientation from true south is often close to ideal, and up to about 30° off-south can still work well. Guidance also generally favors lower east and west glazing and shaded south glazing when passive solar is part of the design intent.
A simple working rhythm is enough:
- Tag south-facing glazing and shading elements clearly in Rhino.
- Reference those same surfaces in Grasshopper.
- Review winter access to sun and summer shading performance.
- Adjust overhangs, openings, and orientation while the design is still flexible.
This keeps the climate conversation grounded in the actual project. The model you design with remains the model you learn from.
Turn the model into drawings with Rhino 8
For many eco-home projects, Rhino can carry documentation further than people expect, especially in a self-sufficiency and sustainability workflow. Plans, sections, elevations, detail views, and reflected ceiling plans can often be generated directly from the same model used for design and analysis.
That matters most when the architecture is hard to describe with conventional 2D shortcuts: berm cuts, curved walls, domed interiors, and non-standard junctions. In those cases, live model-derived drawings tend to stay more dependable as the design evolves.
Rhino 8 has strengthened this side of the workflow. Dynamic vector drawings from clipping sections and layout-based clipping views reduce constant redrawing and make model-based documentation more practical.
A lean sheet set might include:
- Site plan with berms, contours, and access
- Floor plan with openings and key tags
- Primary sections through dome, vault, or berm
- Elevations with glazing and material notes
- RCP showing skylights, vents, and ceiling transitions
- Construction details for wall bases, rings, openings, and transitions
Stay in Rhino as long as the drawing output remains clear and efficient. When a project truly needs more structured schedules or discipline-specific coordination, that is the moment for a selective handoff.
Avoid common export traps with domes, berms, and organic forms
Most difficult exchanges fail for predictable reasons: open or inconsistent geometry, vague classifications, or terrain that is far more complex than the receiving file can handle.
Start with geometry discipline. Closed solids and clean forms usually exchange more reliably than fragmented surfaces or loosely joined pieces. Before sending, it helps to check for naked edges, self-intersections, and avoidable complexity.
Then confirm classification. Expressive architecture still benefits from a clear identity downstream. When a wall arrives as a wall and a roof arrives as a roof, coordination becomes far smoother.
Finally, separate building and site when it supports the exchange. Berms, wetlands, and complex terrain often behave differently from the building model, so many teams keep site and building as separate modules and simplify terrain to essential surfaces before export.
Coordinates matter too. Consistent units, an agreed origin, and clear georeferencing habits prevent a surprising amount of confusion later. If an unusual feature does not fit a standard class neatly, a clearly named proxy with good notes usually serves everyone better than forcing a misleading category.
A quick pre-send checklist helps:
- No open edges in primary walls and roofs
- Layers mapped consistently to export categories
- Terrain simplified where necessary
- Units and origin confirmed
- A short legend explaining how non-standard elements are represented
These habits are quiet forms of craftsmanship. They protect the design and make collaboration smoother.
Conclusion: one model, less friction, better continuity
A coherent eco-home workflow begins with hand, site, and climate awareness, then develops that intelligence inside a clean Rhino model. From there, the same file can support form-making, passive-solar thinking, drawing production, and consultant exchange with far less duplication.
That continuity is the real value of a BIM-ready Rhino practice. It allows vernacular inspiration, ecological responsiveness, and contemporary documentation standards to support one another while the original intent stays intact.
As with any workflow, it pays to confirm requirements early: what your local authority expects, what each consultant can reliably receive, and how detailed the exchange needs to be. A small test export at the start often saves weeks later, especially on domes, berms, and other organic forms.
Used this way, Rhino becomes a practical working ground where intuition, craft, and coordination stay in conversation from the earliest sketch to the final handoff, including more advanced bio-architecture design practice.
Master Bio-architecture Design Skills
Apply this Rhino-first continuity inside the 2D-3D Bio-architecture Design Certification.
Explore the Certification →