The most common mistake on small earth-sheltered vault projects is treating backfill like landscaping. The hole makes everyone nervous, schedules tighten, and “stabilizing the site” starts to mean getting soil back in as fast as possible.
That’s when membranes get postponed for later touch-ups, footing drains vanish without a photo record, and ribs and walls get labeled “good enough for now.” Then the first storm, thaw, or heavy surcharge brings the reality: damp interiors, hairline wall drift, or a pump that never stops. A small shortcut can turn into re-excavation, major waterproofing repair, and costs that dwarf the original savings.
Experienced builders work from one simple rule: backfill once. Soil return is a one-way structural and water-control commitment. If the shell is not complete, connected, drained, and protected before burial, the ground will eventually find the weak point for you.
Key Takeaway: Backfill once is a structural rule: bury only after a continuous load path and a complete water-shedding shell are in place. In practice, that means choosing a vault geometry your walls can resist, matching footings to real soil conditions, sequencing drainage-waterproofing-insulation correctly, holding layout accurately through bracing, and returning soil in balanced lifts with compatible backfill and working drainage.
Roman and Gothic Vaults Push Differently on Their Supports
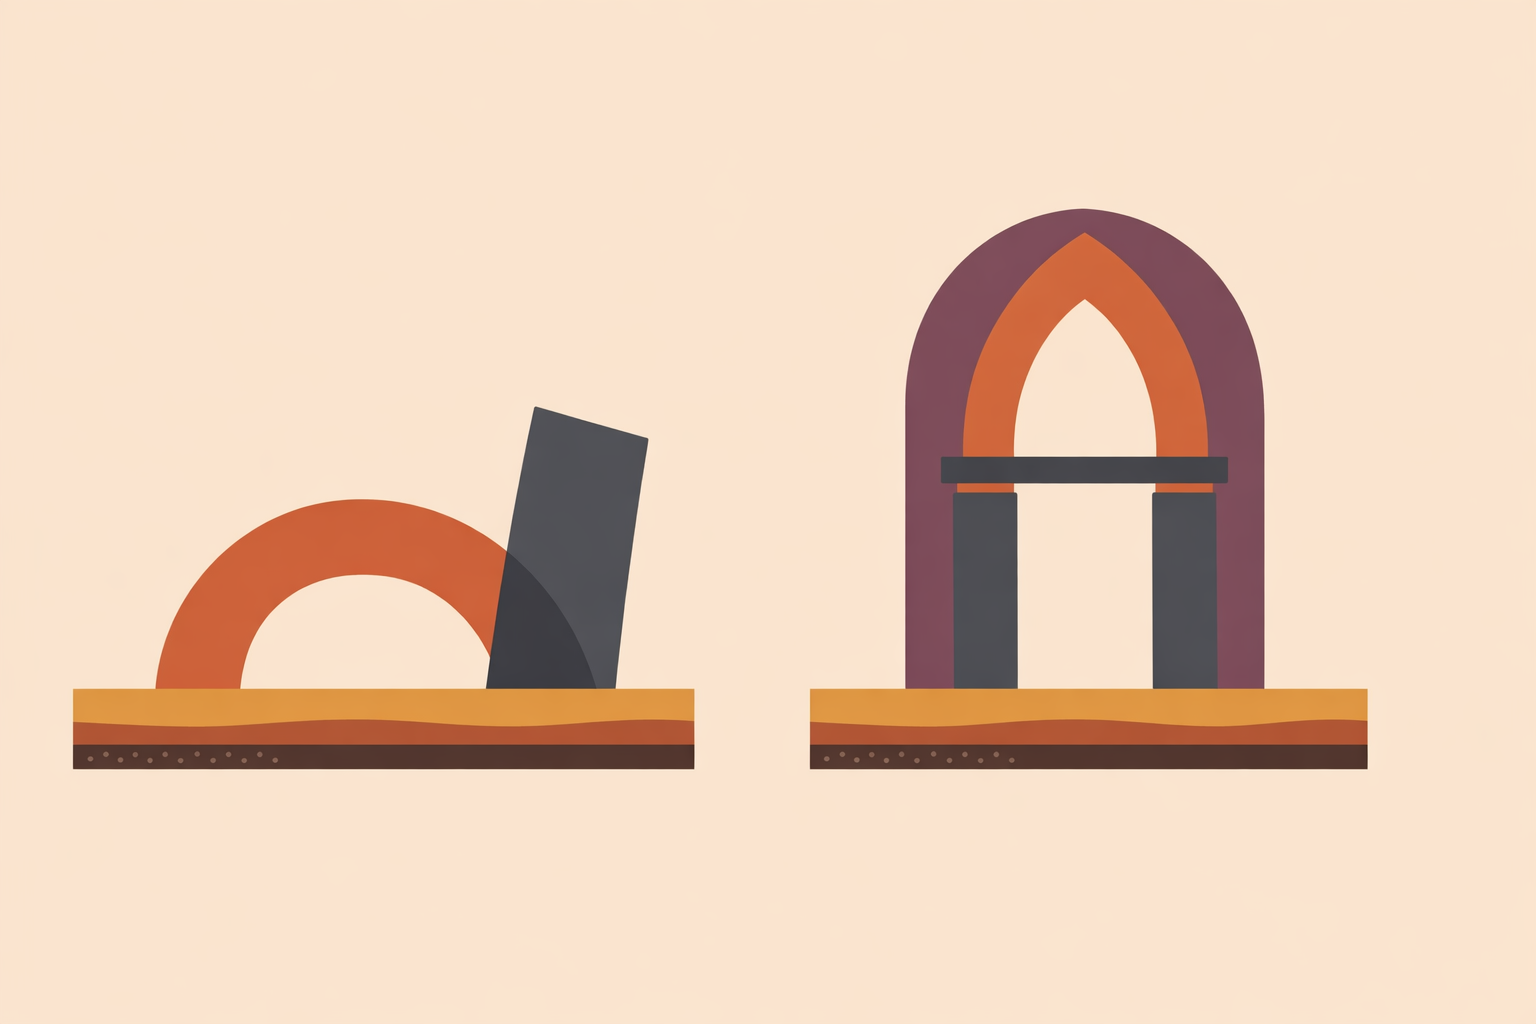
Every vault starts with the same structural truth: arches carry load through compression, but they also try to spread at the base. That outward push is arch thrust, and buried walls must resist it long before the earth returns.
A semicircular Roman arch produces strong outward thrust at its supports. In buried work, that means serious attention to abutments, ties, or buttressing from the start. A pointed Gothic arch generally directs more force downward and less outward, which often makes it a calmer choice when the goal is to reduce spread at the supports.
Even with a pointed shape, the basics still govern performance: span, rise, rib stiffness, wall height, soil pressure, groundwater, frost movement, and surcharge loads. Geometry sets the “personality” of the thrust, but it doesn’t erase the job your supports must do.
Earth cover raises the stakes. The roof takes the weight above, while the walls take lateral pressure at the sides. After burial, small layout errors that seemed harmless in the open can turn into creep, cracking, or rotation.
That’s why many builders lean toward reinforced concrete for buried walls: it resists earth pressure predictably and can be positively tied into the footing. Timber ribs or timber wall systems can still belong in vault work, but they require honest attention to connections, moisture exposure, and long-term creep under buried loads.
Start with Soil, Then Build the Footing-Wall System
Many self-builders begin with excavation and try to “engineer their way out” later. A steadier approach starts with the ground. Bearing capacity, drainage rate, soil density, and water-table position shape footing width, reinforcement needs, and long-term wall stability.
Footings should grow out of site conditions, not habit. A trench bottom that is soft, organic, wet, or disturbed is not a trustworthy start point. Buried vaults depend on competent support below as much as strong walls above.
These walls also do double duty: they retain soil and resist vault spread. That calls for retaining-wall thinking—real reinforcement and a positive wall-to-footing connection—rather than relying on a freestanding wall that happens to end up underground.
Continuity matters, too. Honeycombing, displaced reinforcement, and cold joints can interrupt the load path the design depends on. In buried work, those “small” defects are costly because the fix usually starts with excavation.
Traditional building wisdom fits perfectly here: work with the land you have, not the one you wish you had. Long-lived buried building comes from matching form, structure, and ground conditions so the whole assembly settles into stable service.
Build the Water-Shedding Shell Before Burial
If structure is one half of buried success, water management is the other. Water will leave by the route you provide, or it will make its own.
The most reliable below-grade assemblies follow a clear sequence: prepare the substrate, complete the waterproofing, protect it, add drainage capacity, then return soil. That order keeps critical layers intact and working.
A dedicated drainage path is essential because hydrostatic pressure builds quickly when water has nowhere to go. A drainage mat or free-draining layer that carries water down to the footing drain prevents that pressure from turning into force against the wall.
Exterior insulation belongs in the same system. Exterior insulation supports steadier interior comfort by keeping the wall’s thermal mass inside the envelope, and it reduces condensation-related wear within the assembly.
Transitions deserve extra patience, especially at roof-to-wall changes. Membranes that behave perfectly on a flat run often fail at turns, laps, corners, and penetrations. Slow down here, orient laps with water flow, and use terminations you trust after burial.
Even when outdoor temperatures feel stable, earth-sheltered interiors can hold moisture. High humidity can persist in tight buried spaces, so ventilation and commissioning checks still matter once the shell is complete.
Hold Layout and Bracing Until the Structure Can Resist the Soil
The geometry you bury is the geometry you live with. Minor inaccuracy above grade can become permanent distortion once earth loads arrive, so layout control is structural discipline, not fussiness.
Start with a benchmark and baseline you can recover throughout the job. Keep at least two control points outside the excavation so strings and levels can be re-established after weather, deliveries, or equipment movement.
The spring line deserves special care. Span, rise, spring height, rib thickness, and rib spacing must agree before the first rib is fixed. Unequal spring elevations can twist the vault and increase the chance of wall movement after burial.
Full-scale templates are often worth the effort because they prevent slow drift from rib to rib. Small variations during assembly can create a very different force pattern once the vault starts carrying soil.
Temporary bracing should stay until the assembly truly supports itself. That usually means supports braced, first ribs fixed plumb, intermediate members installed, and sheathing or diaphragm action established before trusting the shape alone.
Backfill Is a Structural Operation, Not a Cleanup Task
When the shell is ready, returning soil deserves the same discipline as the build itself. Near-wall backfill should be compatible, clean, and free-draining, not full of organics, expansive clay, or demolition rubble. Free-draining structural fill supports wall stability and protects drainage performance.
Place backfill in controlled lifts rather than dumping in bulk. Thick lifts and aggressive compaction near the wall can damage membranes, crush drainage layers, or overstress the structure before it has balanced support. Retaining guidance cautions against heavy compaction close to the wall for this reason.
Keep it balanced. If one side rises well ahead of the other, unbalanced lateral pressure can push a wall out of alignment. Symmetry is one of the simplest protections you can give a buried structure.
Filter separation matters for long-term drainage performance. Nonwoven geotextile between drainage stone and surrounding fines helps prevent silt migration and clogging.
Also respect the weight of wet soil. Saturated cover loads roofs and walls far more heavily than dry material, and each added layer increases demand on the buried structure.
When the assembly is done well, earth cover gives something back. Temperature swings are moderated by the surrounding ground, which can lower heating and cooling demand and create the steady, sheltered feel people hope for in earth-covered building.
Build Once, Bury Once
The throughline is simple: arches push, earth pushes, and water keeps searching for a path. Buried vault work succeeds when all three are answered as a single system.
Choose a geometry your supports can resist. Match footings to real ground conditions. Build a continuous shell that sheds water before burial, then protect it. Return soil in balanced lifts that support the structure rather than distort it.
Low-cost building is not the same as rushed building. In earth-sheltered building and broader self-sufficiency and sustainability work, real economy comes from straightforward geometry, careful sequencing, sensible local materials, and avoiding buried mistakes that require excavation later.
Done well, a vault feels quiet, steady, and deeply comfortable for years. That outcome comes from many ordinary decisions made in the right order, with enough care that the ground only has to close over the work once.
Build Better with Hobbit Vault Course
Apply the “backfill once” system in practice with the Hobbit Vault Course.
Explore Hobbit Vault Course →